


CHAPTER 7 TROUBLE SHOOTING
7-19
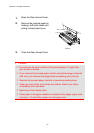
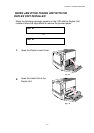
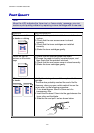
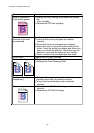
6.
With all the covers and units
open, remove the jammed
paper. Access and remove the
jammed paper from the Rear
Access Cover.
Fig. 7-14
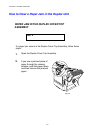
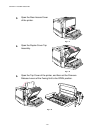
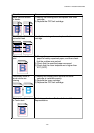
7.
Set the Pressure Release
Levers of the Fusing Unit to the
SET position, and then close
the Top Cover.
Fig. 7-15
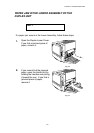
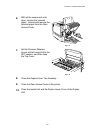
8.
Close the Duplex Cover Top Assembly.
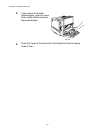
9.
Close the Rear Access Cover of the printer.
10.
Close the Inside Unit and the Duplex Lower Cover of the Duplex
Unit.