


36
Automatically Converting an Image to an
Embroidery Design (Auto Punch Function)
In this section, we are going to use the Auto Punch function to automatically create an embroidery
pattern from an image.
This procedure will go through each step of the basic operation.
Step 1
Importing image data into Layout & Editing page 36
Step 2
Automatically converting the image to an embroidery pattern page 39
Step 3
Displaying a preview of the embroidery page 41
Step 4
Saving the embroidery design page 42
Step 5
Transferring the design to an original card page 44
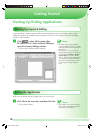
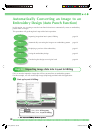
Step 1: Importing image data into Layout & Editing
First, we need to import the image that will be converted into an embroidery pattern.
For this example, we will use the tulip image (tulip.bmp) provided with this application.
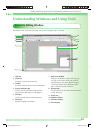
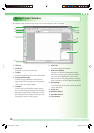
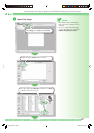
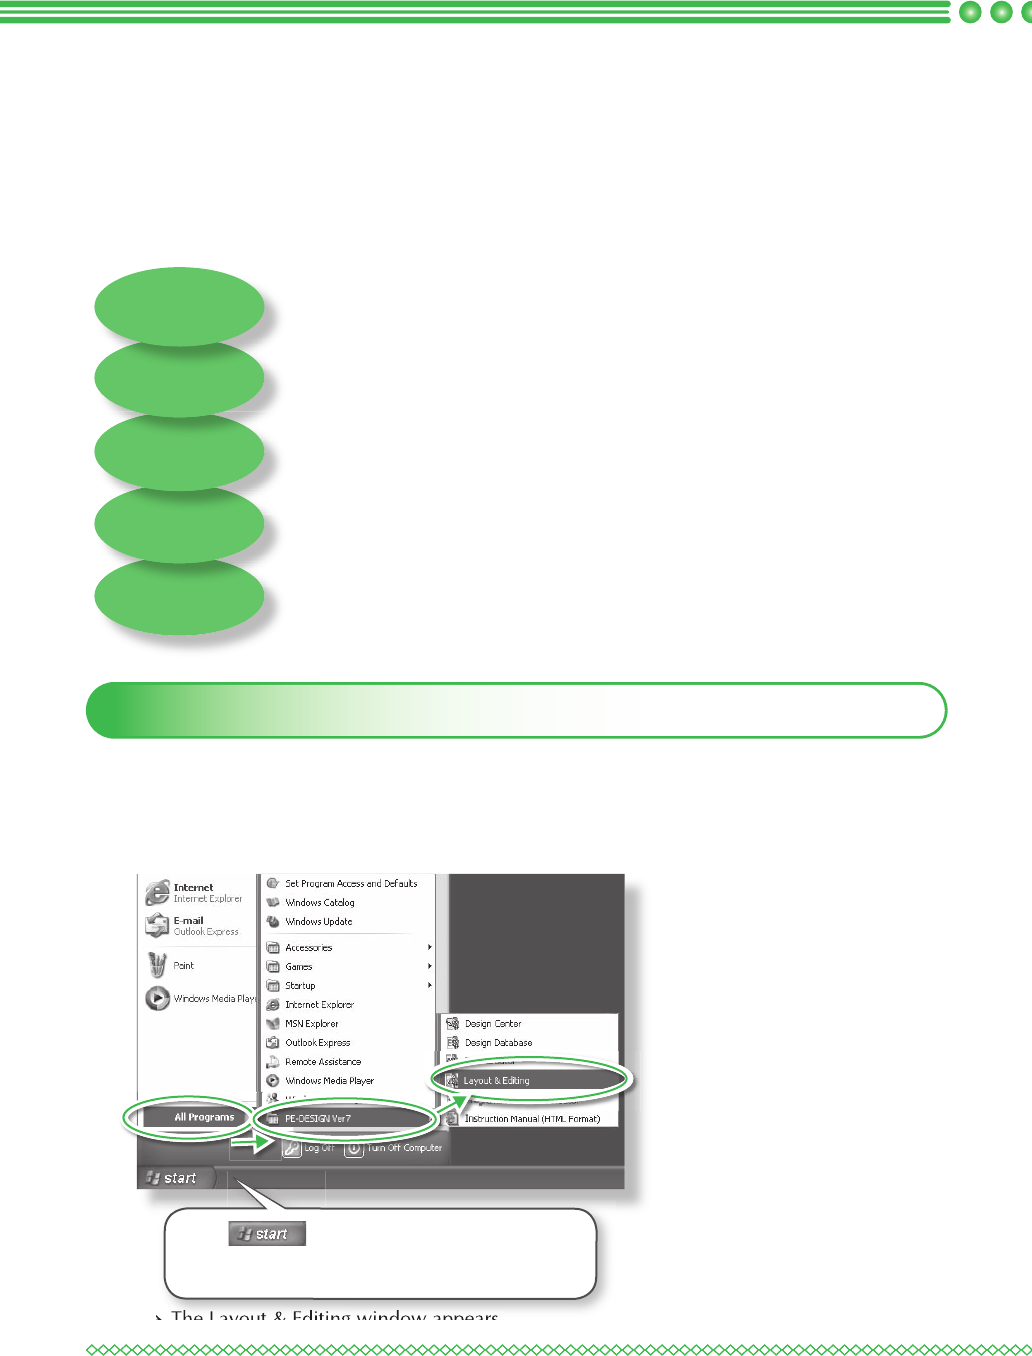
a Start up Layout & Editing.
→ The Layout & Editing window appears.
Click , then, select All Programs,
then PE-DESIGN Ver7, then, Layout & Editing.
PED7_QSG.indb Sec1:36PED7_QSG.indb Sec1:36 02.06.2006 20:07:1502.06.2006 20:07:15