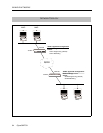
EXAMPLE NETWORKS
98 CyberSWITCH
CONFIGURE THE CYBERSWITCH
Note: The software should have already been installed and you need the system prompt before
proceeding with these steps.
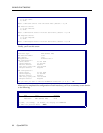
Using the detailed instructions for these steps found in the Simple Remote Bridging chapter,
complete the following configuration steps for SITE1.
Start the CFGEDIT program
Select physical resources
Select to add a resource
Select Switch type to be NI-1
Select to add a line
Enter the line name
Select slot and port numbers
Select line interface type of “Point-to-Point”
Add Data Links (Data Link explanation follows)
Choose Auto TEI Negotiation
Enter Service Profile ID (SPID) Value
Enter Directory Number for Data Link
Enter Maximum Number of Digits to Verify
Repeat “Add Data Links” for second Data Link
Repeat “Select to add a line” for each additional line
Data links are handled differently on a NI-1 switch. Some BRI lines have only one phone number
(for the Data Link), but can handle two calls (one for each bearer channel). For NI-1 switches, the
BRI line has two phone numbers (one for each bearer channel), and each phone number has its own
SPID. You must enter the number of digits to verify, so that when the system receives a phone call
it can determine on which bearer to accept the phone call. Refer to the System Details worksheet for
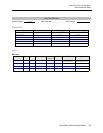
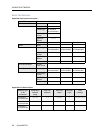
the SPIDs, directory numbers, and the number of digits to verify.
The sections below provide instructions for completing the remaining configuration steps for
SITE1.
CONFIGURING THE OPTIONS
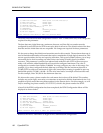
By default, AppleTalk Routing is disabled. Before we can begin configuring the AppleTalk feature,
we must first enable AppleTalk Routing. From the Options Menu, select AppleTalk Routing (Enable/
Disable). Follow the onscreen instructions to enable AppleTalk Routing. The following expanded
screen will then be displayed:
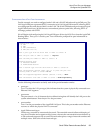
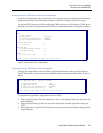
We will use this menu to configure SITE1’s AppleTalk information.
AppleTalk Routing Menu:
1) AppleTalk Routing (Enable/Disable)
2) AppleTalk Ports
3) AppleTalk Static Routes
4) Isolated Mode (Enable/Disable)
Select function from above or <RET> for previous menu:


