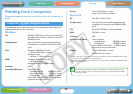
29
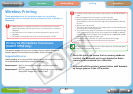
Getting Ready Printing AppendicesOverview
Troubleshooting Tasks and Index
NextBack
Return to Cover Page
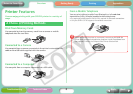
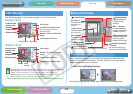
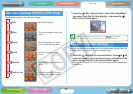
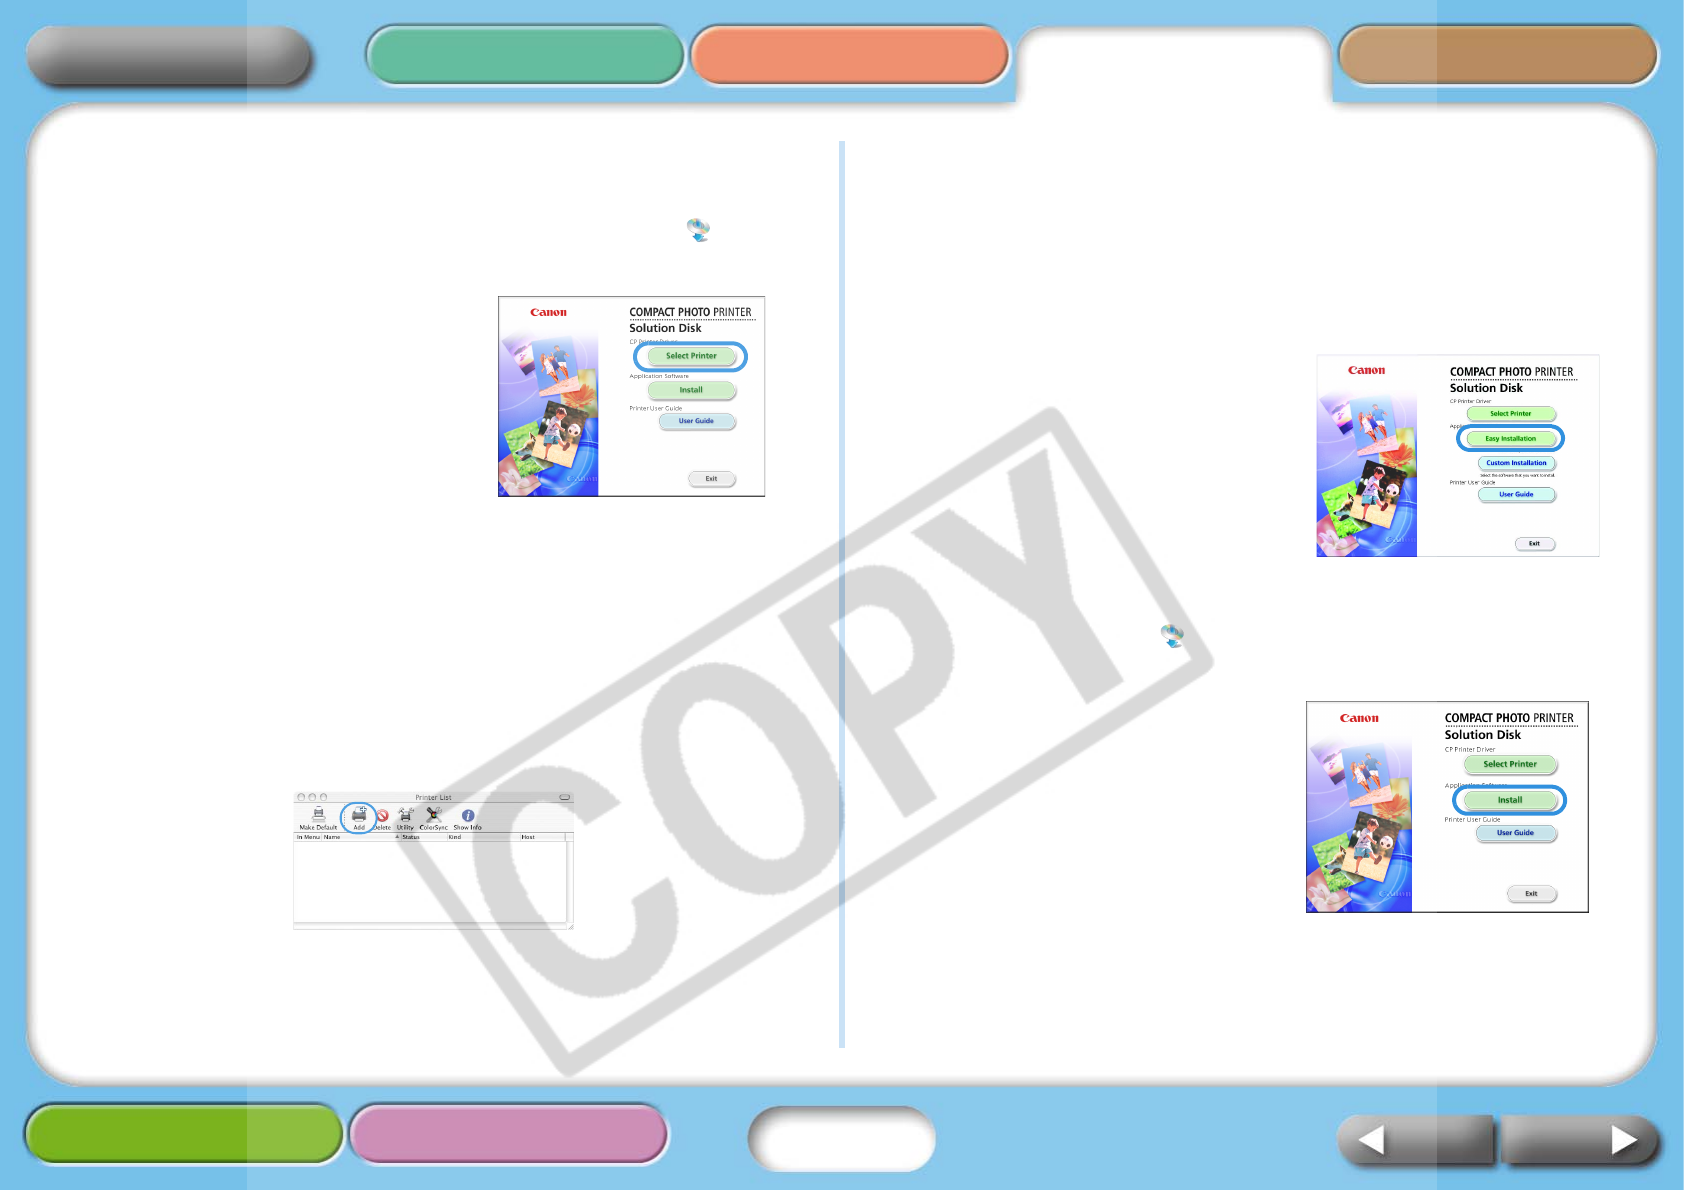
TMacintosh
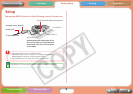
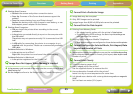
1 Place the supplied Compact Photo Printer Solution Disk into
the computer’s CD-ROM drive and double-click the (CPSD
Installer) icon in the CD-ROM window.
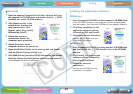
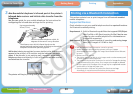
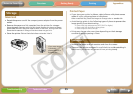
2 Click [Select printer] in the
printer driver window and
select your printer. Click
[Agree], select [Easy Install],
followed by [Install].
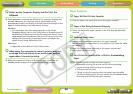
3 Follow the onscreen
instructions. Restart the
computer when prompted.
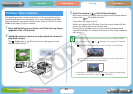
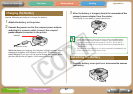
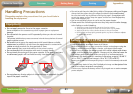
4 Attach the printer to the
computer and turn the printer on.
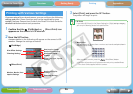
5 Open the [Utilities] folder on the start-up disk and double-
click the [Printer Settings Utility] icon.
6 Click [Add (Printer)] and select [USB] followed by your printer.
Finish by clicking the [Add] button and closing the window.
This completes the driver installation.
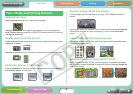
Installing the Application Software
TWindows
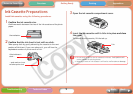
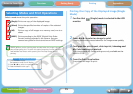
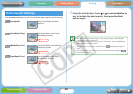
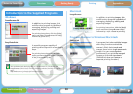
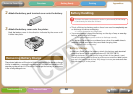
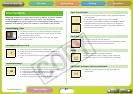
1 Place the supplied CD-ROM into the computer’s CD-ROM drive.
If the CD-ROM is already in the computer and the window below
does not appear, then take the CD-ROM out once and put it back in.
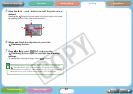
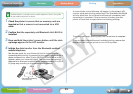
2 Click [Easy Installation] in the
application software section,
followed by [OK] and [Install].
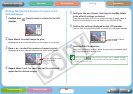
3
Follow the onscreen instructions.
Remove the CD-ROM once the
installation is complete.
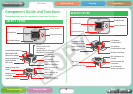
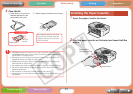
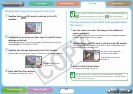
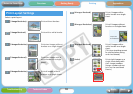
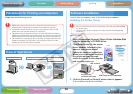
TMacintosh
1 Place the supplied CD-ROM into the computer’s CD-ROM drive
and double-click the (CPSD Installer) icon in the CD-ROM
window.
2 Click [Install] in the application
software section, followed by
[Easy Install] and [Next].
3 Follow the onscreen
instructions.
Remove the CD-ROM once the
installation is complete.