


4. DISASSEMBLY AND REASSEMBLY
4.1 Disassembly and Reassembly
When disassembling or reassembling the printer, refer to the parts catalog.
The Figure No. of the illustrations in the parts catalog are in the order of the
disassembly sequence.
The parts catalog also contains close-up diagrams where additional care is required.
4.2 Notes on Disassembly and Reassembly
Note the following when disassembling or reassembling the printer.
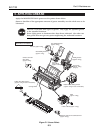
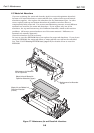
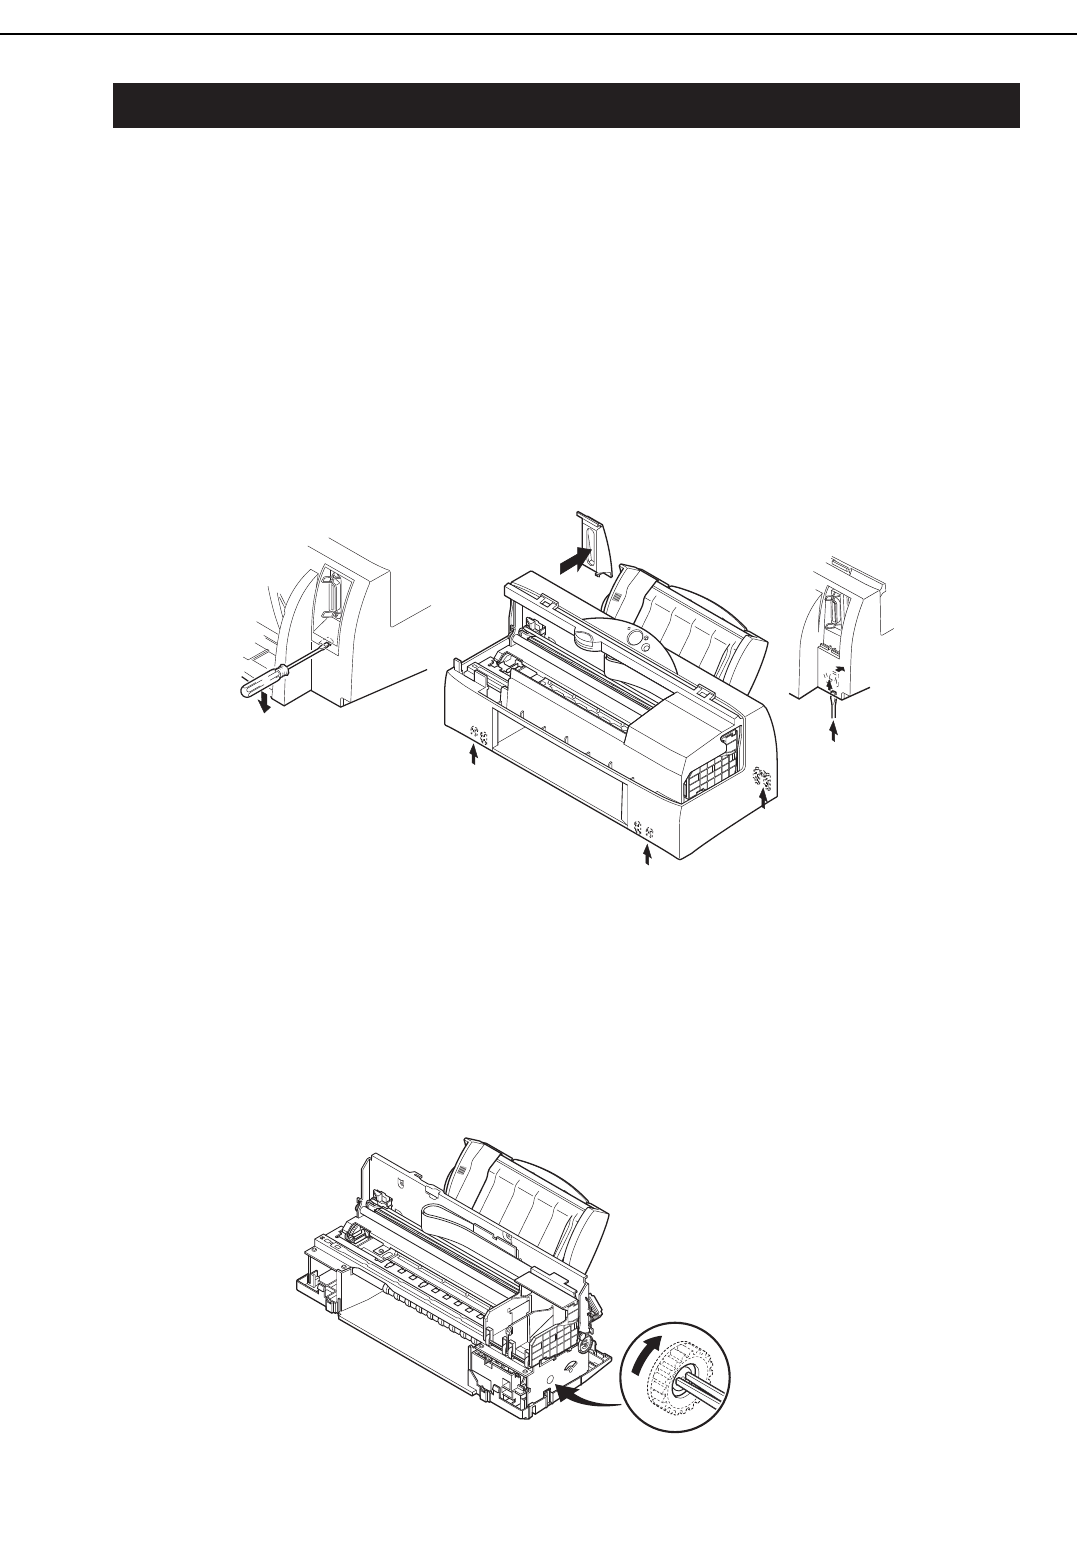
4.2.1 Main cover
Before removing or installing the main cover, remove the connector cover. It is
extremely difficult to remove or reinstall the main cover, and parts can easily be
broken, when the connector cover is attached to it.
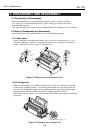
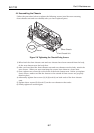
4.2.2 Carriage unit
When the cartridges are installed and the power is OFF, the carriage is normally
locked in the capping position. The locking mechanism is in the purge unit and
prevents the carriage moving from the capping position exposing and potentially
damaging the print head while the printer is being shipped or moved.
When servicing the printer, you can manually release this lock using the following
procedure.
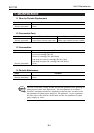
Part 5: Maintenance
BJC-7100
5-4
1
1
2
2
3
3
Figure 5-2 Main Cover and Connector Cover
* : See CAUTION on page 1-13
Figure 5-3 Releasing the Carriage Lock