EdgeFLEX 600 - Release 2.0 3-3
Adding and Replacing Components
Replacing a Fan Tray
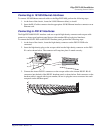
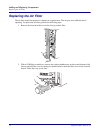
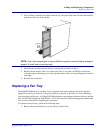
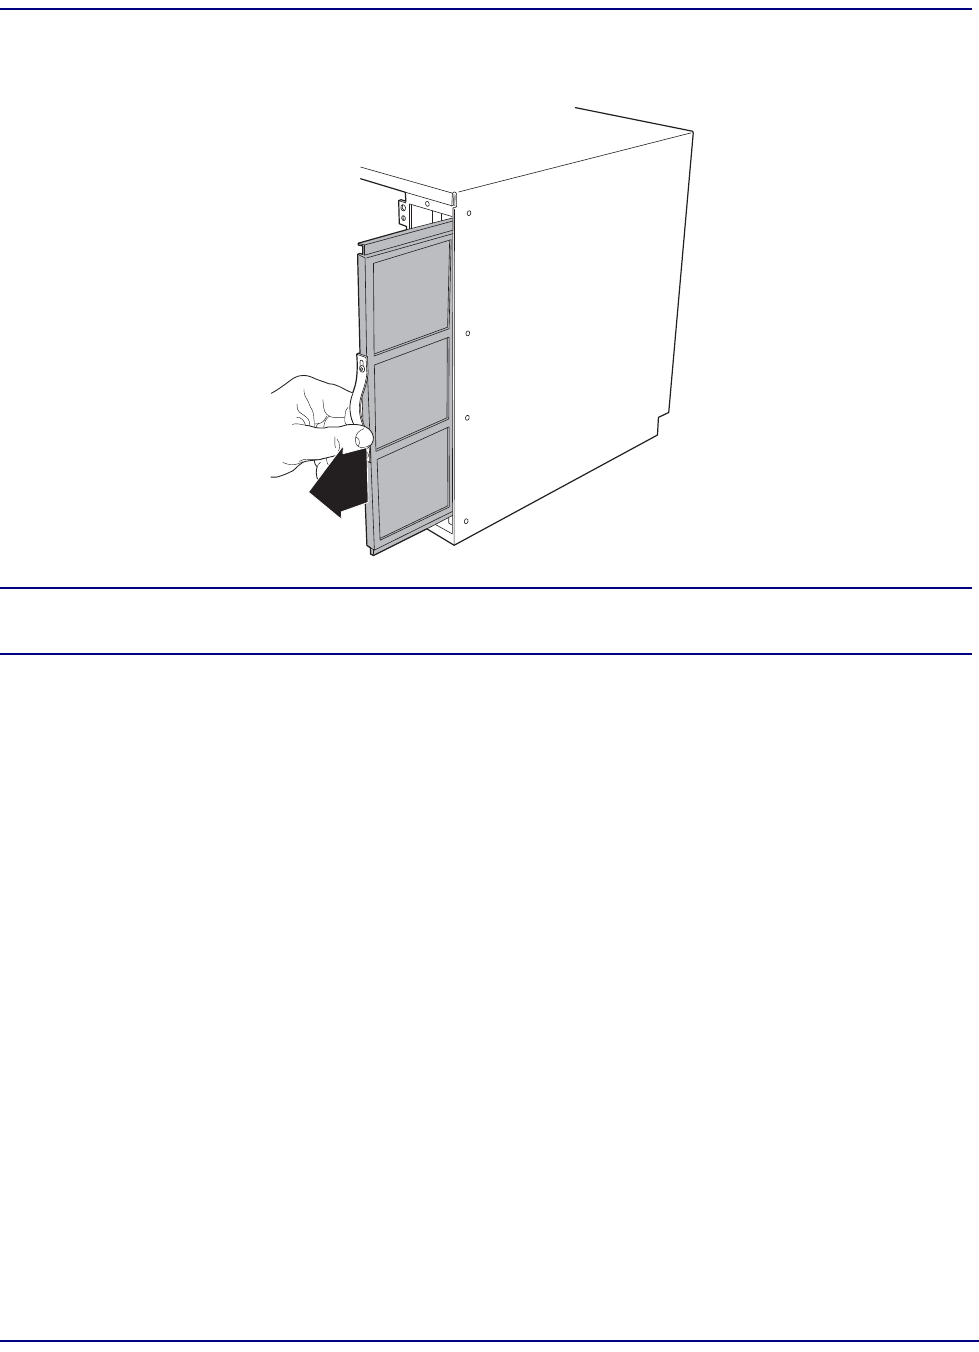
3. The air filter is located to the right of the fan tray. Grasp the filter removal strap and carefully
pull the air filter out of the chassis.
NOTE: If you have large fingers, it may be difficult to pop the removal strap up enough to
grasp it. A small hook or tool may help.
4. Insert the new air filter into the chassis, reversing the procedure in Step 3.
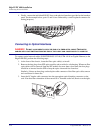
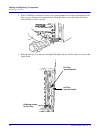
5. Replace the fan tray/air filter cover removed in Step 2, and with a #2 Phillips screwdriver,
secure the captive retaining screws at the top and bottom of the cover by turning them clockwise
until tight.
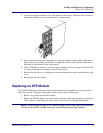
6. Reinstall the front bezel.
Replacing a Fan Tray
The EdgeFLEX 600 fan tray assembly is hot swappable, and can be replaced with power applied,
though if the fan tray is removed, it should be replaced as quickly as possible to avoid overheating.
Note that older (pre Release 1.4.0) EdgeFLEX 600 platforms were equipped with two fan trays, and that
they are NOT interchangeable with Release 1.4.0 or later hardware. Have the appropriate replacement
fan tray unit on hand before beginning this procedure.
To replace a faulty fan tray, perform the following steps:
1. Remove the front bezel that covers the fan tray and air filter.


