EdgeFLEX 600 - Release 2.0 3-5
Adding and Replacing Components
Replacing an SFP Module
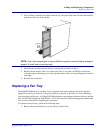
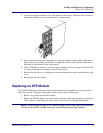
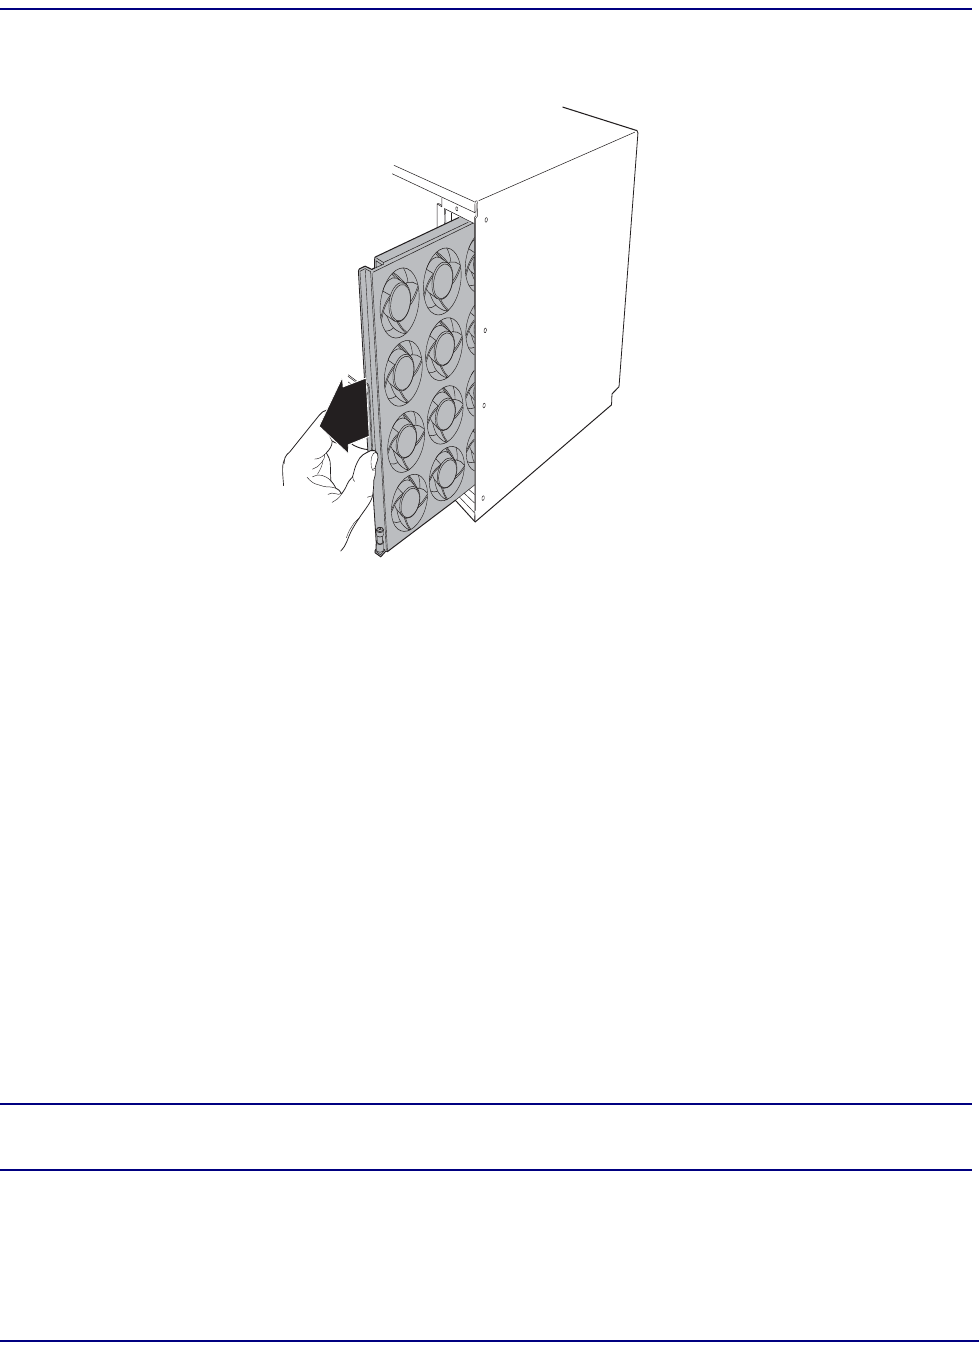
4. Unscrew the captive retaining screw at the bottom of the fan tray. Grasp the fan tray removal
handle and pull the fan tray out of the chassis, as shown below.
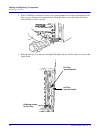
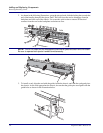
5. Insert a replacement fan tray in the empty slot, aligning it with the internal guides in the chassis.
Slide the fan tray assembly into the chassis completely, until it is fully seated, and the front of
the handle is flush with the front of the chassis.
6. With a #2 Phillips screwdriver, screw the captive retaining screw by turning it clockwise until
it is tight and the fan tray assembly is secure in the chassis.
7. Reinstall the fan tray cover, and tighten the retaining thumbscrews at the top and bottom of the
cover.
8. Reinstall the decorative bezel.
Replacing an SFP Module
The EdgeFLEX 600 optical interfaces are field-replaceable and hot swappable, and can be replaced
with power applied. To replace a faulty SFP module, perform the following steps:
1. Remove any cabling from the SFP module.
2. Replace the SFP dust plugs to protect the optics. Likewise, replace the dust plugs on the duplex
cable connector of the fiber optic cables if the cable will not be reinstalled immediately.
NOTE: Depending on the type of SFP module, steps 2 and 3 may need to be reversed.
The bail on some SFP modules cannot be moved with the dust plugs installed.


