12
Projection Operations
Auto Keystone Correction
Certain operational environments and other factors can make it impossible to achieve sufficient
accuracy when performing keystone correction.
If an image appears distorted after performing auto keystone correction check the sensors for
dirt and clean them if necessary. See page 70 for more information.
If this does not solve the problem, try changing the position of the projector slightly or
perform manual keystone correction.
AF/AK at Short Projection Distances
Performing the AF/AK (Auto Focus, auto keystone correction) operation when there is sharp
angle and when there is only a short distance between the projector and screen can result in
the left and right edges of the image to be out of focus. If this happens, reduce the angle or
increase the distance between the projector and screen.
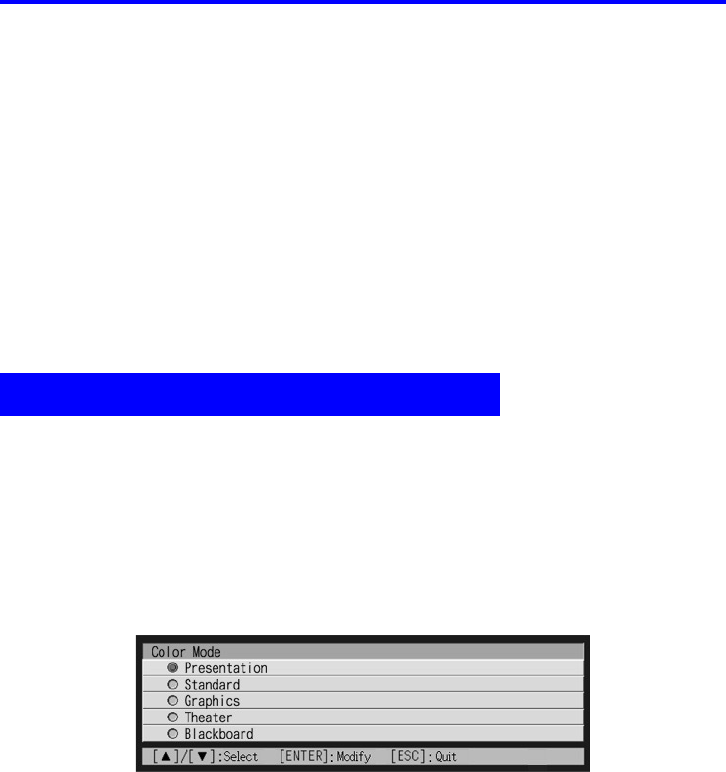
The color mode setting lets you specify the type of image you will be projecting, so the
projector can optimize image color.
To change the color mode setting
1. Press the [COLOR MODE] key.
z This causes the color mode screen to appear on the projection image. The
z
mark
indicates the current color mode setting.
z For details about each of the settings, see “Image Adjustment J Color Mode” on
page 32.
2. Use the [S] and [T] keys to move the cursor to the setting you want,
and then press the [ENTER] key.
z This moves the
z
to item that is selected by the cursor, and applies the setting to the
image.
3. To close the setup screen, press the [ESC] or [COLOR MODE] key.
Using Color Mode (COLOR MODE)


