Task 4Using Syslog, NTP, and Modem Call Records to Isolate and Troubleshoot Faults
About Modem Call Records
%%
Basic Dial NMS Implementation Guide
#Following is the new line. It adds a logging facility number and direcory path for the
#log file (router.log).
local0.debug /var/log/router.log
Note
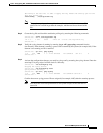
The previous syslog.conf example has been abbreviated to fit this document. The
actual file size is much larger than the example. Add the new line to the end of the
file.
Step 2
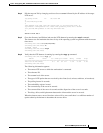
Create the log file and check the read/write privileges by entering the following commands:
aurora:/etc ->touch /var/log/router.log
aurora:/etc ->ls -l /var/log/router.log
-rw-r--r-- 1 root other 27110 Jul 8 19:56 /var/log/router.log
aurora:/etc ->
Step 3
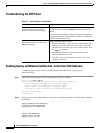
Verify the syslog daemon is running by entering the
ps -elf | grep syslog
command from the
/etc directory. If the daemon is running, a process ID is returned by the system (for example, 169). If the
daemon is not running, no ID is returned.
aurora:/etc ->ps -elf | grep syslog
8 S root 169 1 0 41 20 60756cc8 187 604e3156 Jun 19 ? d
aurora:/etc ->
Step 4
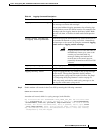
Activate the configuration changes you made in syslog.conf by restarting the syslog daemon. Enter the
start/stop S74syslog scripts from the /etc/rc2.d directory.
aurora:/etc ->rc2.d/S74syslog stop
Stopping the syslog service.
aurora:/etc ->rc2.d/S74syslog start
syslog service starting.
aurora:/etc ->ps -elf | grep syslog
8 S root 4405 1 0 44 20 6042d320 187 604e3156 09:16:35 ? d
aurora:/etc ->
Confirm that a new syslog process ID was assigned (for example, 4405) after the start/stop process.
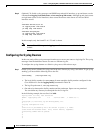
Note
You must have root-level permissions to run system scripts, such as the files in
/etc/rc2.d


