8
The default host should be adequate for getting started.
4. Select the second host to place in the new pool from the Additional members list.
5. Click Create Pool.
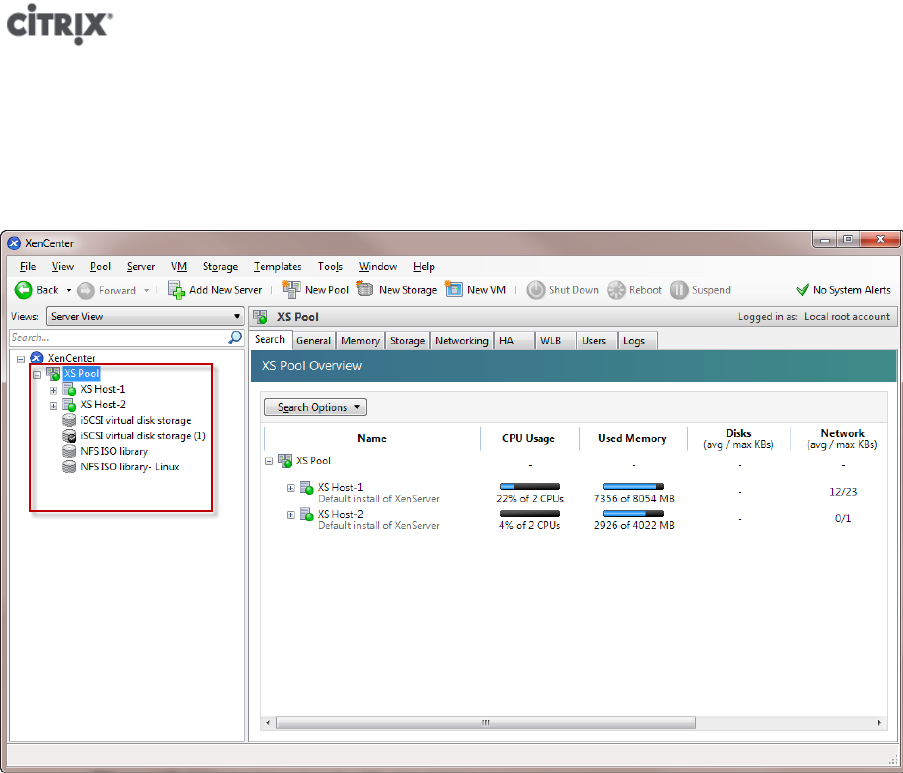
The new pool appears in the Resources pane.
3.2. Setting Up Networks for the Pool
When you install XenServer, you create a network connection‒typically on the first NIC in the pool where you
specified an IP address (during Setup).
However, you may need to connect your pool to VLANs and other physical networks. To do so, you must add these
networks to the pool. You can configure XenServer to connect each NIC to one physical network and numerous
VLANs.
Before creating networks, note that the cabling must match on each host in the pool. That is, the NICs on each
host must be plugged in to the same physical networks as the corresponding NICs on the other hosts in the pool.
Note:
If the NICs were not plugged in to the NICs on the host when you installed XenServer, plug
them in and rescan them by selecting <your host> > NICs tab and clicking Rescan for them
to appear.
For additional information about configuring XenServer networking, see Designing XenServer 6.1 Network
Configurations, the XenCenter Help and the XenServer Administrator's Guide.
To add a network to XenServer
1. In the Resource pane in XenCenter, select the pool.
2. Click the Networking tab.
3. Click Add Network.


