18
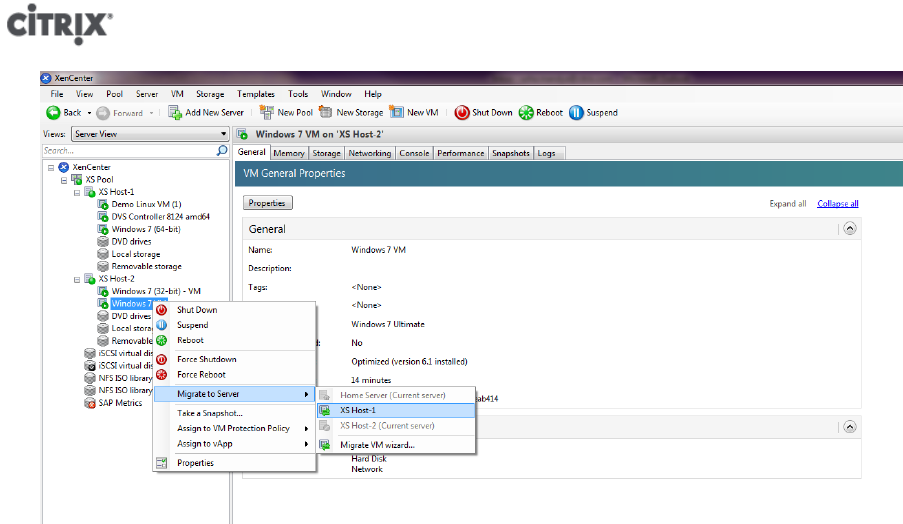
3. The migrated VM displays under the new host in the Resources pane.
4.3. Making VM Templates
There are a number of ways to make a VM template from an existing Windows VM, each with its individual
benefits. This section focuses on two methods: converting an existing VM into a template, and creating a template
from a snapshot of a VM. In both cases, the VM template preserves the customized configuration of the original
VM or VM snapshot and can then be used to quickly create new, similar VMs. This section demonstrates how to
make new VMs from these templates.
Before you create a template from an existing VM or VM snapshot, Citrix recommends that you run the Windows
utility Sysprep on the original VM. In general, running Sysprep prepares an operating system for disk cloning
and restoration. Windows OS installations include many unique elements per installation (including, Security
Identifiers and computer names), and these elements must stay unique and not be copied to new VMs. If copied,
confusion and problems are likely to arise. Running Sysprep avoids these problems by allowing the generation
of new, unique elements for the new VMs.
Note:
Running Sysprep may not be as necessary for basic deployments or test environments as
it is for production environments.
For more information about Sysprep, see your Windows documentation. It is also best to refer to your product
documentation for a detailed procedure of running this utility, as it will differ depending on the version of
Windows installed.
To give a general idea of the procedure:
1. On the VM Primary Disk (C:), create a new folder called Sysprep.
2. Navigate to the sysprep.exe file. In Windows Server 2008, the sysprep.exe file may be stored in C:\Windows
\System32\sysprep. From the VM console, browse to the \Support\Tools folder. Copy the contents of
the Deploy.cab file to the newly-created \Sysprep folder on the VM.
Note:
In operating systems prior to Windows Server 2008, it may be necessary to insert the
Windows operating system DVD/CD into the DVD drive of the XenServer host to obtain
sysprep.exe.
3. Open a command prompt, and enter cd Sysprep to change to the Sysprep folder.


