Menu Operation Method
4
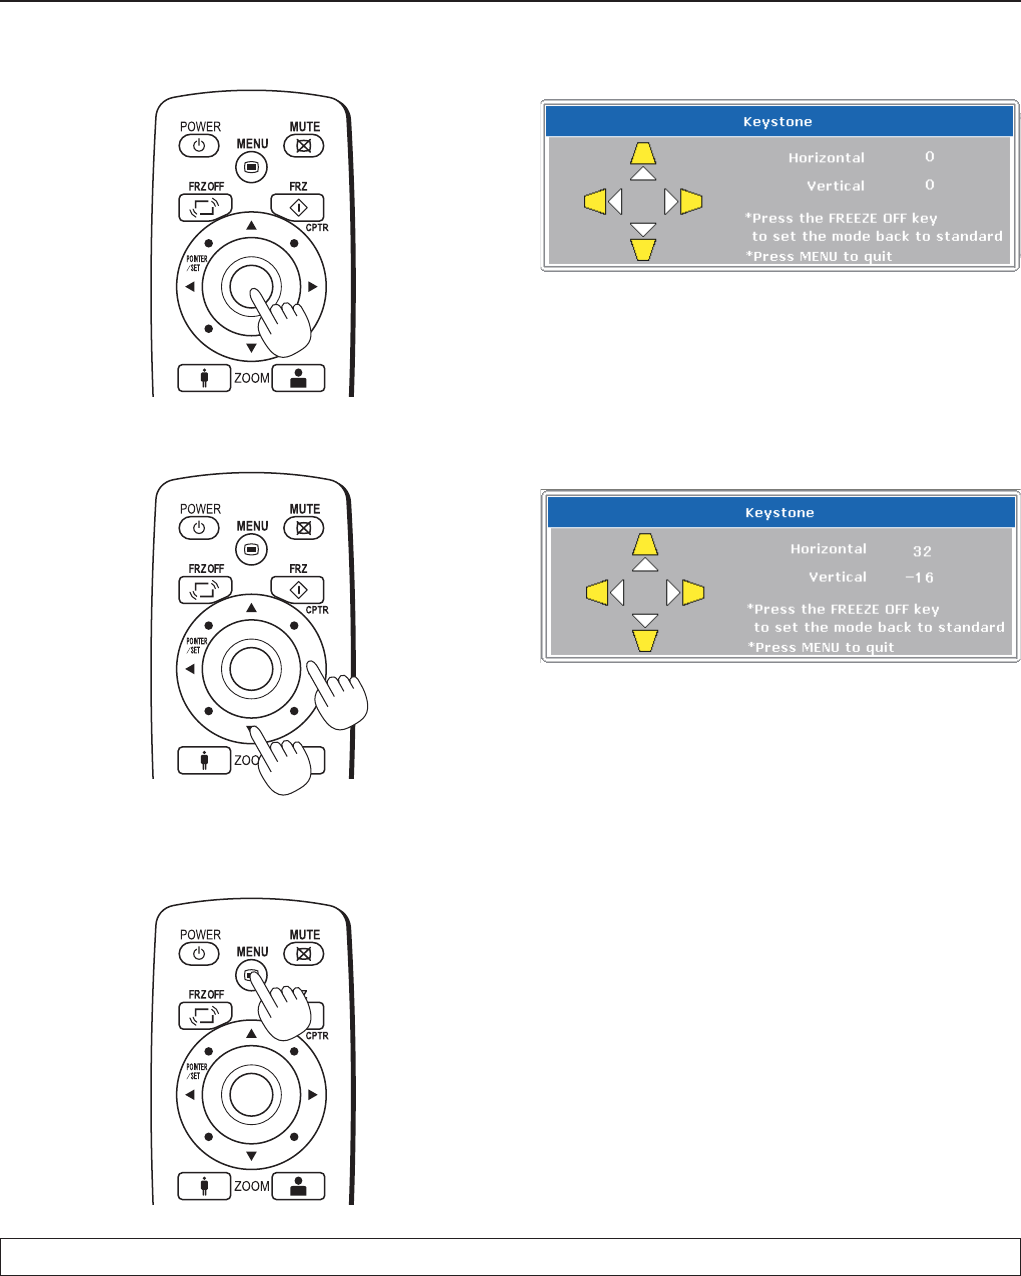
Press the POINTER/SET Button
Switches the menu to the sub menu (i.e., the Key-
stone adjustment menu).
5
Make the adjustment with the SCROLL
buttons while checking the projection image
Scroll
button: Each press increases the value of the
vertical orientation. (The top part of the
projection screen will become narrower.)
Scroll
button: Each press decreases the value of the
vertical orientation. (The bottom part of the
projection screen will become narrower.)
Scroll
button: Each press decreases the value of the
horizontal orientation. (The left side of the
projection screen will become narrower.)
Scroll
button: Each press increases the value of the hor
-
izontal orientation. (The right side of the
projection screen will become narrower.)
6
Press the MENU button and close the menu
This completes the [Keystone] adjustment.


