


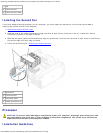


Removing and Replacing Parts: Dell Precision Workstation 470 and 670 Computers User's Guide
file:///T|/htdocs/systems/ws670/EN/ug_en/before.htm[3/20/2013 9:31:52 AM]
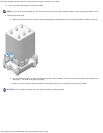
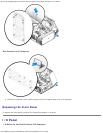
2. Remove the processor airflow shroud.
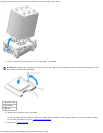
3. Press the securing clips at each end of the VRM connector outward until they snap open.
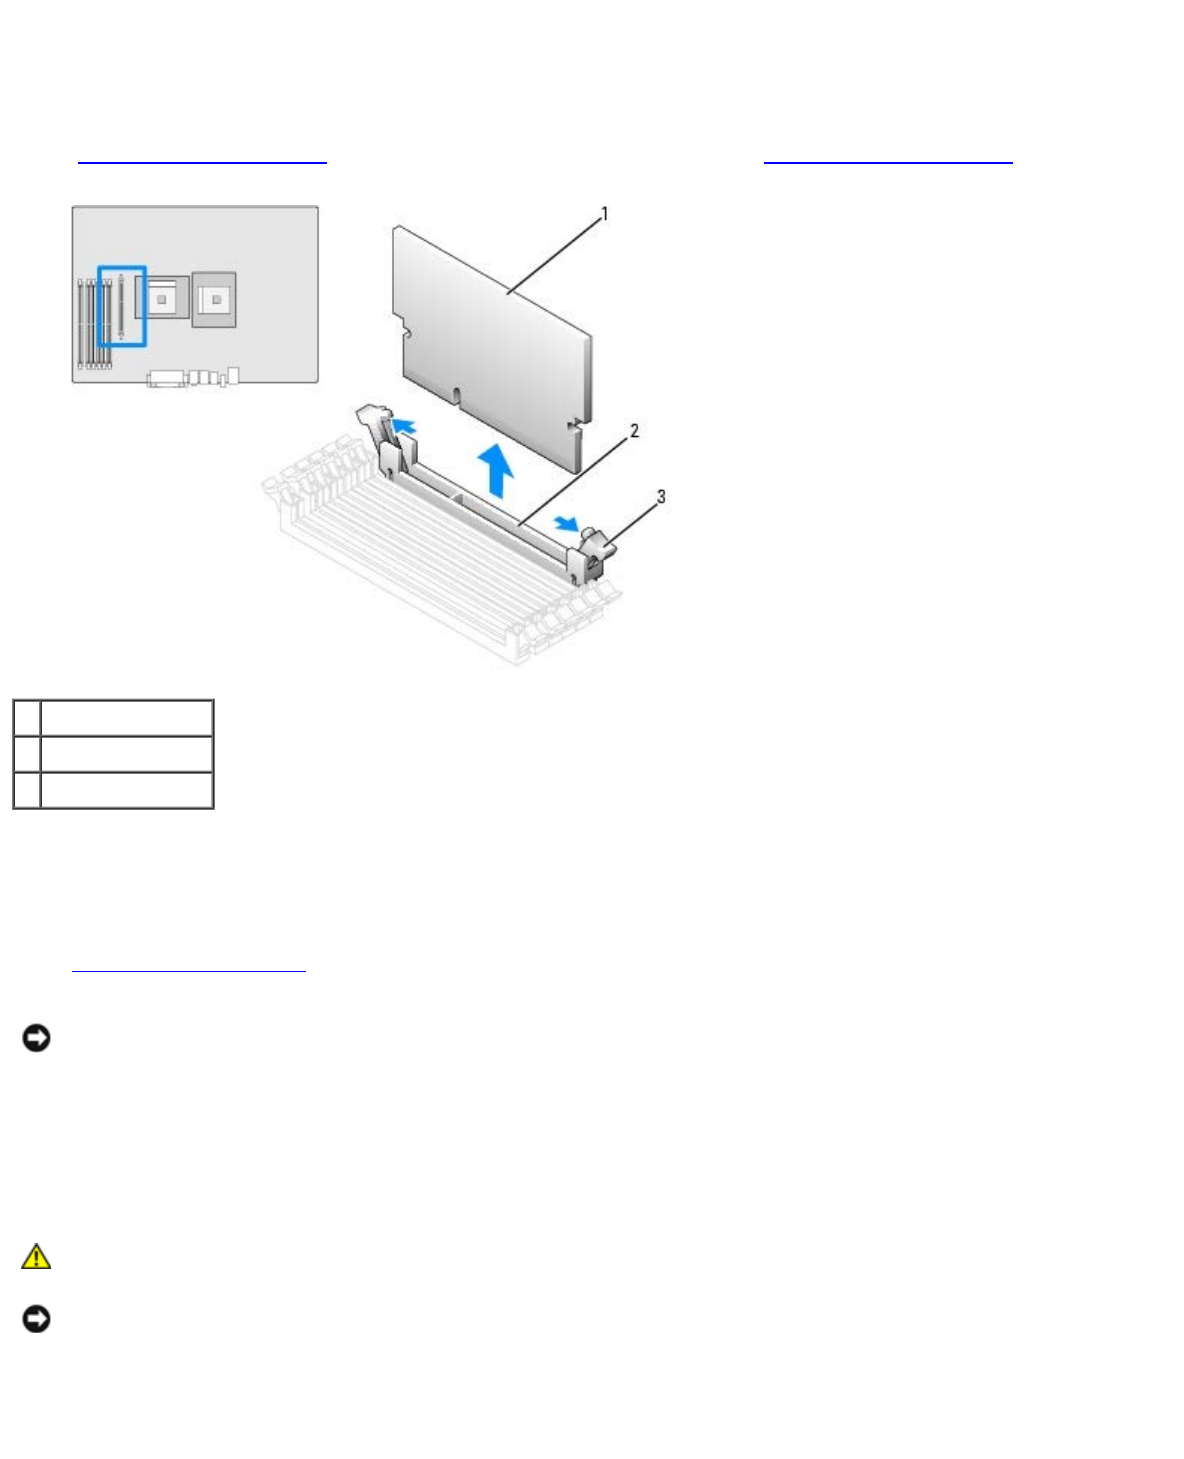
To locate the VRM connector, see the system board components illustration (for the Dell Precision 670 computer, see
"System Board Components
" and for the Dell Precision 470 computer, see "System Board Components") or see the
system board label inside your computer.
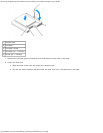
1 VRM
2 connector
3 securing clips (2)
4. Align the notch on the bottom of the VRM with the ridges inside the connector.
5. Press the VRM straight down into the connector until the securing clips snap into place at the ends of the module.
6. Install the processor airflow shroud.
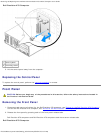
7. Close the computer cover
.
NOTICE: To connect a network cable, first plug the cable into the network wall jack and then plug it into the computer.
8. Connect your computer and devices to electrical outlets, and turn them on.
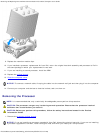
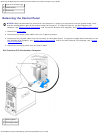
Removing a VRM
CAUTION: Before you perform this procedure, follow the safety instructions located in the Product
Information Guide.
NOTICE: Remove the VRM before you remove the processors.
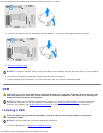
1. Remove the processor airflow shroud.
2. Press the securing clips at each end of the connector outward simultaneously until the VRM slightly pops out from the
connector.