


56 Installing Enclosure Components
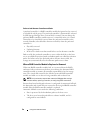
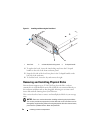
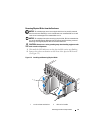
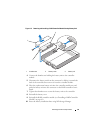
Figure 3-1. Installing and Removing the Front Bezel
4
To replace the bezel, insert the interlocking notch into the U-shaped
handle on the side of the front
enclosure
panel.
5
Snap the left side of the bezel into place in the U-shaped handle on the
left side of the
enclosure
.
6
To lock the bezel, insert the key and turn to the right.
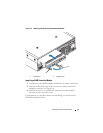
Removing and Installing Physical Disks
Your
enclosure
supports up to 15 SAS 3.0-Gbps
physical disk
s, each one
contained in its individual disk carrier. P
hysical disk
s are connected directly to
the
enclosure
midplane and are hot-pluggable, allowing you to remove and
insert disks without shutting down your
enclosure
.
This section describes how to remove and install
physical disk
s in your storage
array.
NOTICE: Extra care must be taken when handling and storing the physical disks.
The carriers provide some protection, but the disks and carrier connectors can be
damaged by rough handling. When removing the physical disks from the enclosure,
place them on a padded surface. Never drop the disks.
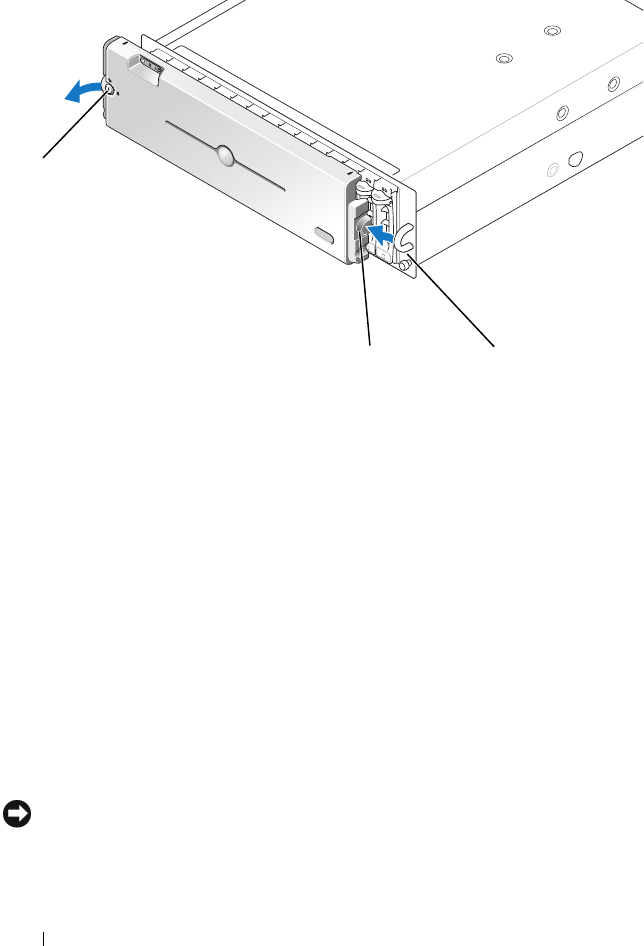
1 bezel lock 2 release tab/interlocking notch 3 U-shaped handle
2
1
3