


Back to Contents Page
Processor Heatsink Assembly
Dell™OptiPlex™FX160/160ServiceManual
Removing the Processor Heatsink Assembly
Replacing the Processor Heatsink Assembly
Removing the Processor Heatsink Assembly
1. Perform the procedure in Before Working on Your Computer.
2. Remove the hard drive bracket assembly, if installed (see Removing the Hard Drive Bracket Assembly).
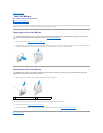
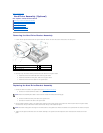
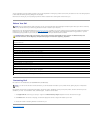
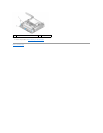
3. Loosen the two captive screws that secure the processor heatsink assembly to the system board.
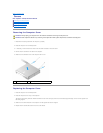
4. Lift the processor heatsink assembly out of the computer.
Replacing the Processor Heatsink Assembly
1. If installing the heatsink assembly onto a different system board, clean the thermal interface material or thermal grease from the surface of the heatsink
and apply new thermal grease as needed.
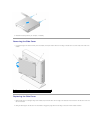
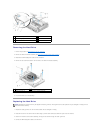
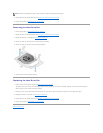
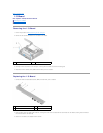
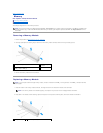
2. Align the two captive screws on the processor heatsink assembly with the screw holes on the system board.
.
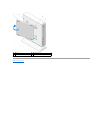
3. Tighten the two captive screws to secure the processor heatsink assembly to the system board.
WARNING: The heatsink can become very hot during normal operation. Allow the heatsink to cool before touching it.
CAUTION: Apply new thermal grease to the heatsink surface when installing the heatsink assembly onto a different system board. New thermal
grease is critical for ensuring adequate thermal bonding, which is necessary for optimal processor performance.