


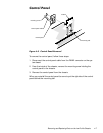

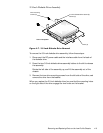
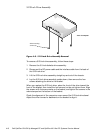
Removing and Replacing Parts on the Low-Profile Chassis 4-11
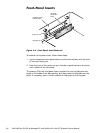
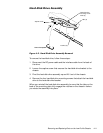
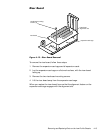
+DUG'LVN'ULYH$VVHPEO\
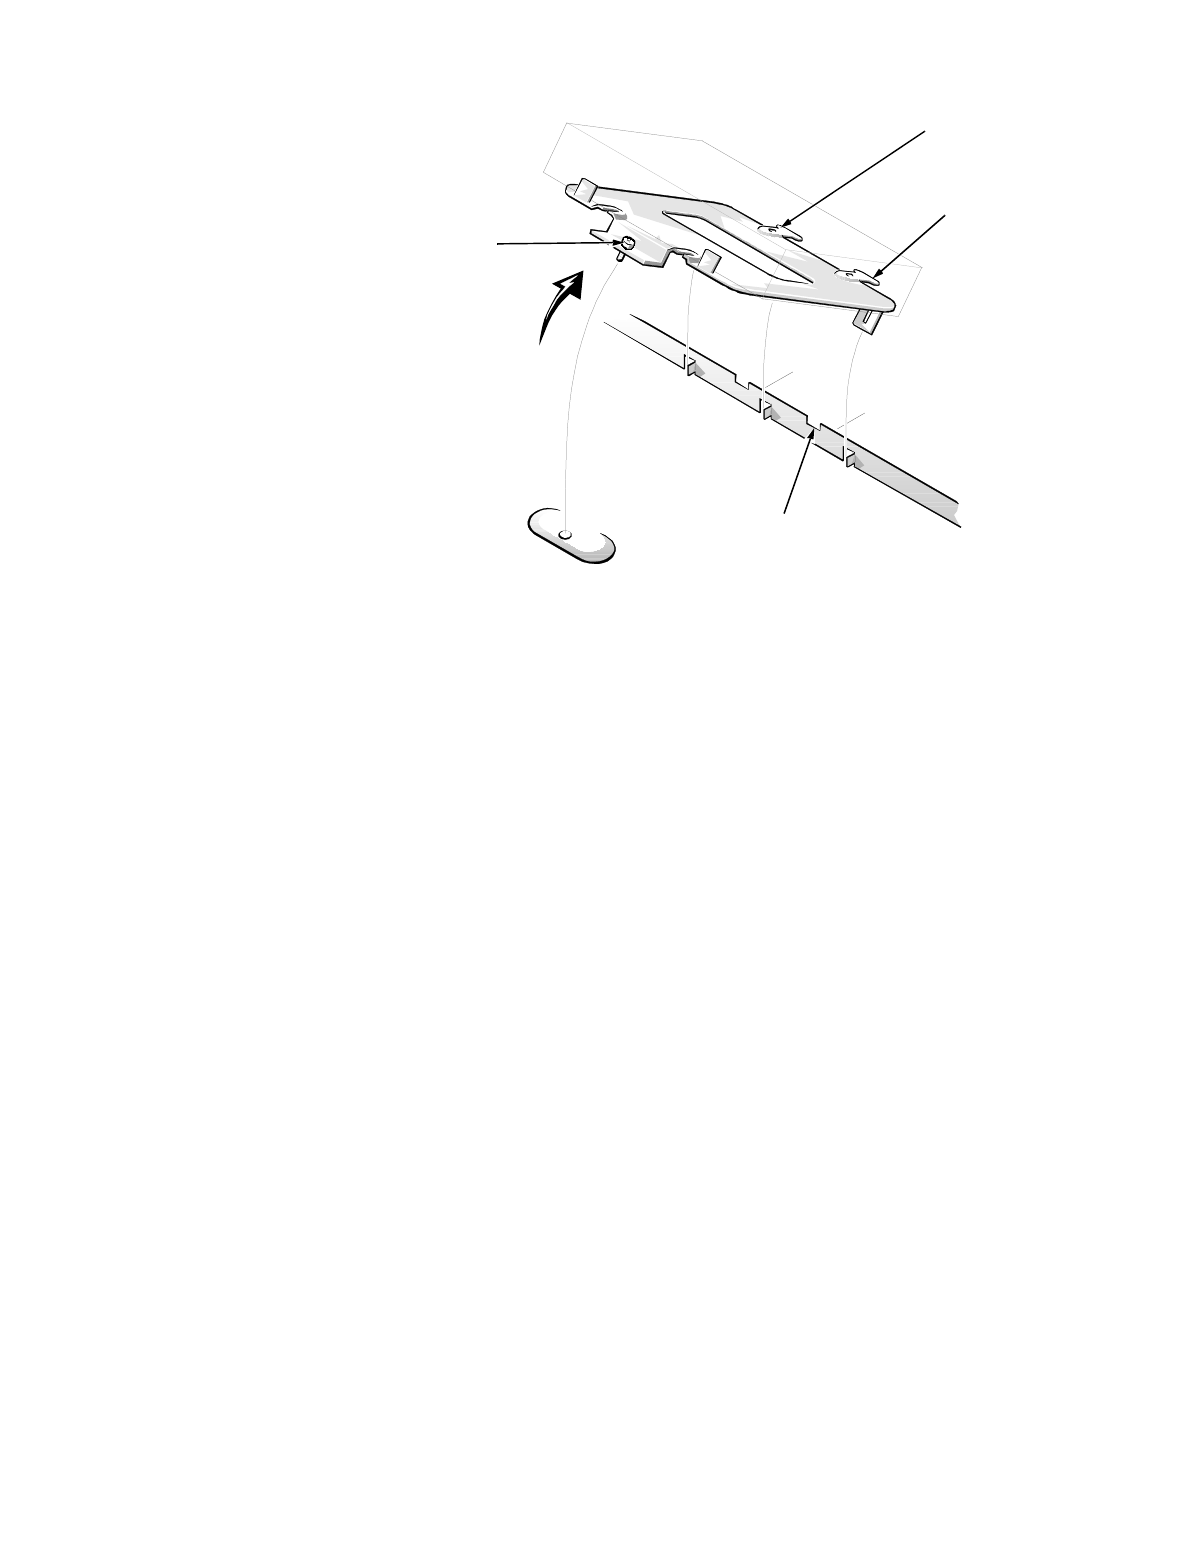
)LJXUH+DUG'LVN'ULYH$VVHPEO\5HPRYDO
To remove the hard-disk drive, follow these steps:
1. Disconnect the DC power cable and the interface cable from the back of
the drive.
2. Loosen the captive screw that secures the hard-disk drive bracket to the
chassis.
3. Pivot the hard-disk drive assembly up and lift it out of the chassis.
4. Remove the four hard-disk drive mounting screws that attach the hard-disk
drive to the hard-disk drive bracket.
When you reinstall the hard-disk drive assembly, be sure that the tabs on the
back of the mounting plate fully engage the notches on the chassis—before
you rotate the assembly into place.
captive screw
tabs (2)
notches (2)
hard-disk drive
mounting screw
holes (4)
front of computer