Back to Contents Page
Display Bezel
Dell™Inspiron™One2305/2310ServiceManual
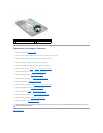
Removing the Display Bezel
Replacing the Display Bezel
Removing the Display Bezel
1. Follow the instructions in Before You Begin.
2. Remove the AV board (See Removing the Audio Video (AV) Board).
3. Remove the middle frame (See Removing the Middle Frame).
4. Remove the system board (See Removing the System Board).
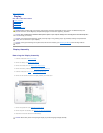
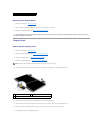
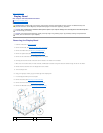
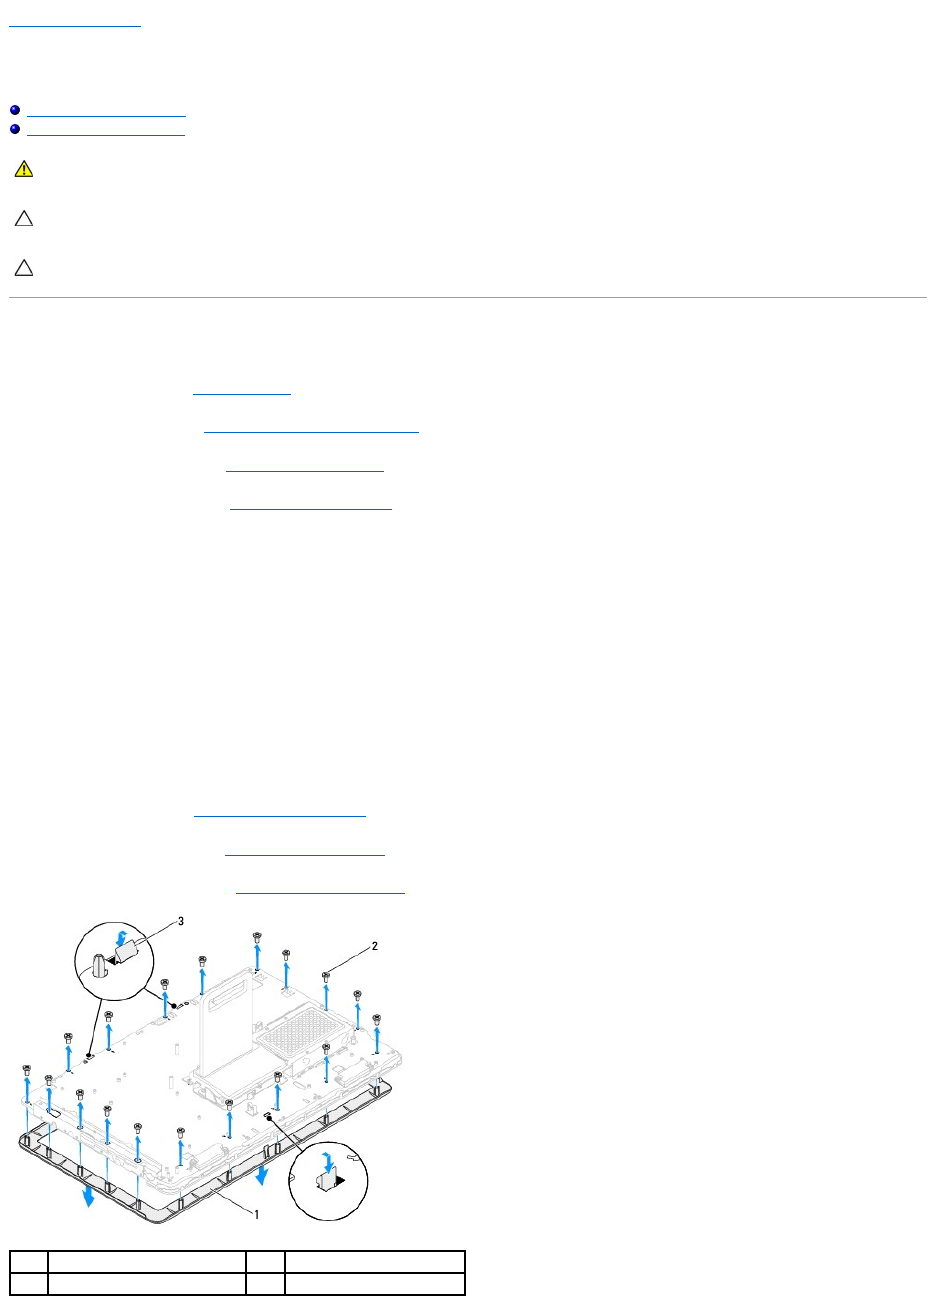
5. Remove the 18 screws that secure the display bezel to the chassis.
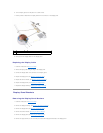
6. Carefully peel the silver foil that connects the camera module to the chassis from the chassis.
7. Make a note of the camera cable, infrared card cable, and Bluetooth card cable routing and release the cables through the slots on the chassis.
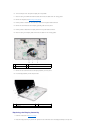
8. Release the three tabs that secure the display bezel to the chassis.
9. Turn the computer over.
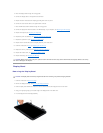
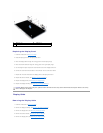
10. Using your fingertips, carefully pry up the inside edge of the display bezel.
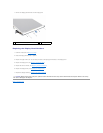
11. Lift the display bezel away from the computer.
12. Remove the camera (See Removing the Camera Module).
13. Remove the infrared card (See Removing the Infrared Card).
14. Remove the Bluetooth card (See Removing the Bluetooth Card).
WARNING: Before working inside your computer, read the safety information that shipped with your computer. For additional safety best
practices information, see the Regulatory Compliance Homepage at www.dell.com/regulatory_compliance.
CAUTION: Onlyacertifiedservicetechnicianshouldperformrepairsonyourcomputer.DamageduetoservicingthatisnotauthorizedbyDell™
is not covered by your warranty.
CAUTION: To avoid electrostatic discharge, ground yourself by using a wrist grounding strap or by periodically touching an unpainted metal
surface (such as a connector on your computer).
1
display bezel
2
screws (18)
3
tabs (3)


