Liebert STS2 Touch Screen Display
96
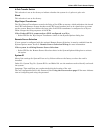
These input alarms can also be configured to activate a programmable relay output, which is dis-
cussed in Configuring the Programmable Relay Board Settings on page 97.
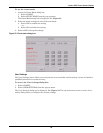
To configure the Input Contact Isolator relays:
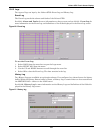
1. Select INPUT CONTACT ISOLATOR from the Comm Options menu.
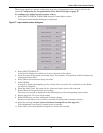
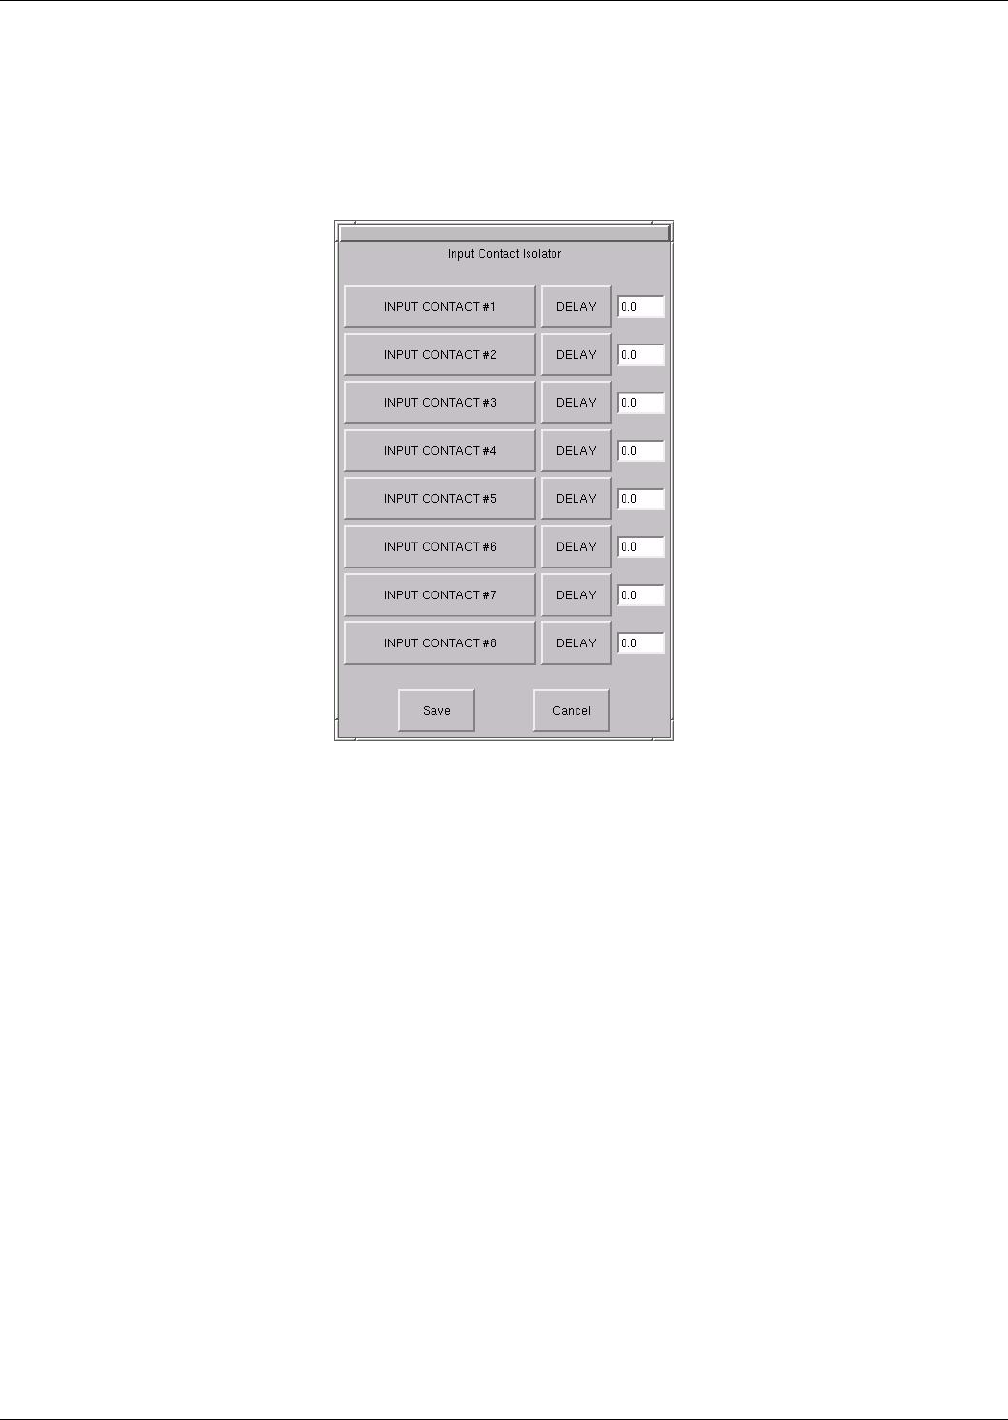
The Input Contact Isolator dialog box is displayed.
Figure 57 Input contact isolator dialog box
2. Select INPUT CONTACT 1.
A keyboard is displayed to allow you to enter the name of the alarm.
3. Enter the name of the alarm set for that input. For example, a fan problem could be indicated by
naming the button FAN.
4. Select OK on the keyboard to keep your label.
5. Select DELAY.
A keypad is displayed prompting you for a delay time, in seconds, for a condition to exist before
the alarm is triggered.
6. Enter the delay value. The range for the values are from 0 (zero) to 99.9 seconds.
7. Select OK on the keypad to keep your setting.
The value you entered is displayed in the field adjacent to the corresponding input contact.
8. Repeat steps 2 to 7 for each input contact.
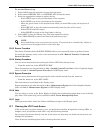
9. Select SAVE after you have configured all input contacts.
Be sure to select Save even if you have accessed this dialog only to change a setting.
10. Enter the settings in Input Contact Isolator Settings Record on page 142.
This information is not saved if control power is removed.
11. Select OK in the Comm Options dialog box to activate the settings.


