110 Presenting from a Digital Camera or External Drive
Presenting Scenarios
Before you begin, connect the USB drive containing the scenario to
your projector, as described on page 93.
The follow these steps to present your scenario:
1. Turn on the projector, if it’s not already on.
■ If your scenario is set to autorun, it will start as soon as the
projector warms up.
■ If your scenario is not set to autorun, you need to start it
manually. Continue with the following steps.
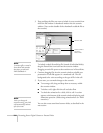
2. Select EasyMP as the source by pressing the
EasyMP button on
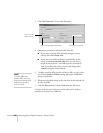
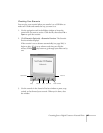
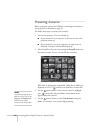
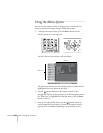
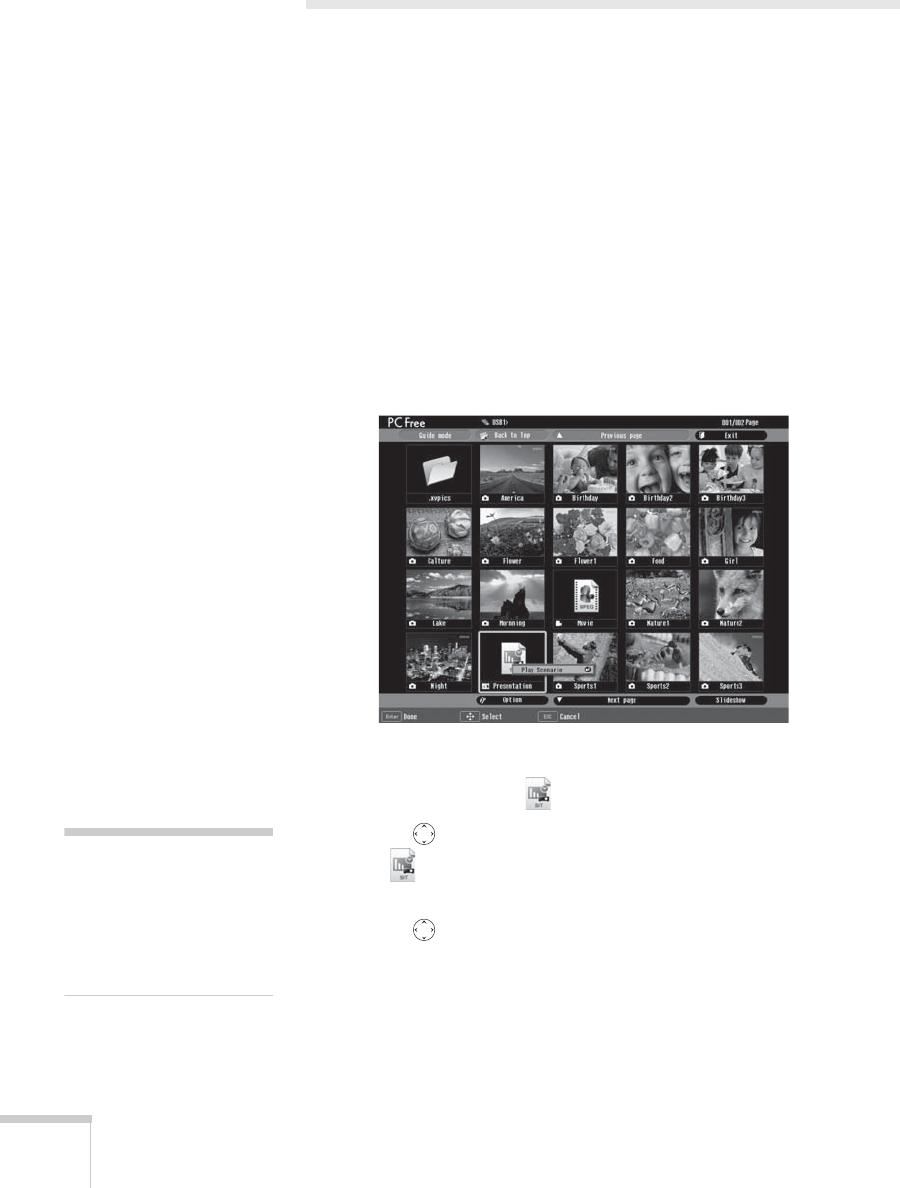
the remote control. You see a screen like the one below.
JPEG files are displayed as thumbnails. Other files or folders are
displayed as icons. A scenario icon identifies a scenario file.
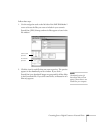
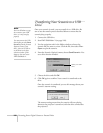
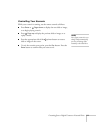
3. Use the pointer button on the remote control to highlight
your scenario file and press
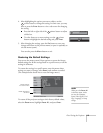
Enter. A drop-down menu
appears under the scenario.
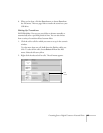
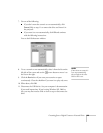
4. Use the pointer button to select
Play Scenario and press
Enter. In a moment, your scenario begins playing.
note
Your files may take up more
than one screen. If so, use the
Page up and Page down
buttons on the remote
control to view all your files.


