


Epson Stylus CX5800F
20 8/05
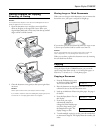
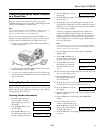
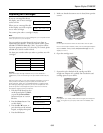
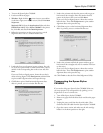
8. Before you open the new ink cartridge package, shake it
four or five times. Then remove it from the package.
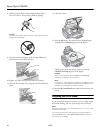
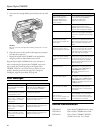
Caution:
Do not touch the green chip on the front of the cartridge. This can
damage the ink cartridge.
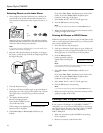
9. Place the new ink cartridge into the cartridge holder and
push it down until it clicks into place.
10. Replace any other cartridges that need to be replaced.
11. Close the ink cartridge cover and press it until it clicks into
place.
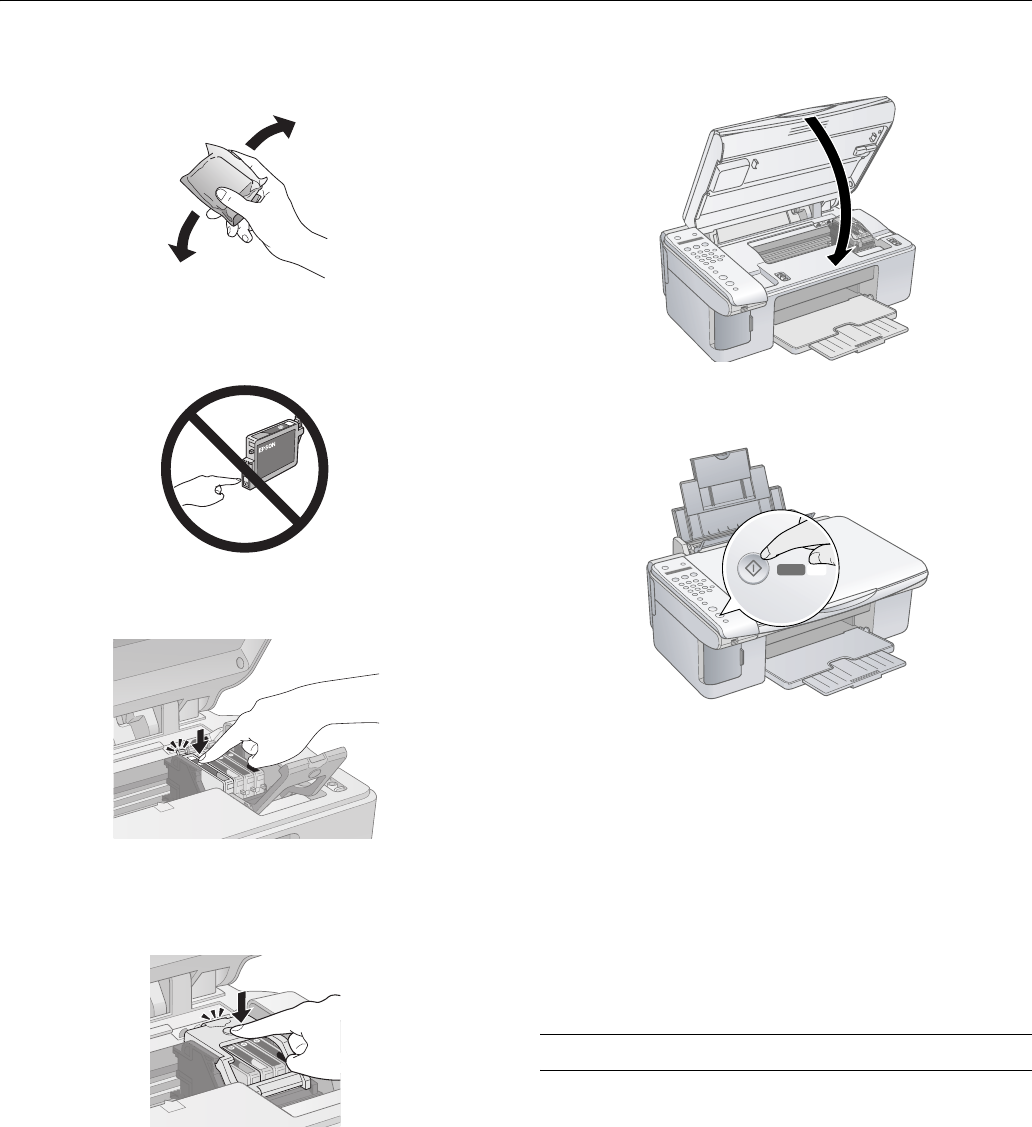
12. Close the scanner.
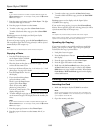
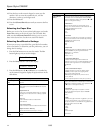
13. Press the
OK button. The Epson Stylus CX5800F begins
charging ink and
Charging appears on the display.
Charging takes about one minute. When it’s finished,
5.Replace Cartridge appears on the display.
Caution:
Never turn off the Epson Stylus CX5800F while Charging
appears on the display or you’ll waste ink.
Note:
If you see an ink cartridge error message on the display, the ink
cartridge may not be installed correctly. Press the OK button and
reinstall the ink cartridge until it clicks into place.
14. Press the y Cancel/Back button until you return to the first
screen.
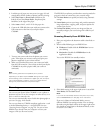
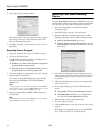
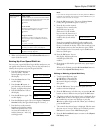
Aligning the Print Head
If your printouts look grainy or blurry, or you see light or dark
horizontal banding, you may need to align the print head.
Note:
Banding may also occur if your cartridges are low on ink or you need
to clean the print head.
You can also align the print head using the control panel buttons.
Press the Setup button, select 6.Head Alignment, and follow the
instructions on the display.
Start
Color
OK