


14
Connecting to a Computer
Connecting to a Computer
Compatible computers
Condition 1: Check that the computer has an image output port, such as an
RGB port, monitor port or CRT port.
Some computers with a built-in monitor and some notebook computers may
not be compatible. Please refer to your computer manual for further details.
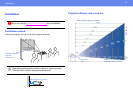
Condition 2: The display frequency and resolution of the computer must
correspond to that of the projector. See “
Supported Display Resolutions” on
page 64.
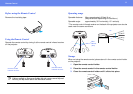
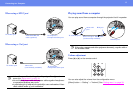
Notebook connection
Setup
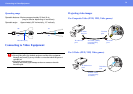
Press and hold the [Fn] key, followed by the appropriate function number key
that lets you display on an external monitor. Refer to your computer’s
documentation for further details.
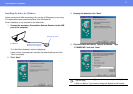
◗ It may take a few moments until the computer image is projected.
◗ In Windows, a dialog box may appear to alert you that new display
hardware has been found. Follow the on-screen instructions to proceed.
If you have any problems, check the troubleshooting chapter for
possible solutions. See “
Troubleshooting” on page 43.
◗ Depending on the PC, the monitor may go blank when using the
external video output on the computer.
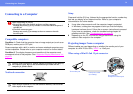
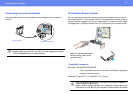
Projecting images from a computer
Different cables are used depending on whether the monitor port of your
computer is a Mini D-Sub 15Pin, 5BNC
g or 13w3 port.
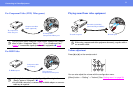
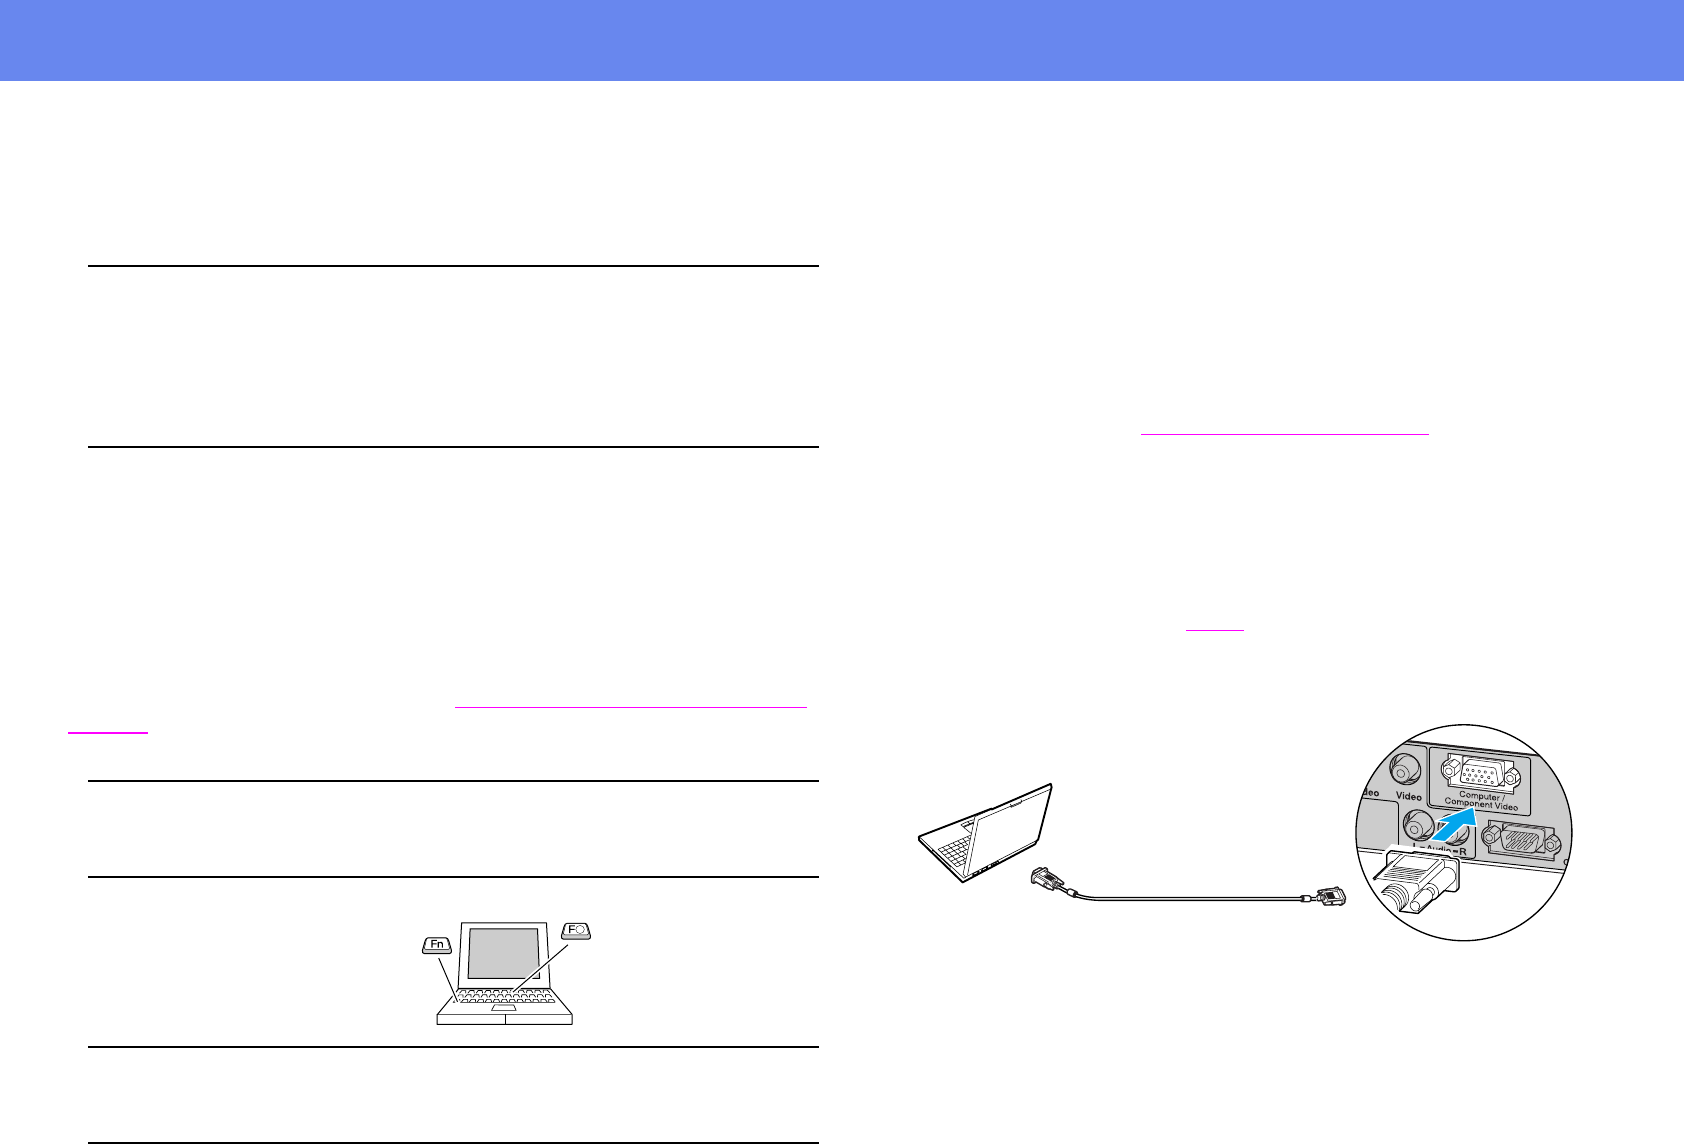
When using a Mini D-Sub 15 pin connector
c
When connecting, be sure to:
• Turn off the power for both the projector and the computer.
Damage may result if you try to make a connection when the power is
switched on.
• Check the connector types.
Damage may result if you attempt to insert a connector into the
incorrect port.
p
You may need to purchase a separate adapter depending on the shape of
the computer’s port. Refer to the documentation provided with the
computer for further details.
p
When using a notebook or a PC with a built-in monitor, select external
video output on the computer.
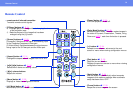
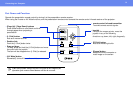
To monitor port
To Computer /
Component Video port
Computer cable
(accessory)