


Euphonix SH612 Studio Hub User Guide Integration With Jupiter VM3000 Routers
26
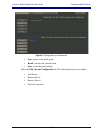
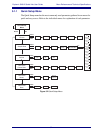
1. Enter the MADI Routing menu using the SpinKnob.
2. For each MADI port, switch it to Non-Audio Deck and press Select to confirm
the selection.
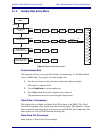
3. Connect an RS-422 cable (9-pin, male-to-male, straight-through) between the
SH612’s Control port (bottom-right of the rear panel) and the Jupiter’s Serial
port.
The VM3000 has eight Serial ports configured in pairs, 1/2, 3/4, 5/6, and 7/8.
4. Delegate one pair for the SH612.
Do not connect anything to the other port in that pair except another SH612.
4.2 Jupiter Configuration
This section assumes you are familiar using the Jupiter Network Suite and Jupiter Con-
figurator applications to edit Jupiter configuration sets. The examples and figures in this
section document a basic configuration set with only the options necessary for the
SH612 and VM3000 to work together.
NOTE: As the Jupiter manual suggests, we recommend adding rows to the end of the data
tables, instead of inserting them in the middle, to reduce the risk of creating problems
in a working setup.
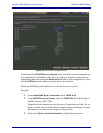
To configure the Jupiter to control the SH612, open the Jupiter Configurator by opening
the Jupiter Network Suite, click the JNS Tools button at the top, and click Configura-
tion Editor. Then edit the configuration tables as described in the following sections
(each of which is an entry in the Jupiter menu of the Jupiter Configurator).
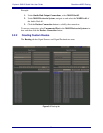
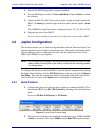
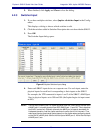
4.2.1 Serial Protocol
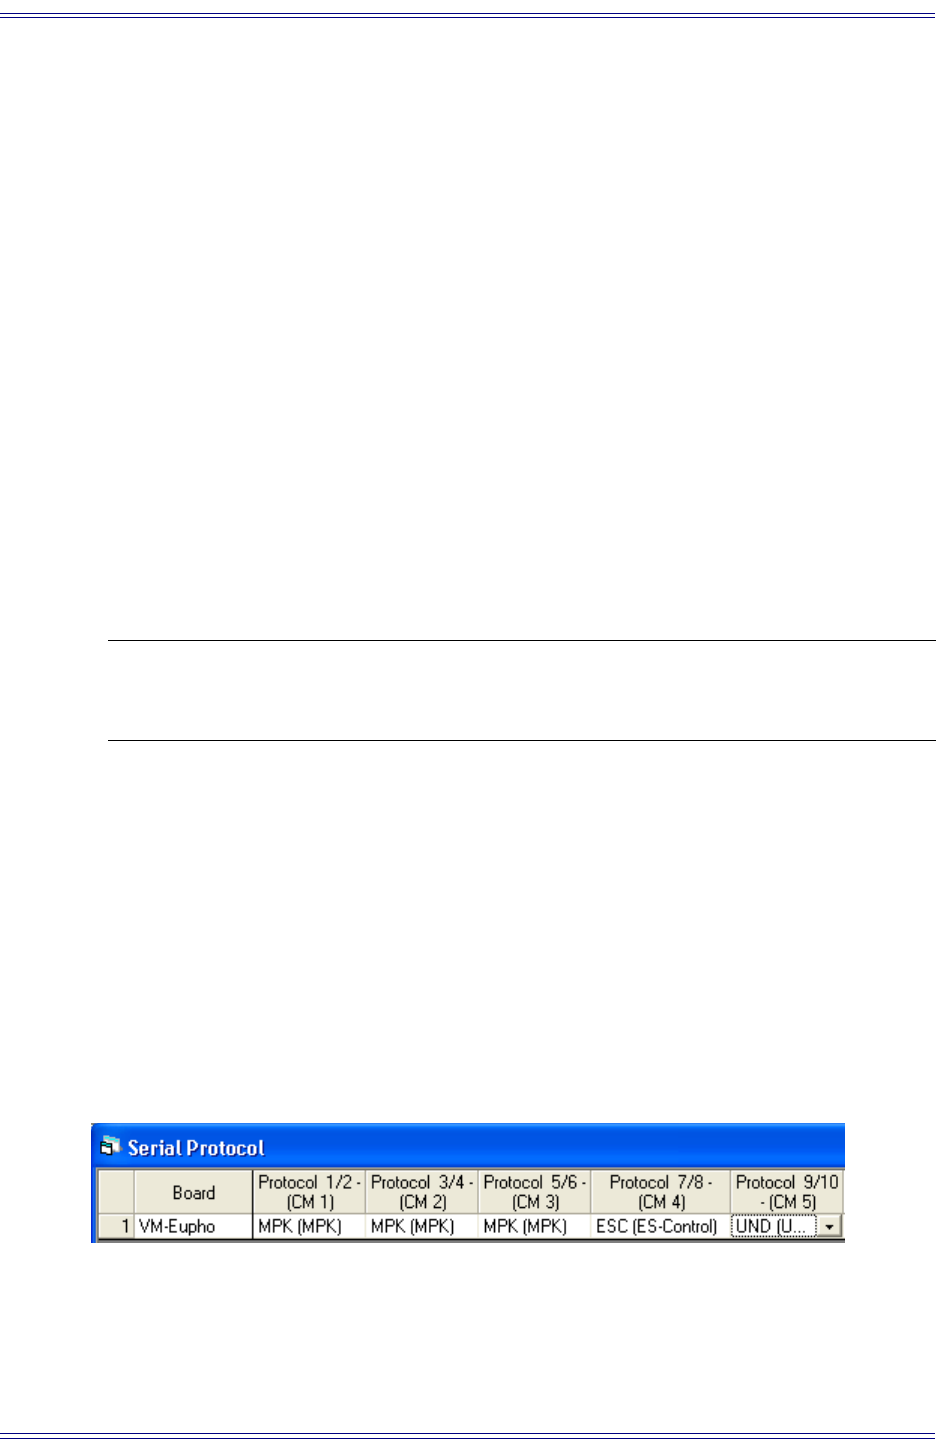
1. Configure the protocol for the port pair to which you connected the RS-422 ca-
ble from the SH612 to be ESC (ES-Control) by selecting it from the dropdown
menu.
Do not use ES-Bus, ES-Physical, or ES-Switch.
Figure 4-1 Jupiter Serial Protocol dialog
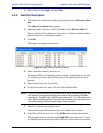
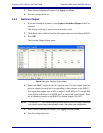
2. The baud rate for the port pair should be automatically set to 38400 when ES-
Control is selected. If not, select 38400 from the Baud 7/8 dropdown menu.