


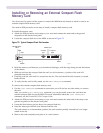


Replacing a BlackDiamond 12804 Fan Tray
BlackDiamond 12800 Series Switches Hardware Installation Guide
119
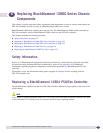
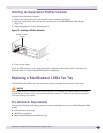
Installing the Replacement PSU/Fan Controller
To install the replacement controller:
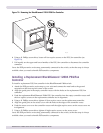
1 Remove the replacement PSU/fan controller from its antistatic packaging.
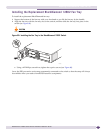
2 Insert the replacement controller into the controller slot on the BlackDiamond 12802 chassis
(Figure 76).
3 Align and tighten the captive retaining screws.
Figure 76: Installing a PSU/Fan Controller
4 Power on the switch.
Leave the ESD-preventive wrist strap permanently connected to the switch so that it will always be
available when you need to handle ESD-sensitive components.
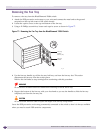
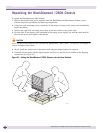
Replacing a BlackDiamond 12804 Fan Tray
The BlackDiamond 12804 switch has one fan tray that is accessible from the front of the switch.
CAUTION
Removing the fan tray for more than a few minutes may result in overheating and possible damage to the system.
Thermal sensors shut down power if the internal temperature exceeds 60 °C. Make sure you have the replacement
unit before starting this procedure.
Pre-Installation Requirements
You need the following tools and equipment to remove and replace a fan tray in a BlackDiamond 12804
switch:
● ESD-preventive wrist strap
● #2 Phillips screwdriver
● Replacement BlackDiamond 12804 fan tray
PSU/fan controller
module
BD_148