SW DVI Plus Series • Remote Configuration and Control 27
27
27
Loading the Firmware to the Switcher
To load a new version of firmware to the switcher using Firmware Loader, connect your
computer serial port to the switcher 9-pin RS-232 connector (non-audio SW2 and SW4
DVI Plus) or to the first three pins of the switcher Remote/Auto-SW serial port (all other
models). (See “Wiring for RS-232 Control” in the “Installation” section for information on
connecting to the serial port.)
1. If you have not already done so, download and install the Firmware Loader executable
installer file to your computer (see “Downloading and Installing Firmware Loader”
on the previous page).
2. If necessary, download the latest SW DVI Plus rmware version and install it on your
computer (see “Downloading the SW DVI Plus Firmware” on the previous page).
3. Open the Firmware Loader via your desktop Start menu by selecting the following:
Start > All Programs > Extron Electronics > Firmware Loader > Firmware
Loader
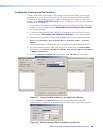
The Firmware Loader window opens with the Add Device window displayed in front.
4. On the Add Device window, select your SW DVI Plus model from the Device Names
drop-down menu (SW2 DVI Plus Series, SW4 DVI Plus Series, SW6 DVI Plus Series
or SW8 DVI Plus Series).
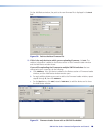
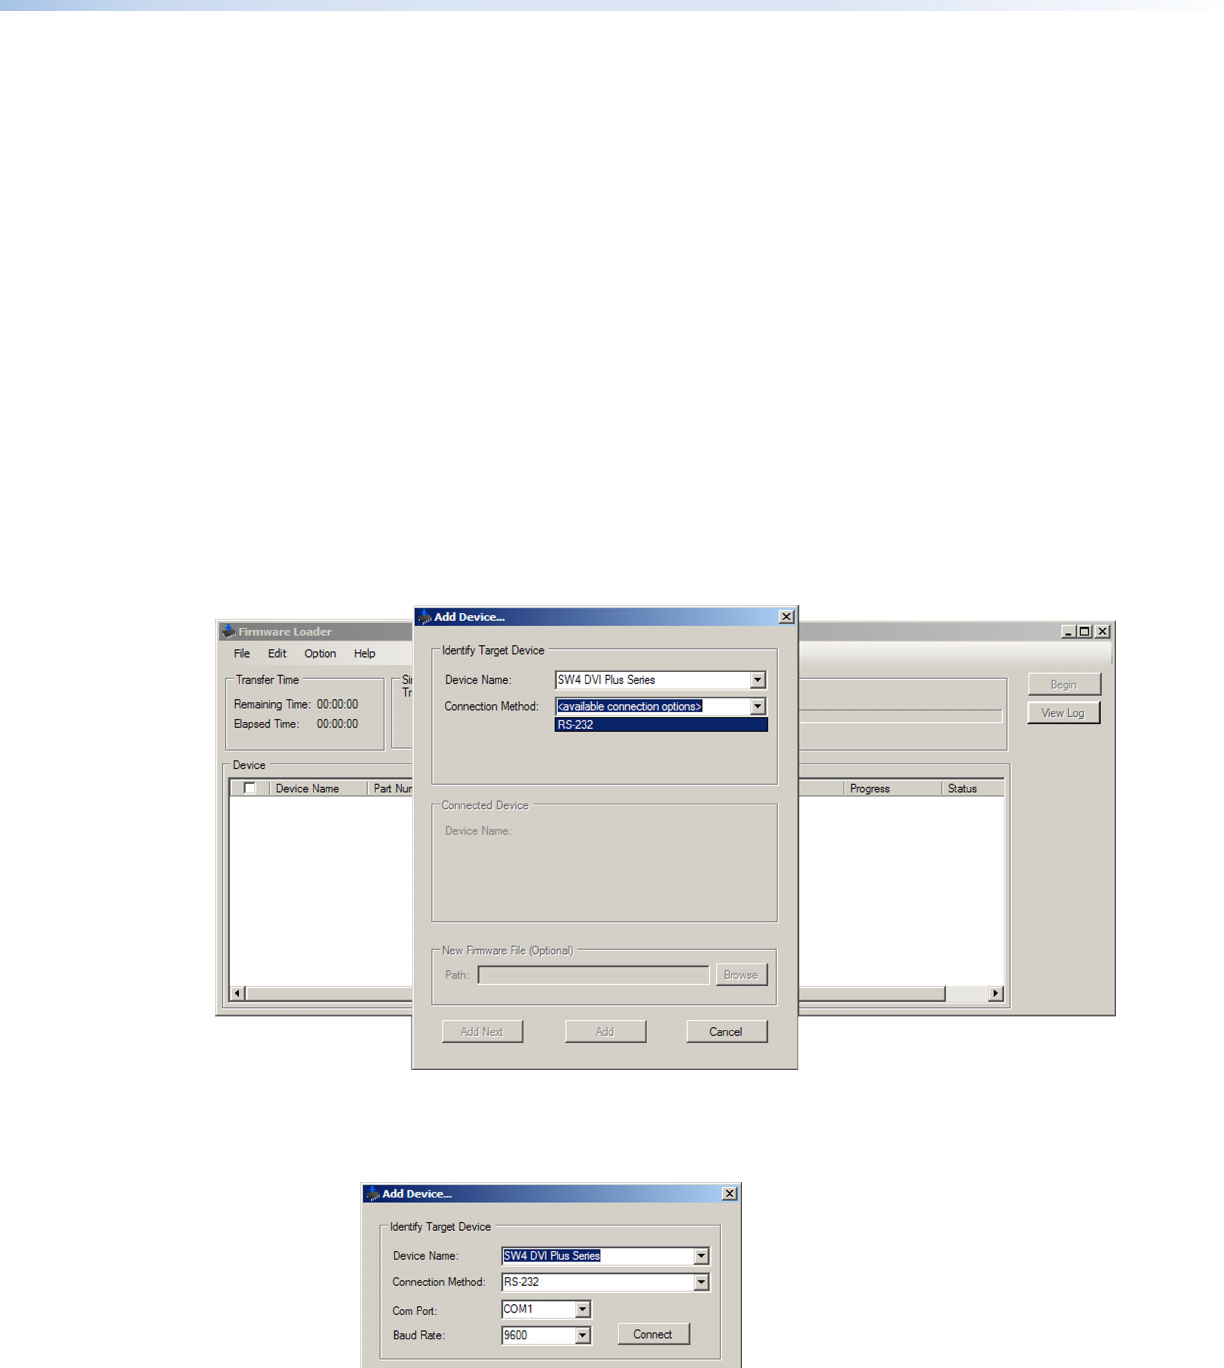
5. From the Connection Method drop-down menu, select RS-232 (the only option).
Figure 27. Connection Method Menu on the Add Device Window
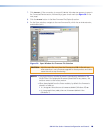
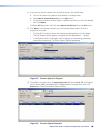
6. From the Com Port and Baud Rate drop-down menus that appear, select the
appropriate port configuration parameters (obtained from your system administrator).
Figure 28. RS-232 Drop-down Menus on Add Device Window


