Extron • Matrix 3200/6400 Series • User’s Manual
Chapter 5 • Upgrades and Troubleshooting
Software Procedure – Before and After a Hardware Upgrade
Prior to upgrading a Matrix 3200/6400 Video Switcher System, read the “Upgrade
System – Software Procedure” below. The suggested procedure can save you a
lot of time reconfiguring a system that is going to have a hardware upgrade
installed. The procedure includes steps to be performed before and after the
hardware upgrade.
Upgrade System – Software Procedure
The UPGRADE WIZARD is started by clicking the TOOLS | UPGRADE menu on
the main screen. It guides you through restoration of all your system settings
(programming of Presets, Virtual Names, Rooms, etc.) when you add more
physical IO ports or more BMEs to your existing 3200/6400 system.
The following procedures must be done in the sequence listed to save the original
system settings and use them to create a new configuration.
Before Hardware Changes
Do the following steps BEFORE starting the hardware upgrade:
1. From Windows open the “Extron Electronics” program group or folder.
2. Double click the “Matrix 6400 Control Pgm” icon to start the program. You will
be asked to select the COMM port, or choose “Emulate” mode. After the
COMM port is selected, the software looks for the matrix system, “reads” its
configuration, and then displays it in a window called “Extron’s Matrix 6400
Control Program.
3. Click on TOOLS, the TOOLS menu is displayed. Click on Upgrade.
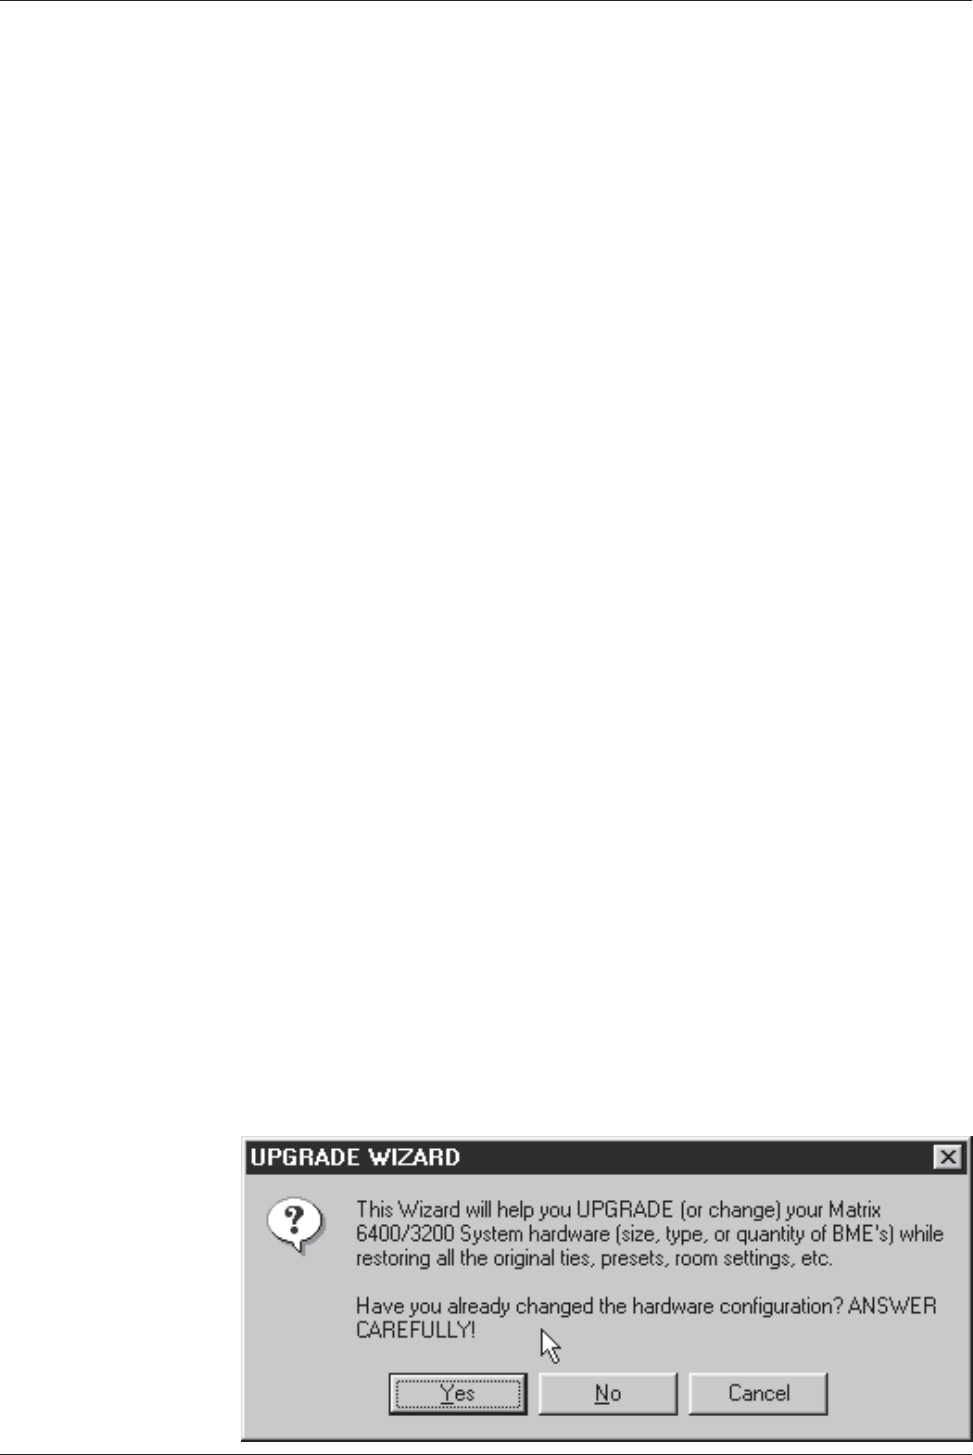
4. The “Upgrade Wizard” dialog box shown below will be displayed. The options
are Yes, NO and Cancel. Click on ”No” (since the hardware changes have
NOT been installed at this point).
• The current MATRIX settings will be saved in the MTRX6400.INI file.
• The Matrix 6400 Control Pgm will shut down to allow you to power down the
system to make the hardware changes.
5. Return to step 2 of the applicable procedure (Page 5-7 or 5-9).
Note: The “After Hardware Changes” procedure begins on Page 5-12.
5-11
