


Using Windows
®
Control Software
RGB 320 Switching Interface System • User’s Manual • Extron
4-1
PC with Windows®
Operating System
Installing Windows® Control Software
This chapter is dedicated to using Extron’s “Windows Control Program for
RGB 320 via RS-232” software. Extron supplies this software that runs in the
Windows® operating system, version 3.1 or later. Communication between the
computer software and the RGB 320 is established after connecting the computer
to the RS-232 port on the rear panel of the RGB 320.
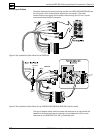
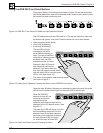
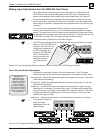
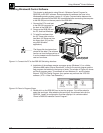
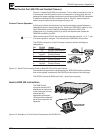
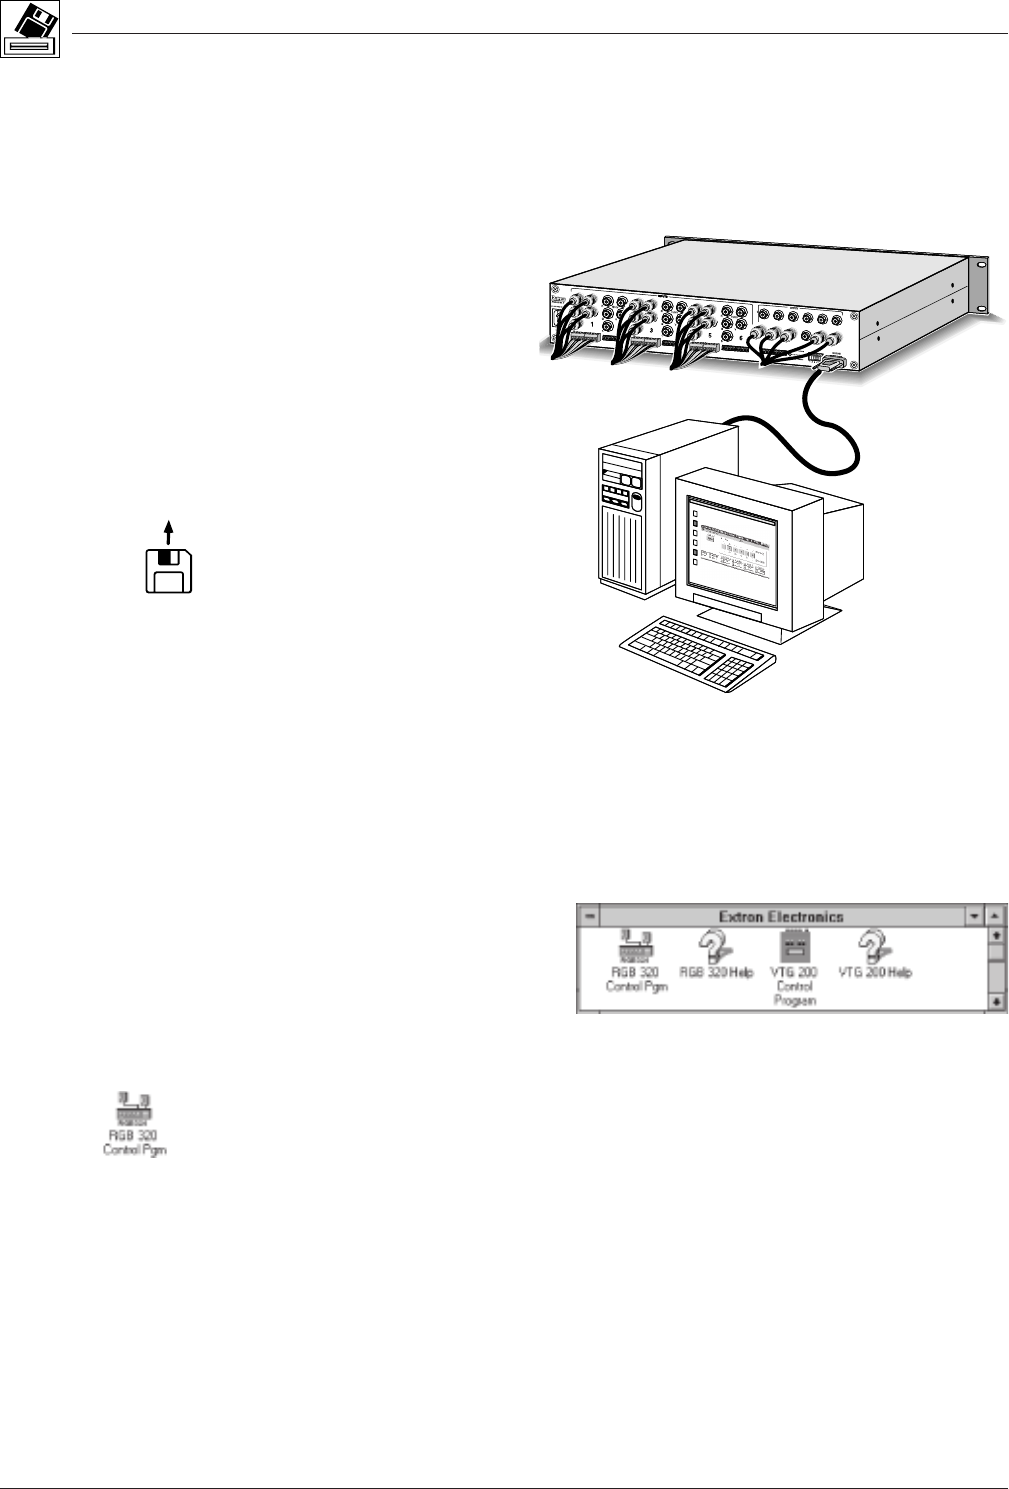
1. Connect the PC’s serial port
to the RS-232 connector on
the back of the RGB 320.
2. Power up the RGB 320 and
the PC, and load Windows.
3. To install the software from
the 3.5” floppy disk onto the
hard disk, run Setup.exe from
the floppy disk. (It’s just like
any other Windows
application.)
_______ The floppy disk has instructions
printed on the label. The software
can be run from the floppy drive, or
it can be loaded onto the hard drive
and run from there.
Figure 4-1. Connect the PC to the RGB 320 Switching Interface
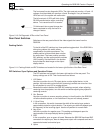
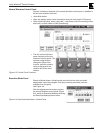
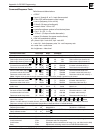
4. Installation of the software creates a program group (Windows 3.1) or a folder
(Windows 95®) called “Extron Electronics”. Icons for the control program and the
help program are installed in that group or folder. The window in Figure 4-2 shows
an Extron program group. This example is from Windows 3.1, and it includes
Extron’s VTG 200 Control Program; your system may not have the VTG 200
software. (VTG = Video Test Generator.)
Figure 4-2. Extron’s Program Group
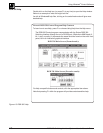
5. Double-click on the RGB 320 icon to start the program. You will be asked to
select the serial port. After selecting the serial port, the software looks for the
RGB 320, “reads” its configuration, and then displays it in a window called
“Extron’s RGB 320 Interface Control Program”.