Upgrade and replacement procedures 50
9.
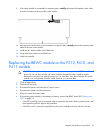
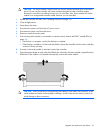
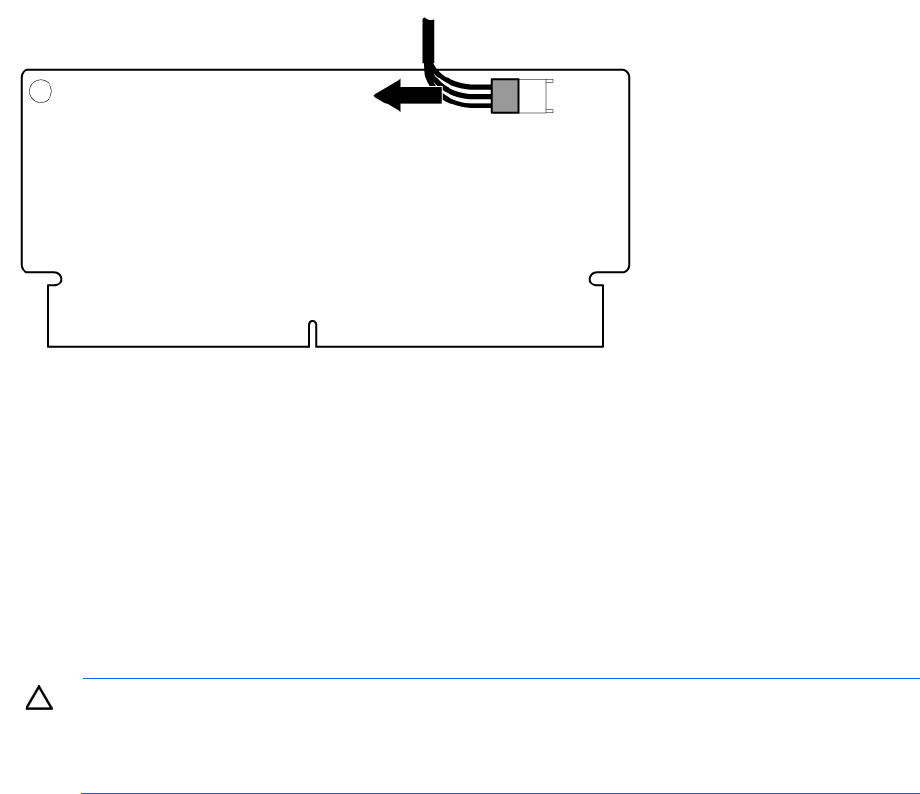
If the cache module is connected to a capacitor pack, carefully disconnect the capacitor pack cable
from the connector on the top of the cache module.
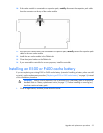
10. If the previous cache module was connected to a capacitor pack, carefully connect the capacitor pack
cable to the new cache module.
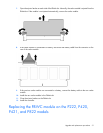
11. Install the new cache module in the DIMM slot.
12. Close the ejector latches on the DIMM slot.
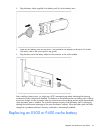
13. Install the controller.
Replacing the BBWC module on the P212, P410, and
P411 models
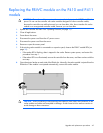
CAUTION: The cache module connector does not use the industry-standard DDR3 mini-DIMM
pinout. Do not use the controller with cache modules designed for other controller models,
because the controller can malfunction and you can lose data. Also, do not transfer this cache
module to an unsupported controller model, because you can lose data.
1. Close all applications.
2. Power down the server.
3. Disconnect the power cord from the AC power source.
4. Disconnect the power cord from the server.
5. Remove or open the access panel.
6. If the existing cache module is connected to a battery, observe the BBWC status LED ("Battery pack
LEDs" on page 28).
o If the LED is flashing every two seconds, data is trapped in the cache. Restore system power, and
then repeat the previous steps in this procedure.
o If the LED is not lit, remove the controller from the server, and then continue with the next step.


