Operation and Usage3Ć44
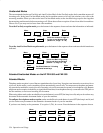
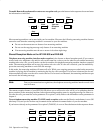
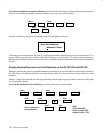
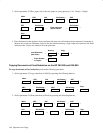
To set the fax machine for automatic reduction, press the buttons in the sequence shown and follow the instructions
in the two succeeding paragraphs. Automatic reduction only works on faxed documents.
Menu
→ 6
→
Enter
→ 1
→
→
Enter
→
5
→
Enter
After the last button press above, the message window should appear as follows:
Recv Fax Reduction
A
utomatic*/Fixed
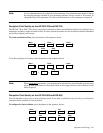
A blinking cursor should be below the letter “A” in the word Automatic. If the blinking cursor is below the letter “F” in
the word Fixed, press the left arrow button. When the blinking cursor is at the letter “A” in the word Automatic, press
the Enter button and the Stop button to store the choice of automatic reduction and return the fax machine to the stand-
by state.
Printing Received Documents at Fixed Reduction on the HP FAX-700 and FAX-750
Printing is scaled by the percent you establish when the fax machine is set for fixed reduction. Since the fax machine is
set at the factory for automatic reduction, you must change setting 15 as shown below to set the machine for fixed
reduction.
Setting 14, Paper Size, should be set to the paper size being used the paper supply tray. Refer to chapter 4 of this guide
for fax parameter settings.
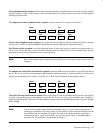
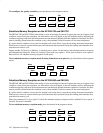
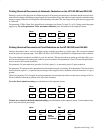
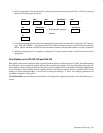
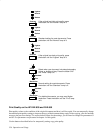
To set the fax machine for fixed reduction, press the buttons in the sequence shown
.
Enter
→
Menu
→
6
→
1
5
→
→
Enter
→
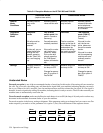
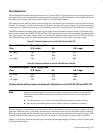
Set the reduction for
the desired value.
Note:
A4 to Letter 89%
Letter to Letter 94%
Legal to Letter = 74%
Enter
→
→
Enter
→
→
→
Enter
→
→
Stop


