Installation and Configuration 2Ć9
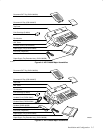
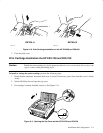
Figure 2Ć10. Print Cartridge Installation on the HP FAXĆ900 and FAXĆ950
DETAIL A DETAIL B
FX310–9 FX310–10
7. Close the back cover.
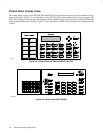
Print Cartridge Installation the HP FAX-700 and FAX-750
Caution Handle the print cartridge only by the green top and take care not to touch the ink nozzles or the
copper contacts while performing step 4.
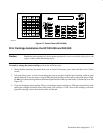
To install or change the print cartridge, perform the following steps:
1. Ensure that the automatic document feed cover is closed. If necessary, press down until the cover is firmly
closed.
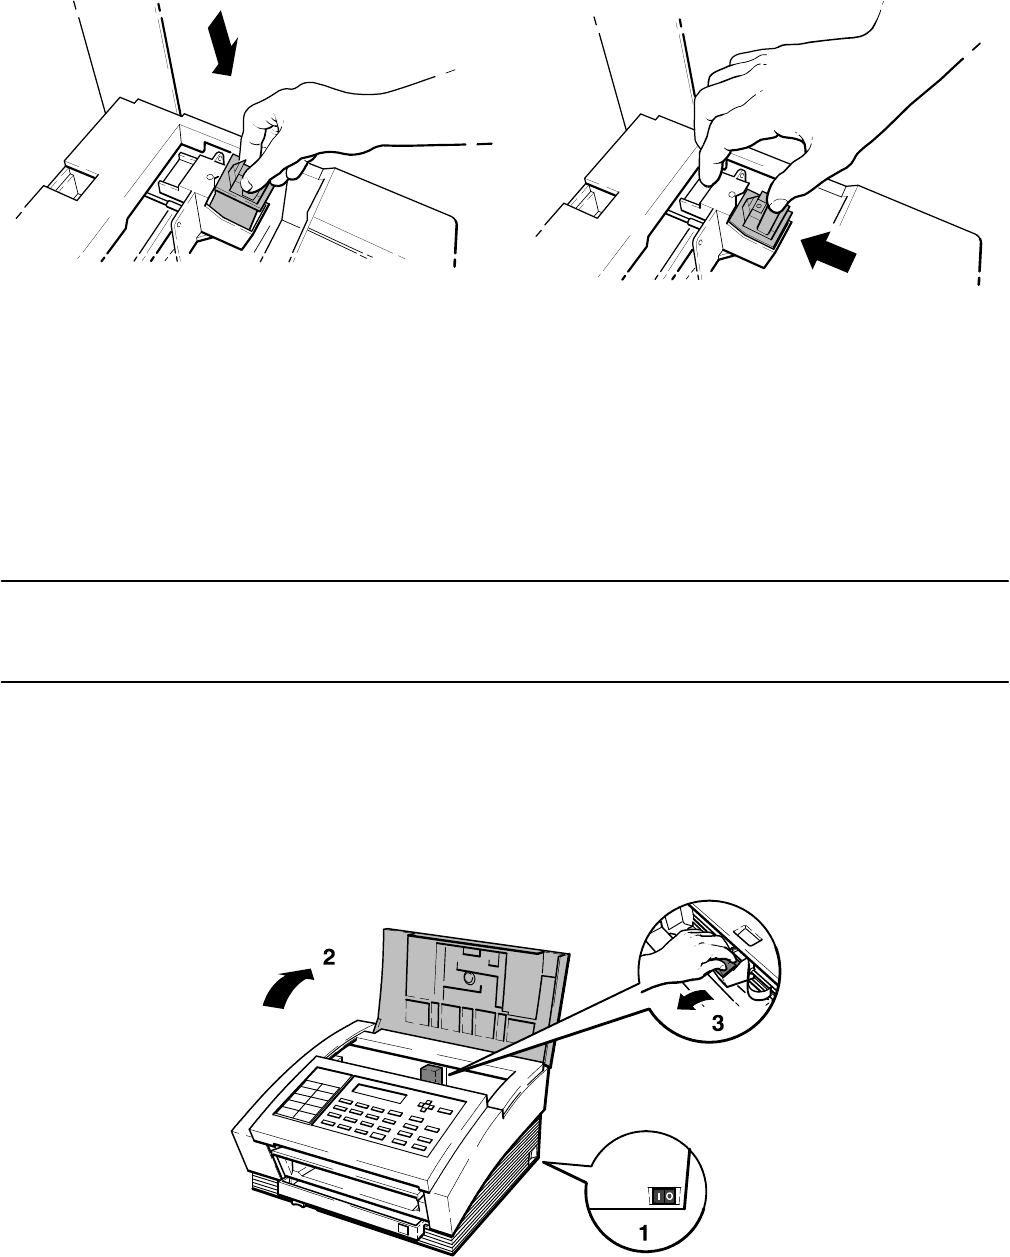
2. Switch ON (I) the fax and open the top cover.
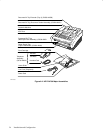
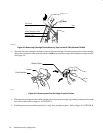
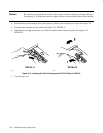
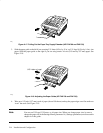
3. If a cartridge is already installed, remove it. See Figure 2-11.
Figure 2Ć11. Opening the Top Cover on the HP FAXĆ700 and FAXĆ750


