


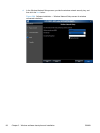


5. Click the Fax Setup Wizard button to configure the fax functions on the product, or you may run
the Fax Setup Wizard at a later time by clicking the Start button, clicking All Programs, clicking
HP, clicking the product folder, then clicking Fax Setup Wizard.
6. Click the Finish button to complete the product installation.
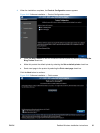
Perform a custom installation with HP Smart Install or the CD
The custom installation allows you to customize the software installed with your product.
The dialog boxes shown here appear in the Windows 7 installation sequence. The order and
appearance of dialog boxes can vary among operating systems.
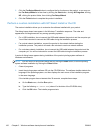
●
For a USB installation, do not connect the USB cable between the product and the computer yet.
You will be instructed to connect the USB cable during the installation process.
●
For a wired network installation, connect the product to the network before starting the
installation process. The product will need a few minutes to receive a network address.
●
For a wireless network installation, do not connect the USB cable between the product and the
computer yet. You will be instructed to connect the USB cable during the installation process.
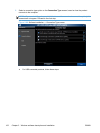
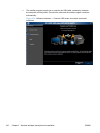
A series of dialog boxes appears during installation of the product printing-system software in
Windows environments.
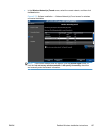
NOTE: You can return to the previous dialog box by clicking the Back button, or exit the printing-
system software installation by clicking the Cancel button.
1. Close all programs.
2. Insert the printing system software CD into the CD-ROM drive. The software installer detects the
language of the operating system, and then displays the main menu of the installation program
in the same language.
If the installer program has not started after 30 seconds, complete these steps:
a. On the Start menu, click the Run option.
b. Type the following: X: \SETUP.EXE (where X is the letter of the CD-ROM drive).
c. Click the OK button. The installer program starts.
100 Chapter 2 Windows software description and installation ENWW