


1 Turn off the printer, and then disconnect the power cord and
all interface cables (parallel, serial, Ethernet, and optional)
and SCSI hard disk cables, if any, from the printer.
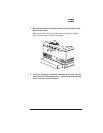
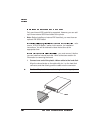
2 Access the printer controller board.
Use the instructions in the “Removing the Printer and Controller
Board Covers” section of this chapter.
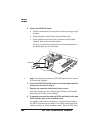
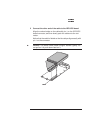
3 Remove the screws securing the IDE-SCSI board to the rear
interface panel of the printer.
Save the screws. (You’ll use them when you reinstall the board.)
4 Remove the IDE-SCSI board from the plastic standoff and the
80-pin connector on the controller board.
To unlock the standoff, squeeze the tip between two fingers until
you can easily remove the board.
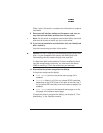
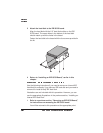
5 Install the internal hard disk.
If you’re installing an internal hard disk for the first time, use
the instructions in a following section, “Installing an Internal
Hard Disk.”
If you’re removing an internal hard disk at this time (for exam-
ple, if you are removing an IDE hard disk to install a Kanji IDE
hard disk), use the instructions in a following section,
“Removing an Internal Hard Disk,” and then use the instruc-
tions in the “Installing an Internal Hard Disk” section.
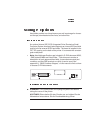
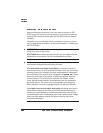
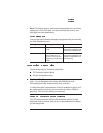
The internal IDE hard disk is identified as DSK7.
The IDE hard disk assembly kit includes the following:
IDE hard disk
Plastic ribbon cable
4 screws