


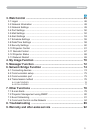


7
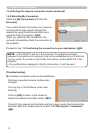
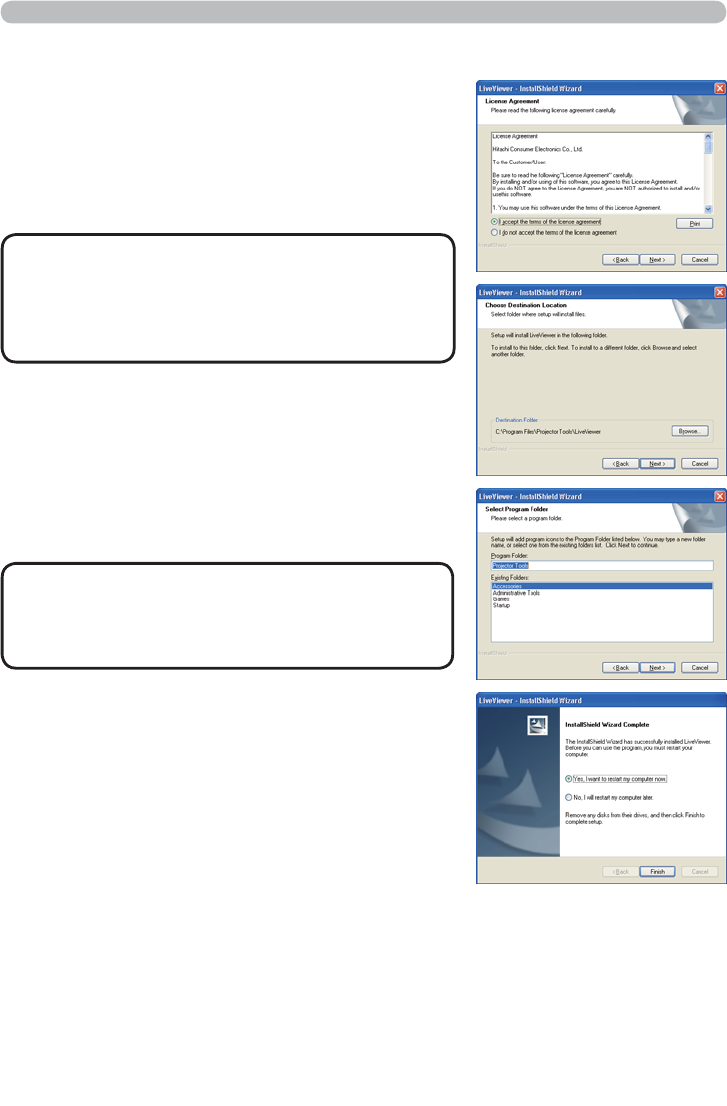
• The C:\Program Files\Projector
Tools\LiveViewer folder will be created and
the program will be installed into that folder. If
you wish to install to a different folder, click the
[Browse] and select another folder.
NOTE
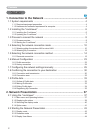
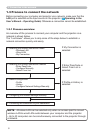
1. Connection to the network
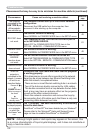
8) Conrm the program folder name. If “Projector
Tools” is okay, press the [Next] to continue.
If not, enter the desired folder name and then
press the [Next].
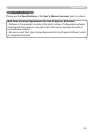
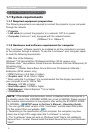
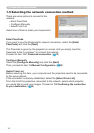
1.2.2 Updating the “LiveViewer”
Please check and get the latest version at Hitachi Web site.
http://www.hitachi-america.us/digitalmedia or http://www.hitachidigitalmedia.com
Some functions explained in this manual require the “LiveViewer” Version 4.xx. (In
the version information a number between 00 and 99 will replace the xx.)
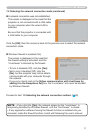
9) The Hardware Installation dialog appears.
Press Continue Anyway.
10) After a moment, installation will complete and
the Setup Complete dialog will appear as
shown on the right. Click the [Finish]. This
completes the software installation. Then your
computer automatically restarts.
(1) To conrm that the software has been
properly installed, press the [Start] button
on the toolbar, select All Programs and
then select the Projector Tools folder.
(2) The “LiveViewer” will appear in that folder
if the installation was successful.
• After sequence 8), the Windows Security
dialog will appear if you are using Windows Vista
or Windows
®
7. Please click the [Install this
driver software anyway] and continue installation.
NOTE
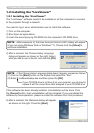
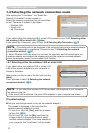
1.2 Installing the “LiveViewer” (continued)
6) The License Agreement dialog appears. If
you accept it, select “I accept the terms of the
license agreement” and press the [Next].
7) The Choose Destination Location dialog
appears. Press the [Next].