5.1.14.8 Q : Take Qualified Line
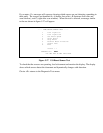
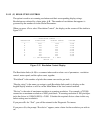
This function also puts a sample line into the calibration memory.In this case the dummy pixels
are discarded and only image pixels are retained. There are 5312 ( 14C0 hex ) qualified pixels
per camera. The qualified sample shows exactly what is being transferred downstream to the
Image Processor Board.
5.1.14.9 A : Autotake
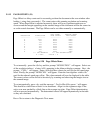
The autotake function allows you to see a continuous dump of the data a camera is recording.
When you choose <A> for “Autotake”, the prompt Camera: appears. Enter a valid camera
number. The data from the center of that camera will be displayed continuously . Each
vertical column is one pixel. Hitting any key ends the display and returns to th Camera System
Diagnostics menu.
5.1.14.10 V : Video Board Reset
Not used.
5.1.14.11 L0 : Lights Off
Turns the imaging lamp off.
5.1.14.12 L1 : Lights On
Turns the imaging lamp on.
5.1.14.13 U : Uniformity Check (Do Not Use)
This checks for low response pixels due to dirt on the scan window, lenses, or CCDs. It reports
the low response pixels. These test should be run with a white calibration document in the
scanner. Press <U> for“Uniformity Check”.
Press <T> for “Take Sample” and the system will move the document and read in a new line of
data. The document moves so thatsamples can be taken at difference locations on the
calibration documentto insure that specks of dirt are not being interpreted as bad pixels.
Press <C> for “Check Cameras”and the prompt “Camera:” appears. Enter the number of the
camera you wish to test.
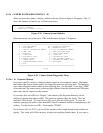
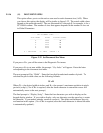
The message “LOCK ON AT 0486” shows where valid data for that camera begins. This
locking is needed only for the two end cameras. Any pixels that exceeds the 15% tolerance of
deviation from its neighboring pixels will be reported as bad. A good Uniformity result would


