Installation
IBM System Storage DCS9550 1S1 Storage Expansion Unit Installation, Service, and User Guide 27
2.10 Drive Carrier Installation
2.10.1 Parts Check List
• Drive Carrier module, or
• Dummy Carrier module
2.10.2 Procedure
1 Ensure that the anti-tamper lock is disengaged.
2 Release the carrier handle by pressing the latch in the handle towards the right.
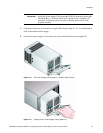
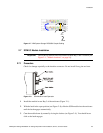
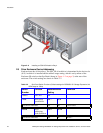
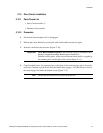
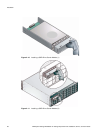
3 Insert the carrier into the enclosure (Figure 2–10).
Important For a Rack Mounted System: Ensure that the carrier is oriented so that
the drive is uppermost and the handle opens from the left.
Slide the carrier, gently, all the way into the enclosure until it is stopped by
the camming lever on the right of the carrier (Figure 2–11).
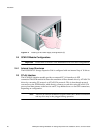
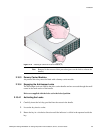
4 Cam the carrier home - the camming foot on the base of the carrier engages into a slot in the
enclosure. Continue to push firmly until the handle fully engages. You should hear a click as
the latch engages and holds the handle closed (Figure 2–12).
Note Ensure that the Handle always opens from the left.


