20
Using the Projector
Using the On-Screen Menus
The projector
has five menus that allow you to make image
adjustments and change a variety of settings. Most of these
adjustments aren’t available directly from the keypad or remote.
To open the on-screen menus, press the
Menu
button on the
remote or keypad. Press
Menu
again when you want to close the
menus and save any changes.
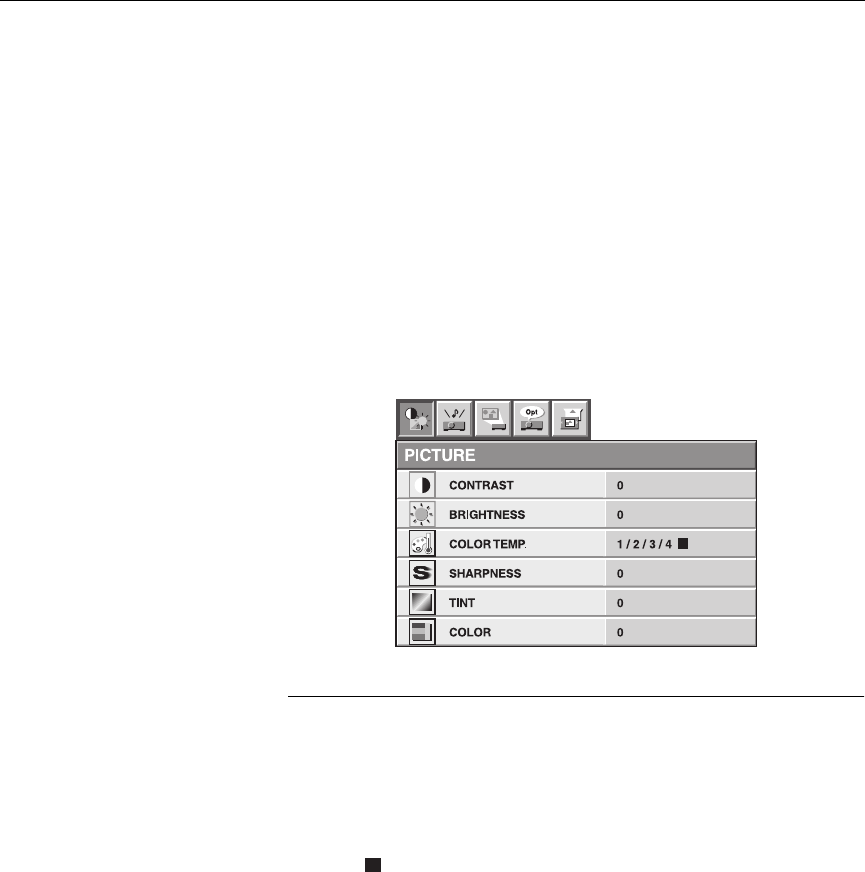
To select a menu, use the arrow keys on the keypad or remote to
move the cursor left and right to highlight the menu you want,
the press Enter. The menu appears.
FIGURE 15
Menus
To change a menu setting, use the up and down arrow keys on
the keypad or remote to move the cursor up and down to the
item you want to change (the selected item is highlighted), then
use the left and right arrow buttons to adjust a setting. If a
square ( ) appears next to an option, highlight the square then
press the
Enter
button to access a submenu. To exit the submenu
and return to the previous menu, press the
Menu
button. All
changes are saved when you close the menus.
To access another menu, use the up arrow button to move the
cursor to the top of the menu bar, move the cursor left or right to
highlight the menu you want, then press the
Enter
button.
