Upgrading Your System 4-21
4.
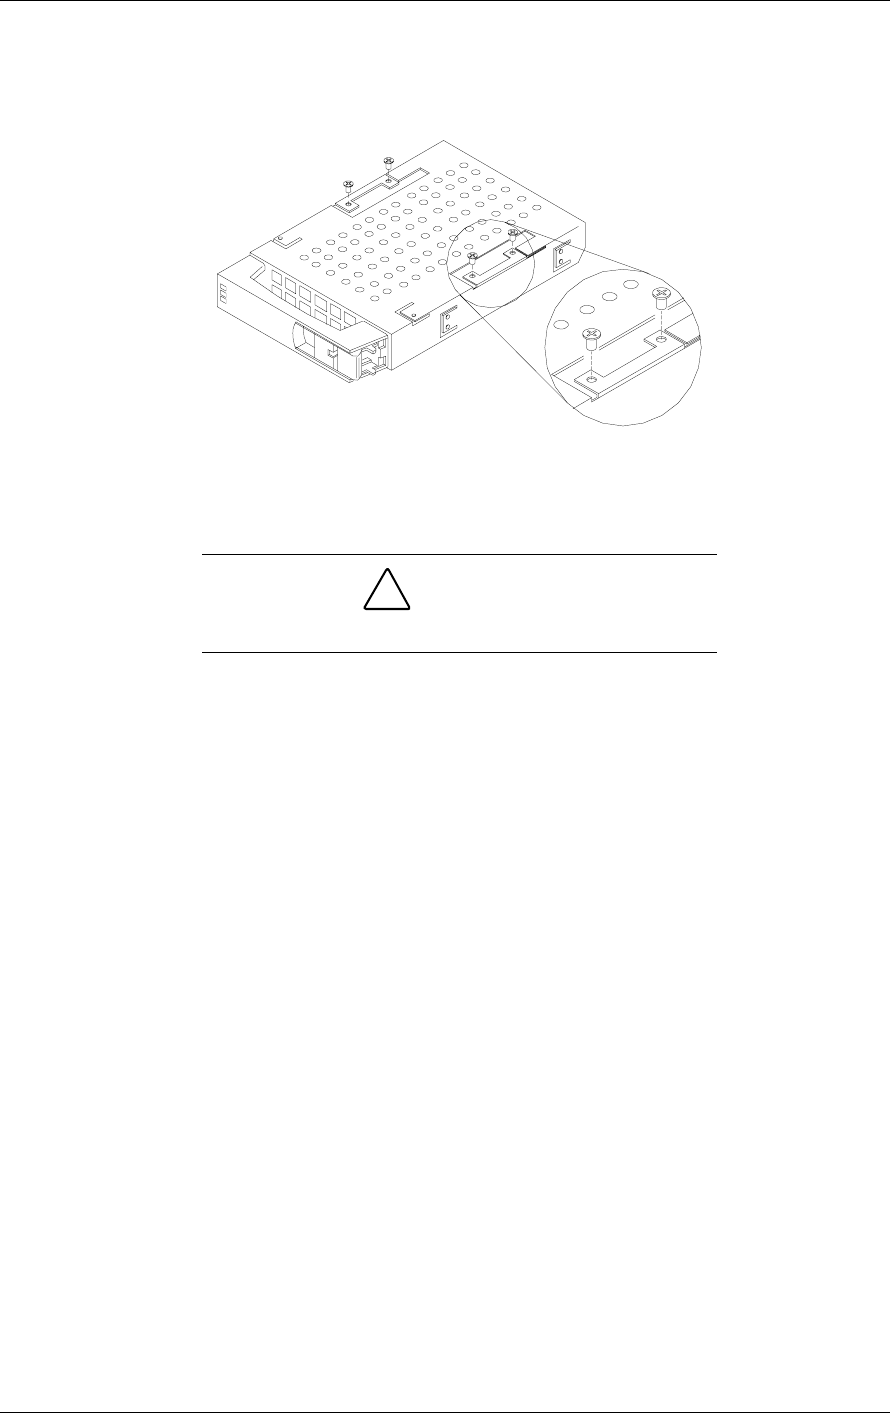
Place the drive carrier on an antistatic surface with the four mounting
screws facing up.
5.
Remove the hard disk drive from the disk carrier. See Figure 4-16.
Figure 4-16. Removing/Installing a Hard Disk Drive to the Carrier
6.
Remove the new drive from its protective wrapper, and place on an
antistatic surface.
!
CAUTION
Observe static precautions. Use an antistatic wrist strap.
7.
Record the drive model and serial numbers in the equipment log.
8.
Install the replacement drive onto the drive carrier.
!
Place the drive on the carrier, with its connector facing the rear of the
carrier.
!
Turn the drive and carrier over and secure the drive in the carrier with
the four screws supplied with the disk drive. See Figure 4-16.
9.
Install the drive carrier with drive into the bay as follows:
!
Open the disk carrier-locking tab.
!
Align the drive carrier with the bay guide rails.
!
Slide the drive carrier into the bay until it docks with the SCSI
backplane connector. See Figure 4-17.
!
Close the disk carrier locking tab ensuring it is secured as shown in
Figure 4-18.


