5
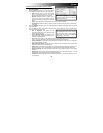
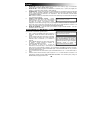
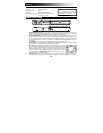
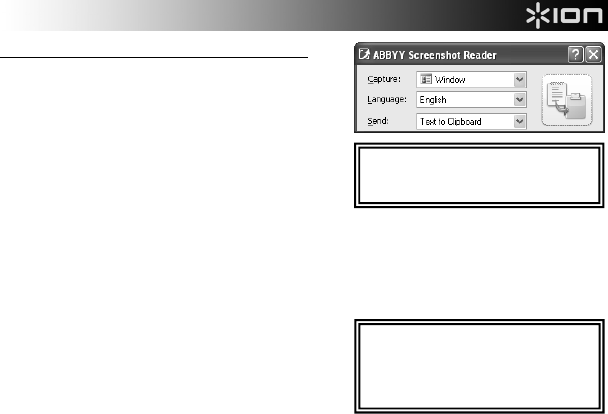
Follow these steps to use ABBYY Screenshot Reader:
1. Go to Start Menu f All Programs f ABBYY
Screenshot Reader.
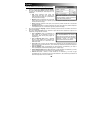
2. From the Capture drop-down menu, select what section
of the screen you want to capture in your screenshot:
• Area: Select this option to capture only a certain
area of your screen, which you can select by
clicking and dragging the mouse (see below).
• Window: Select this option to capture only a
certain window shown on your screen, which you
can select by placing and clicking the mouse (see
below).
• Screen: Select this option to capture the entire computer screen (see below).
• Timed Screen: Select this option to capture the entire computer screen but with a 5-second delay
(see below).
3. From the Language drop-down menu, select what language the software will recognize when it reads text
in the screenshot.
4. From the Send drop-down menu, select what part of the scanned document will be captured in the
screenshot and where it will be sent.
• Text to Clipboard: Text pulled from the
screenshot will be sent to your Clipboard, where
it can be pasted elsewhere.
• Text to Microsoft Word: Text pulled from the
screenshot will be automatically pasted to a new
document in Microsoft Word.
• Text to File: Text pulled from the screenshot will be automatically pasted to a new document you
select. (You will be prompted to select the document after taking the screenshot.)
• Table to Clipboard: A table (and its text) pulled from the screenshot will be sent to your Clipboard,
where it can be pasted elsewhere.
• Table to Microsoft Excel: A table (and its text) pulled from the screenshot will be automatically
pasted to a new document in Microsoft Excel.
• Table to File: A table (and its text) pulled from the screenshot will be automatically pasted to a new
document you select. (You will be prompted to select the document after taking the screenshot.)
• Image to Clipboard: The whole screenshot will be sent to your Clipboard, where it can be pasted
elsewhere.
• Image to File: The screenshot will be automatically pasted to a new document you select. (You will
be prompted to select the document after taking the screenshot.)
• Image to E-mail: The screenshot will be automatically saved as a .bmp file and attached to a new
e-mail message.
For more informatio
n
on ABBYY
Screenshot Reader, refer to the software's
hel
p
file b
y
p
ressin
g
F1.
For tips o
n
acquiring the clearest scans
and achieving the best results using the
text recognition feature in the software,
please see the TEXT RECOGNITION
TIPS section in this manual.


