


13
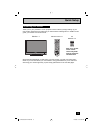
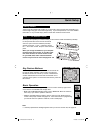
These quick setup pages will provide you, in three easy steps, with the basic information you
need to begin using your new monitor right away. If you have questions, or for more detailed
information on any of these steps, please consult other sections of this manual.
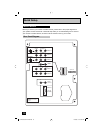
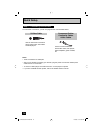
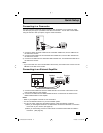
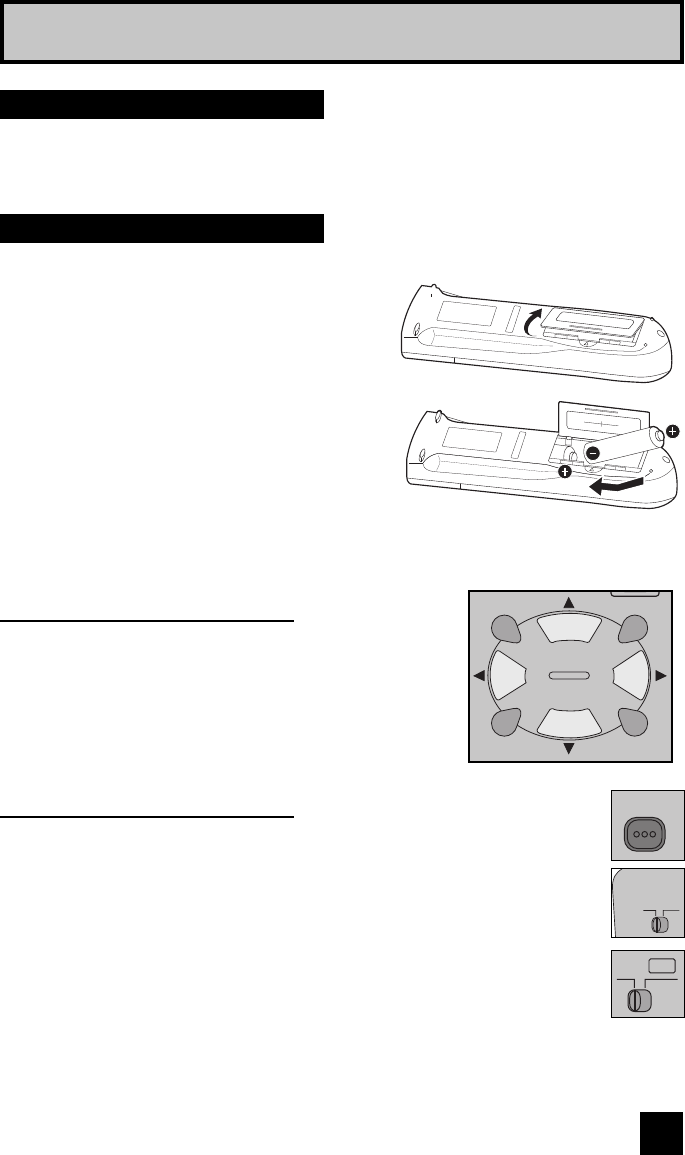
Before you can operate your remote control, you first need to install the batteries (included).
Lift and pull the latch on the back of the remote
control to open. Insert two batteries (included)
carefully noting the “+” and “–” markings, placing
the “–” end in the unit first. Snap the cover back into
place.
When you change the batteries, try to complete
the task within three minutes. If you take longer
than three minutes, the remote control codes
for your VCR, DVD, and/or cable box/satellite
receiver may have to be reset. See pages 25 - 28.
Quick Setup
Getting Started
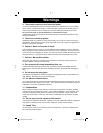
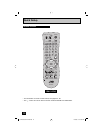
Step 1 – The Remote Control
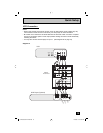
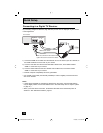
Key Feature Buttons
The four key feature buttons at the center of the remote can
be used for basic operation of the monitor. The right and
left buttons will turn the volume up or down. These buttons
are also marked with four arrows and are used with JVC’s
onscreen menu system. To use the onscreen menus, press the
M
ENU button.
MUTING
MENU
OK
BACK
CH +
VOL
–
VOL
+
VCR CHANNEL+
VCR/DVD
CH –
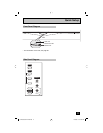
Basic Operation
Turn the monitor on and off by pressing the POWER button at the top right corner
of the remote. The POWER LED will light blue.
• Make sure the MONITOR/CATV switch is set to MONITOR. Move the switch to
CATV only if you need to operate a cable box.
• Slide the VCR/DVD selector switch to VCR to control a VCR. Slide to DVD to
control a DVD player. Please see pages 25 - 28 for instructions on programming
your remote control to operate a cable box, VCR or DVD player.
POWER
VCR
DVD
MONITOR
CATV
MUL
Note:
• If the lamp replacement message appears when you turn the monitor ON, see page 62.
LCT2065-001B-A ENG.indd 13LCT2065-001B-A ENG.indd 13 12/18/06 10:10:53 AM12/18/06 10:10:53 AM