


28 A-61195 July 2003
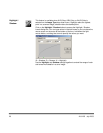
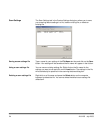
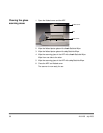
Starting the final scan The buttons shown below allow you to begin scanning or to exit the job.
Preview
Click on the Preview button to scan a document so you can review the
scanned image. This allows you to specify an area to be scanned and any
scanning feature settings to be used for future scans. When a scanning
feature is changed and applied, the Preview image is updated for a real-time
view of the change.
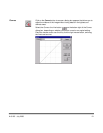
You can define the area to be scanned by dragging the cursor lines with
the mouse.
Click on the arrows at the lower right side of the Preview box to view the
front and rear scanned images.
NOTE: The arrows appear in the dialog box only when a duplex scanning
method has been selected.
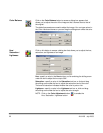
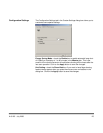
Zoom View
Click on the Zoom View button to view a selected area.
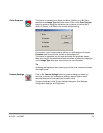
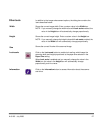
Scan (TWAIN)
OK (ISIS)
Click on the Scan (TWAIN) or OK (ISIS) button to scan the area with the
specified parameters.
You can define the area to be scanned by dragging the cursor lines with
the mouse.
Exit
Click on the Exit button to cancel the current job.