Sending Functions
6-27
6
Border Erase to Back Page
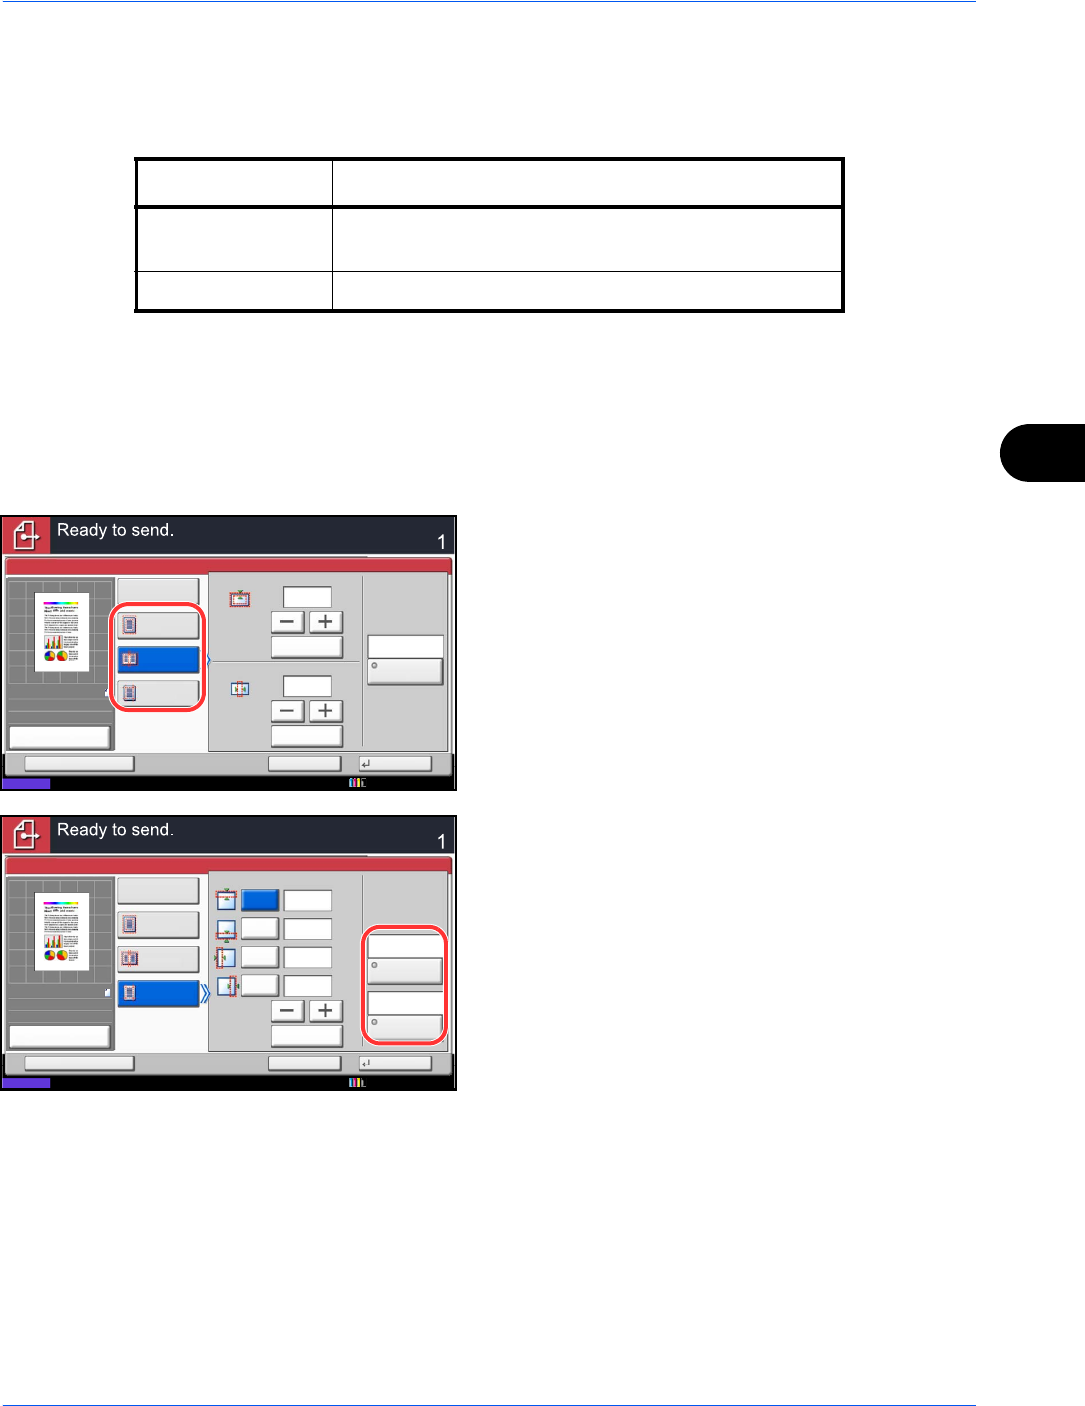
When scanning a 2-sided original, this allows you to erase the borders on the back of the original. The table
below shows the available settings.
Use the procedure below to erase borders when sending scanned originals.
1 Press the Send key.
2 Place the originals on the platen.
3 Press [Advanced Setup] and then [Border Erase].
4 Press [Border Erase Sheet] to erase borders for an
individual sheet or [Border Erase Book] to erase
borders for a book.
Use [+] or [-] to enter the width in Border or Gutter.
Press [# Keys] to use the number keys for entry.
Press [Individual Border Erase] to select the
individual border erase.
Use [+] or [-] to enter the border width or press [#
Keys] and enter the width using the numeric keys.
Press [Original Orientation] to select the original
orientation from either [Top Edge on Top] or [Top
Edge on Left], and press [OK].
For 2-sided originals, press [Back Page] and then
press [Same as Front Page] or [Do Not Erase].
5 Press [OK].
6 Specify the destination, and press the Start key to
start sending.
Item Detail
Same as Front
Page
Border Erase performed using the same setting as the
front page
Do Not Erase No Border Erase performed on the back page
Border Erase
Sheet
Border Erase
Book
Off
Individual
Border Erase
Border
Border Erase
Gutter
mm
mm
# Keys
# Keys
(0 - 50)
(0 - 50)
6
6
Cancel OKAdd Shortcut
Status
Destination
Back Page
Same as
Front Page
100%
A4
A4
Preview
Original
Zoom
Send
:
:
:
10/10/2010 10:10
Top
Border Erase
Bottom
Left
Right
(0 - 50)
mm
# Keys
Top Edge
on Top
Original
Orientation
6
6
6
6
Border Erase
Sheet
Border Erase
Book
Off
Individual
Border Erase
Cancel OKAdd Shortcut
Status
Destination
Back Page
Same as
Front Page
mm
mm
mm
100%
A4
A4
Preview
Original
Zoom
Send
:
:
:
10/10/2010 10:10
