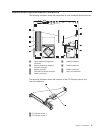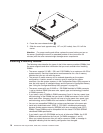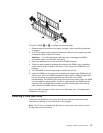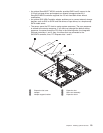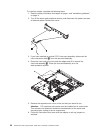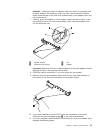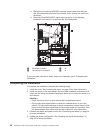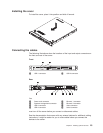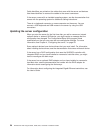
6. Insert the filler panel into the bay to cover the drive.
Notes:
1. If a RAID controller or adapter is installed, you might have to reconfigure the
disk arrays after you install hard disk drives. See your RAID controller or
adapter documentation.
2. To remove a simple-swap SATA drive from the bay, make sure that the server is
turned off and the power cord is removed; then, remove the filler panel, pull the
loops of the drive tray toward each other and pull the tray out of the bay.
If you have other devices to install, do so now. Otherwise, go to “Completing the
installation” on page 22.
Installing a hot-swap hard disk drive
The 3.5-inch drive hot-swap server models support either two SAS 3.5-inch hard
disk drives or two SATA 3.5-inch hard disk drives. The 2.5-inch drive hot-swap
server models support four 2.5-inch SAS hard disk drives.
The installation procedure is the same for any of these drives. The illustrations in
this procedure show 3.5-inch SAS drives.
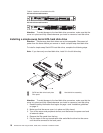
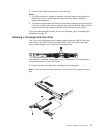
To install a hot-swap hard disk drive, complete the following steps.
Note: If you have only one hard disk drive, install it in the left or upper-left drive
bay.
Chapter 2. Installing optional devices 17


