Repair information 4-11
5056-XXX
Cover, RIP board removal
Warning: If the operator panel and the RIP board are being replaced at the same time, replace the parts in
this order to avoid damage to the machine.
1. Replace the RIP card first (this must be the first part replaced).
2. Restart the printer. Let the machine finish the startup cycle. This takes a few minutes. The machine is silent
when startup is complete.
3. Install the new operator panel.
4. Restart the printer, and let the startup cycle complete.
If the above procedure fails, you must contact the technical support center for further instructions.
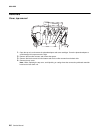
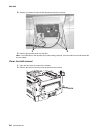
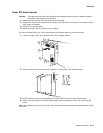
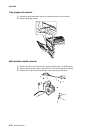
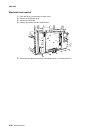
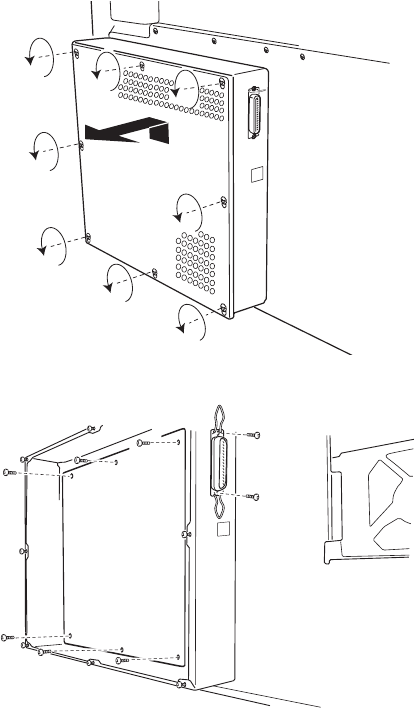
1. Loosen the eight screws, and remove the RIP cover by sliding upward.
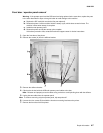
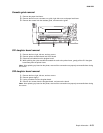
2. Disconnect all harnesses except for the processor fan (J25) from the RIP board connector.
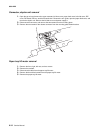
3. Remove the two screws from the parallel port connector and the screw from the USB connector.
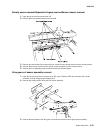
4. Remove the eight screws from the RIP board together with the parallel connector, and remove the RIP
board.
Note: After replacing any board on the printer, ensure all the connections are properly connected before closing
the covers.


