


4-32 Service Manual
5056-XXX
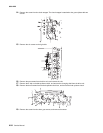
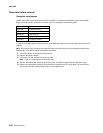
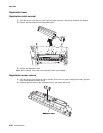
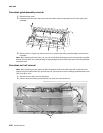
Face down guide assembly removal
1. Remove the top cover.
2. Disconnect the connector, and remove the five screws and two snap bands from the face down guide
assembly.
3. Remove the four screws from the face down cover and the face down guide assembly, and remove the
assembly.
Note: When replacing the face down unit, use a tie to hold back the wiring that connects the printer controller
board to the face down unit. Avoid pinching or cutting wiring that connects the face down unit to the printhead
controller board.
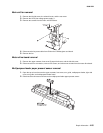
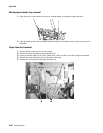
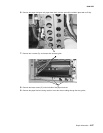
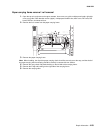
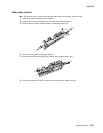
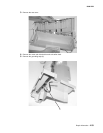
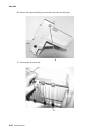
Face down exit roll removal
Note: When replacing the face down exit roller, lubricate the ends of the roller shaft with a small amount of
Nyogel 744 (part number 40X0179). Open the top unit, and remove the toner cartridges, photodeveloper drum
units, and upper cover.
1. Remove the face down unit from the printer.
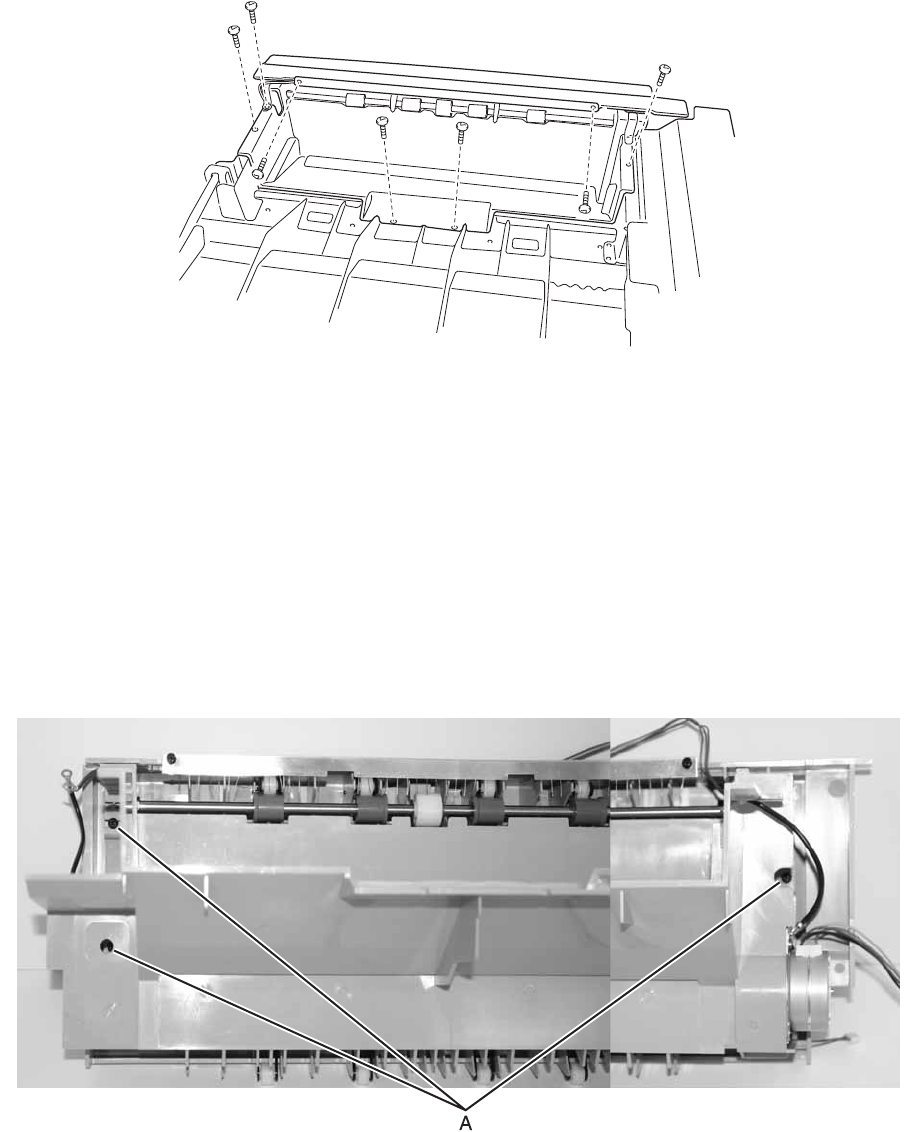
2. Remove the three screws (A) that hold the rear cover to the face down unit.