


4-20 Service Manual
5056-XXX
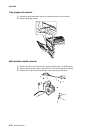
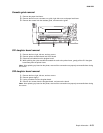
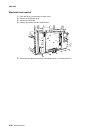
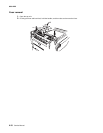
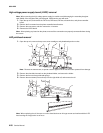
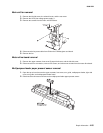
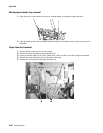
High voltage power supply board (HVPS) removal
Note: When removing the high voltage power supply, be careful to avoid damaging the secondary daughter
card (Q906). If the daughter card gets damaged, a 925 service error will result.
1. Open the top unit, and remove the RIP cover, RIP board, RIP box, electronic box, and printer controller
board.
2. Remove the five screws from the printer controller board bracket.
3. Remove the connectors, and then remove the 12 screws.
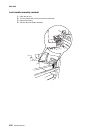
4. Remove the HVPS board.
Note: After replacing any board on the printer, ensure all the connections are properly connected before closing
the covers.
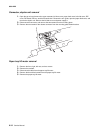
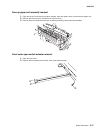
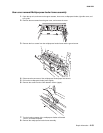
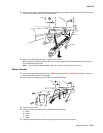
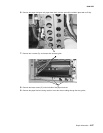
LED printhead removal
1. Open the top unit, remove the top cover, toner cartridges, and photodeveloper drum units.
Note: Remove the transfer belt, or spread a cloth or paper over the transfer belt to protect it from damage.
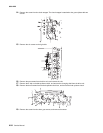
2. Remove the short black screw from the printhead holder, and remove the holder.
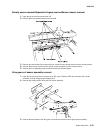
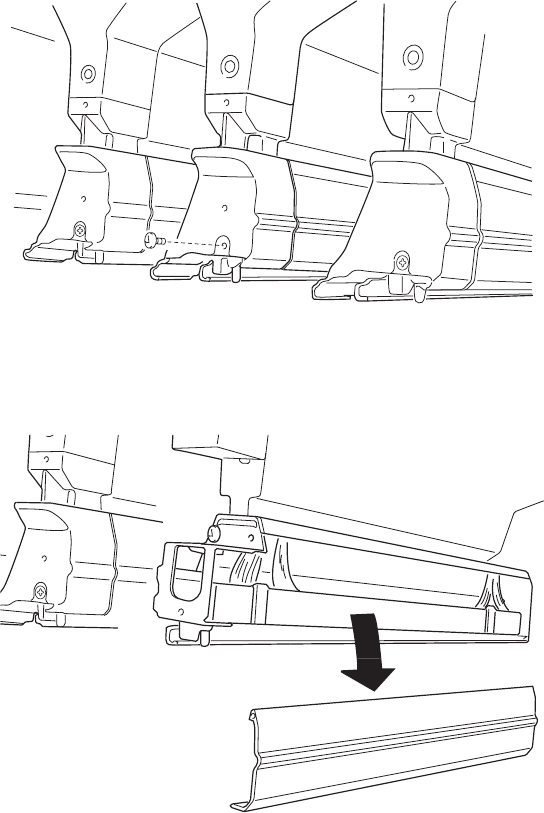
3. Remove the front and rear printhead springs.
4. Remove the two screws (front and rear) from the right slide rail, and remove the rail.
Note: When replacing the rail, be sure to use the short black screw. A longer screw can interfere with the LED
head causing the image to be out of focus.