96
6
When the list of software components is offered, select all the options you want to install. You
need to at least select the following:
– Printer Drivers (to obtain a custom driver for your printer)
– Network Support (TCP/IP)
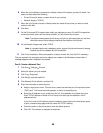
7 When the list of printer choices is offered, select the model of the printer you want to install,
and then click Add.
8 Click Next.
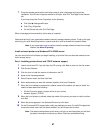
9 On the Drivers and Bi-Di support tabs, modify any settings you want. On the Bi-Di support tab,
remove the check mark from the status window if you do not want this function.
Note: The status window opens up with every print job you send and gives you real-time
information about the job being printed and the condition of the printer.
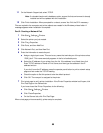
10 On the Network Support tab, select TCP/IP.
Note: If a shaded check mark is beside an option, support for that environment is already
installed and will be updated with this installation.
11 Click Finish Installation. When prompted for a reboot, answer Yes. Exit the CD if necessary.
Files are copied to the computer and printer objects are created in the Windows printers folder. A
message appears when installation is complete.
Part 2: Create a Network Port
1 Click Start Settings Printers.
2 Select the printer you just created.
3 Click File Properties.
4 Click Details, and then Add Port.
5 Click Network Printer Monitor, and then OK.
6 Enter the information to create the port.
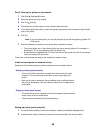
a Assign a logical port name. This can be any name that reminds you of the printer such as
“E322_lab4”. This name eventually appears in the list of available ports.
b Select the IP address of your printer from the list. If the address is not listed, then click
Enter TCP/IP address or Name of Print Server, and then type the address in the IP
address text box.
If you don’t know the IP address, press the operator panel button with a brief button press
to print a network setup page and look under the TCP/IP heading.
c Check the option to Set this protocol to be the default protocol.
d Click OK. The new port is assigned to the printer.


