


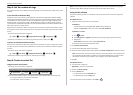

Using shortcuts
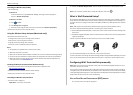
What are shortcuts?
A shortcut is a way to quickly accomplish printing, copying, scanning, e‑mailing, or faxing tasks with the
printer. You can configure and save a set of frequently used printer settings available for a given task and
then assign a shortcut number and shortcut name to it.
The shortcut number and shortcut name serve as the identification for a particular task and its printer
settings. When you want to perform a task with those settings, you do not need to go through the usual
process of adjusting the settings and options. Simply enter the shortcut number or select the shortcut
name and number on the printer control panel, and the task will launch automatically.
Configure the shortcut settings for a task in the Embedded Web Server:
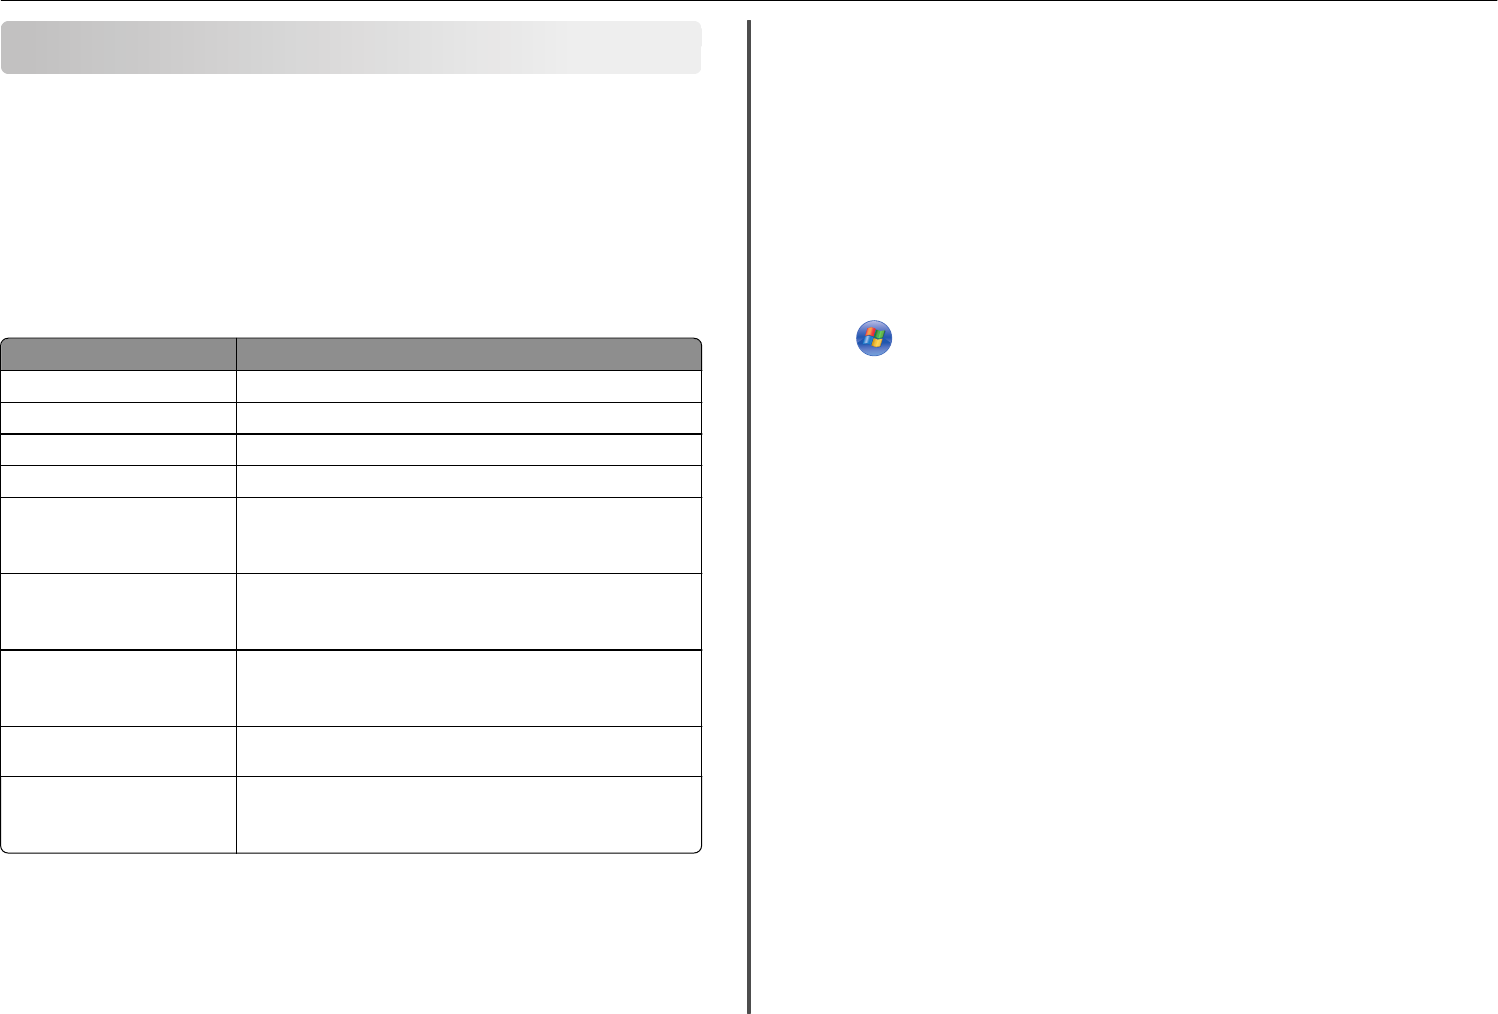
Select To
Copy Copy a document or photo.
Eco‑Copy Copy a document or photo using two‑sided or draft setting.
ID Card Copy Copy both sides of an ID card onto a single page.
Scan to Fax Scan a document or photo and send it through fax.
Scan to E‑mail Scan a document or photo and send it through e‑mail.
Note: Make sure the printer is connected to the network and the
Internet through an Ethernet or wireless connection.
Scan to Computer Scan a document or photo and send it to your computer.
Note: Make sure the printer is connected to the computer locally
(USB).
Scan to Network Scan a document or photo and save it to a network folder.
Note: Make sure the printer is connected to the Internet through an
Ethernet or wireless connection.
Scan to Memory Device Scan a document or photo and save it to a memory card or flash drive
(depending on your printer model).
Print a File Print a document from your computer.
Note: Make sure the printer is connected to the computer through
the same Ethernet or wireless network.
Example:
A lawyer who uses his printer to send e-mails to clients normally navigates through the printer control
panel to select the feature and its available options. Instead of doing that, he can configure the printer
settings (such as the message title and recipient) from the Embedded Web Server, and then assign a
shortcut number and shortcut name to the task. Every time he enters the shortcut number or selects the
shortcut name on the printer control panel, the printer automatically sends the documents according to
the selected settings.
Getting started
During installation, a link will be provided for you to create shortcuts. If you were not able to create your
shortcuts during installation, then you may create the shortcuts through your printer software.
Launching the shortcuts page using the printer software
Before you begin, make sure:
• Your printer and computer are each connected to the network through an Ethernet or wireless
connection.
• Your printer is turned on.
For Windows users
1
Click or Start.
2 Click All Programs or Programs, and then select the printer program folder from the list.
3 Navigate to:
Printer Home > select your printer > Settings > Configure Shortcuts
For Macintosh users
1
From the Finder, navigate to:
Applications > select your printer folder > Shortcuts
2 Select your printer from the list, and then click Launch.
Creating a shortcut
1 Launch the shortcuts page, and then navigate to:
Add New Shortcut > select a task
2 Assign a shortcut number and shortcut name, and then specify the settings.
Notes:
• A shortcut number is the number you assign to a particular task and its printer settings. You can
assign shortcut numbers from 1 to 999.
• If you configured the shortcut to show the settings before running, then the settings will
appear on the printer display. Adjust the settings if necessary.
3 Click Add.
Modifying or deleting a shortcut
1 Launch the shortcuts page, and then select a shortcut.
Using shortcuts 48