Printer Panel 1
– 1 –
4581-7777-01
1. Outline of the CF2002/CF3102 System Setup
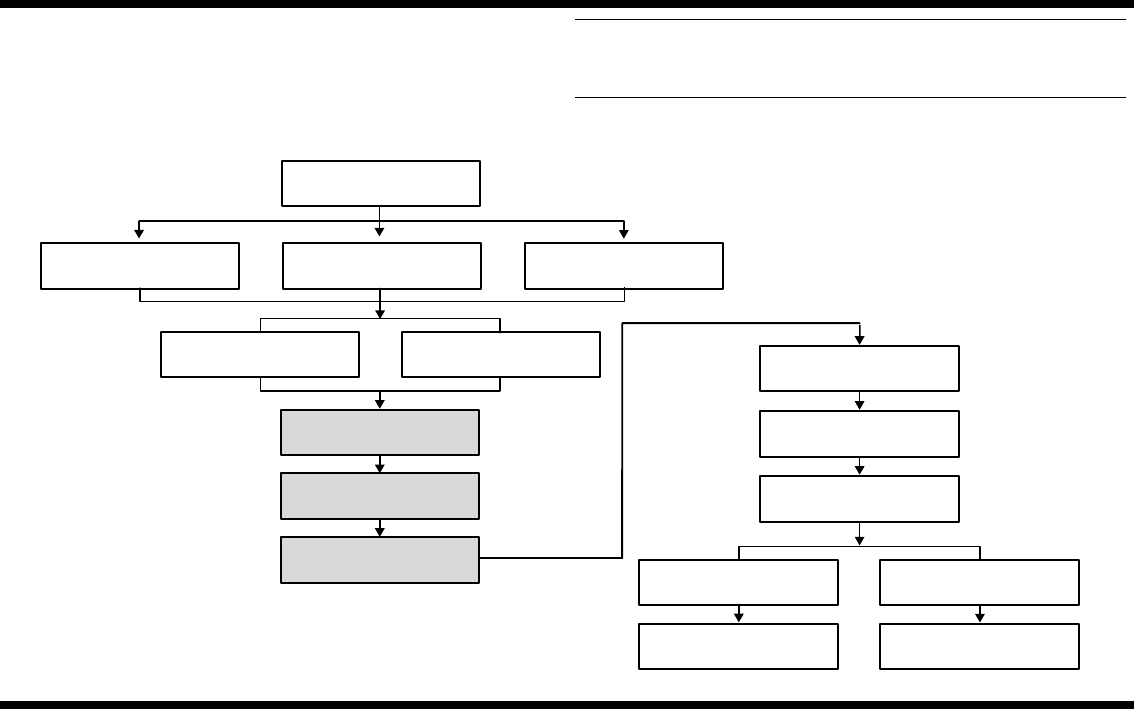
These Setup Instructions describe the setup for the parts marked in grey in the flowchart
shown below.
When setting up a system consisting of the printer and its various options, perform the
setup according to the procedure described below.
NOTE
• Install and setup each option according to the instructions included with the option.
• For information on adjusting the PF-118, PF-121 and AD-14, refer to the section
“Adjusting the Options” on pages 27 to 31 of these Setup Instructions.
9. Mechanical Counter
7. Duplex Unit AD-14
5. Control Panel
4. Printer
1. Copy Table CT-2
2-C. Copy Desk CD-2M
2-A. Paper Feed Unit PF-118
2-B.Large Capacity Cabinet
PF-121
3-A.Dehumidifying Heater
6. Printer Controller/
Interface kit
10-A. Finisher FN-8 10-B. Finisher FN-116
3-B.Dehumidifying Heater
*: U.S.A and Canada only
4: Printer
Unpack the unit, install it, adjust it using the servicing equipment, and
then calibrate the gradation levels with the X-Rite.
5: Control Panel
Attach the control panel to the printer.
6: Printer Controller/Interface Kit
Attach the printer controller, and then specify the necessary settings.
8. Data Terminal DT-105*
11-A. Punch KIT PK-4 11-B. Option tray JS-100
C4581U019AA


