


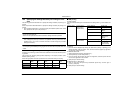
Printer Panel 1
– 48 –
4581-7777-01
■
■■
■ LPD (LPR) printing
Controller settings
(The recommended settings are underlined and the settings within [ ] are the default set-
tings.)
PC Settings
For Windows NT 4.0:
1. Install the Microsoft TCP/IP Printing service.
• Open Control Panel, and then double-click the Network icon.
• In the Network dialog, click the Services tab, and then click [Add...].
• Select [Microsoft TCP/IP Printing], and then click [OK].
2. Display the printer properties.
3. Click the Ports tab, and then click [Add Port...]. The Printer Ports dialog appears.
4. From the Available Printer Ports, select [LPR Port], and then click [New Ports].
5. In the Add LPR Compatible Printer dialog, type the IP address of the controller into the
Name or address of server providing lpd field.
6. Type [print] or [hold] into the Name of printer or print queue on that server field.
7. Specify the printer name and whether the printer will be the default printer and
whether a test print will be printed.
8. Click [Close] to close the dialog.
For Windows 2000 and XP:
1. Display the printer properties.
2. Click the Ports tab, and then click [Add Port...]. The Printer Ports dialog appears.
3. From the Available port types list, select [Standard TCP/IP Port], and then click [New
Port...].
4. Type the IP address of the controller into the field.
5. Select [Custom], and then click [Setting].
6. Select [LPR].
7. Type [print] or [hold] into the field, and then click [OK].
8. Click [Next], then [Finish] to close the dialog.
■
■■
■ IPP printing
Controller settings
(The recommended settings are underlined and the settings within [ ] are the default set-
tings.)
PC Settings
1. Start up the Add Printer Wizard, and then select [Network Printer].
2. In the Locate Your Printer dialog, select [Connect to a printer on the Internet or on your
intranet].
3. Type [http://printer_IP_address/ipp/print] into the URL field.
4. In the dialog where the manufacturer and model of the printer can be selected, click
[Have Disk].
5. Click [Browse], select the corresponding folder on the CD-ROM, and then click [OK].
6. Select the model of the printer from the printer list, and then click [Next].
7. Click [Finish] to exit the Add Printer Wizard.
8. Specify the printer name and whether the printer will be the default printer and
whether a test print will be printed.
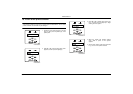
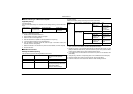
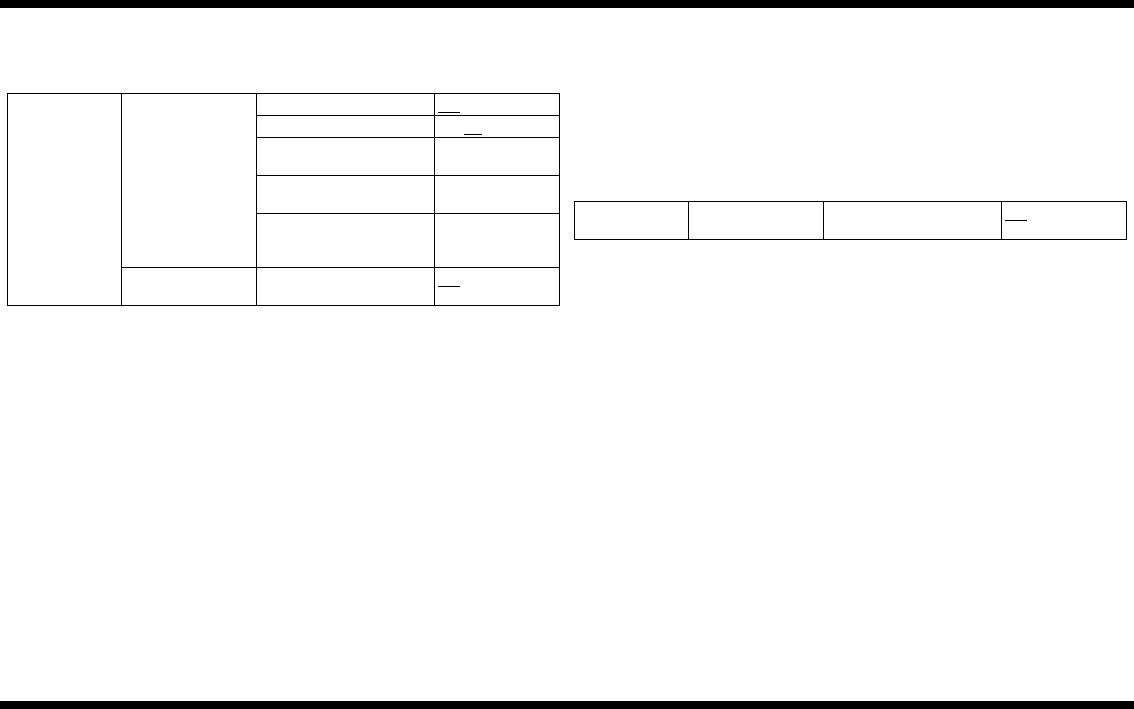
Network Setup Protocol Setup >
TCP/IP Setup >
Ethernet Setup
TCP/IP-Ethernet Yes
/No [Yes]
Enable AutoIP Config Yes/No
[Yes]
IP Address Enter the IP
address.
Subnet Mask Enter the subnet
mask.
Gateway Address Enter the IP
address of the
gateway.
Service Setup >
LPD Setup
Enable LPD Yes
/No [Yes]
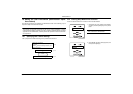
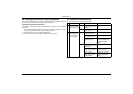
Network Setup Service Setup >
IPP Setup
Enable IPP Yes/No [Yes]