Viewing 3D images (continued)
3D images viewing
This projector is able to display the following 3D
display supporting broadcasts and signals as
stereoscopic images. (As of January, 2011)
• 3Dimagesinputfromtherecorder/player
supporting 3D display. (Side by side, top and
bottom, and frame packing)
• 3Dimagesbythedigitalterrestrialbroadcasting
and BS digital broadcasting. (Side by side) (For
viewing 3D images with CATV (cable television),
please consult CATV broadcasters or CATV
providers.)
(For details about the supported 3D image signal
formats, see “3D supported signals” on page 59.)
This projector is also able to display 3D images
converted from 2D images.
To view 3D images:
Preparation:
• Pleasereadthe3Dglassesusermanualcarefully
before viewing the 3D images.
• Switchingthe3Dmode(suchas3Dsettingsystem)
of the recorder/player may be required when
projecting 3D images from the recorder/player
supporting 3D display. Read the user manual of the
recorder/player for details.
1. Project a 3D image on the screen.
2. Display the IMAGE menu.
(See page 29 for menu setting.)
3. Select 3D by pressing the p or q button.
CONTRAST
IMAGE
0
BRIGHTNESS 0
0
COLOR
OK
MEDIUM
0
TINT
0SHARPNESS
ON
BrilliantColor
TM
OFF3D
COLOR TEMP.
ADVANCED MENU
opt.
CINEMA
GAMMA MODE
CINEMAPICTURE MODE
4. Set 3D to ON by pressing the t or u button.
• Theprojectorwillbereadytodisplay3D
images.
5. Turn the power switch on the 3D glasses to ON.
6. Wear the 3D glasses.
• Nowyouarereadytoview3Dimages.
To change the 3D viewing mode:
When 3D images aren’t displayed properly, change the
following setting using the menu.
(See page 29 for menu setting.)
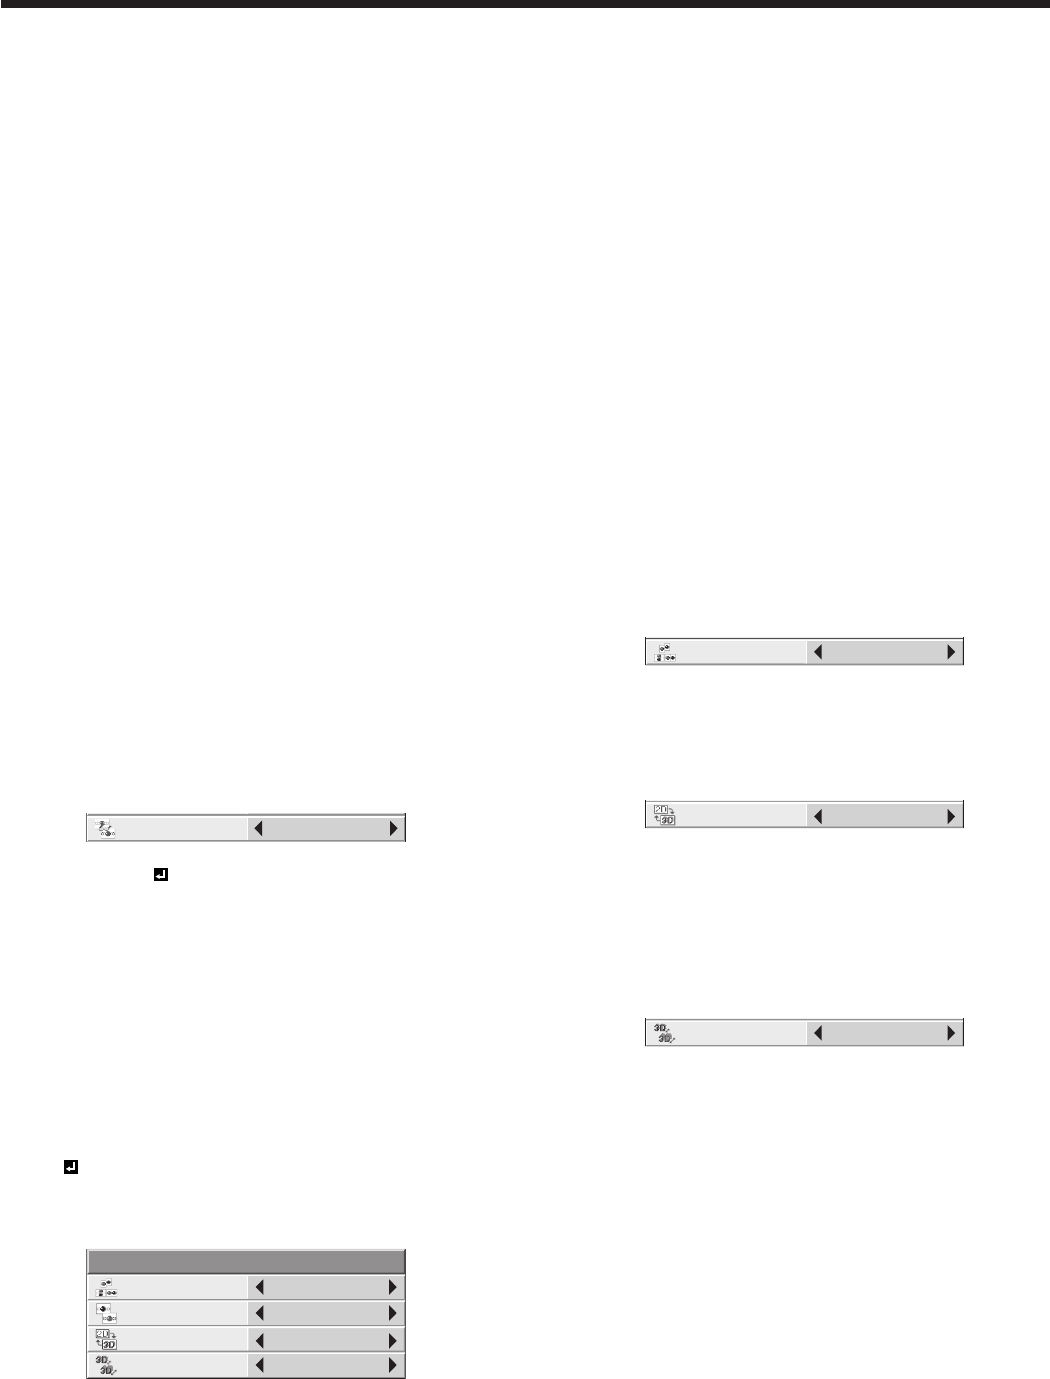
1. Display the IMAGE menu and set the 3D option to
ON .
2. Press the ENTER button.
• The3Dmenuwillappear.
3D
ON
NORMAL
3D SYNC.
2D-3D
CONVERSION
5
3D DEPTH
3D MODE
AUTO
3. Press the p or q button to select the desired item
and press the t or u button to select the desired
option.
3D MODE
If 3D images aren’t displayed properly with
AUTO selected, select the video format (FRAME
PACKING, SIDE BY SIDE, or TOP AND BOTTOM)
suitable for the 3D image being displayed.
Alternatively, you can select the video format using
the 3D MODE button on the remote control.
3D SYNC.
If you feel uncomfortable while viewing 3D images,
the right-left synchronization between the 3D image
and the 3D glasses (LCD shutter) may be lost. In
such a case, set 3D SYNC. to REVERSE.
To convert 2D images to 3D images:
1. Project a 2D image.
2. Perform steps 2 to 4 in the section “To view 3D
images.”
3. Press the ENTER button.
• The3Dmenuwillappear.
4. Select 3D MODE by pressing the p or q button.
3D
ON
NORMAL
3D SYNC.
2D-3D
CONVERSION
5
3D DEPTH
3D MODE
AUTO
5. Set 3D MODE to AUTO by pressing the t or u
button.
6. Select 2D-3D CONVERSION by pressing the p or
q button.
3D
ON
NORMAL
3D SYNC.
2D-3D
CONVERSION
5
3D DEPTH
3D MODE
AUTO
7. Set 2D-3D CONVERSION to ON by pressing the t
or u button.
• Now2Dimagesareconvertedinto3Dimages.
8. Turn the power switch on the 3D glasses to ON and
wear the 3D glasses.
9. Select 3D DEPTH by pressing the p or q button.
3D
ON
NORMAL
3D SYNC.
2D-3D
CONVERSION
5
3D DEPTH
3D MODE
AUTO
10. Adjust the depth of the converted 3D images by
pressing the t or u button.
• Youcanselectthedepthfrom10levels(1to
10). As the level increases, the appearance of
depth is enhanced.
• 3Dimagesconvertedfrom2Dimagesappear
blurred due to conversion.
• Tonishtheconversionto3Dimages,set2D-
3D CONVERSION back to OFF.


