


Configuring the Network
NPort Server Lite User’s Manual 3-3
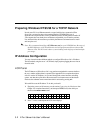
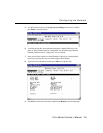
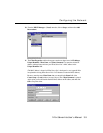
3. Press SEL to select NETWORK SETTING, and then press s twice. The LCD screen
should look like:
N
E
T
W
O
R
K
S
E
T
T
I
N
G
↑
I
P
A
D
D
R
R
E
S
S
↓
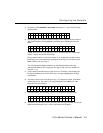
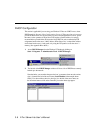
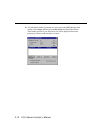
4. Press SEL again, after which the default IP address will be displayed. Note that the first
digit of the IP address will be highlighted by a blinking cursor, indicating that it can be
edited:
I P A D D R R E S S
↑
1 9 2 . 1 6 8 . 1 2 7 . 2 5 4
↓
The SEL button now acts as the right cursor, the r button decreases the selected digit,
and the s button increases the selected digit.
Keep in mind that there is no left cursor button. If you accidentally press SEL, moving
the blinking cursor to the right before inputting the correct digit, you will need to press
MENU, and then start over at step 3.
You will notice that the displayed numbers are automatically limited to the range
required for IP addresses. For example, the first digit of each of the four numbers can
only be 0, 1, or 2.
5. Use the functions described above to enter the server’s IP address. After changing the
last digit, the blinking cursor will be all the way to the right, highlighting the last digit
of the number.
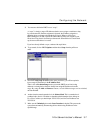
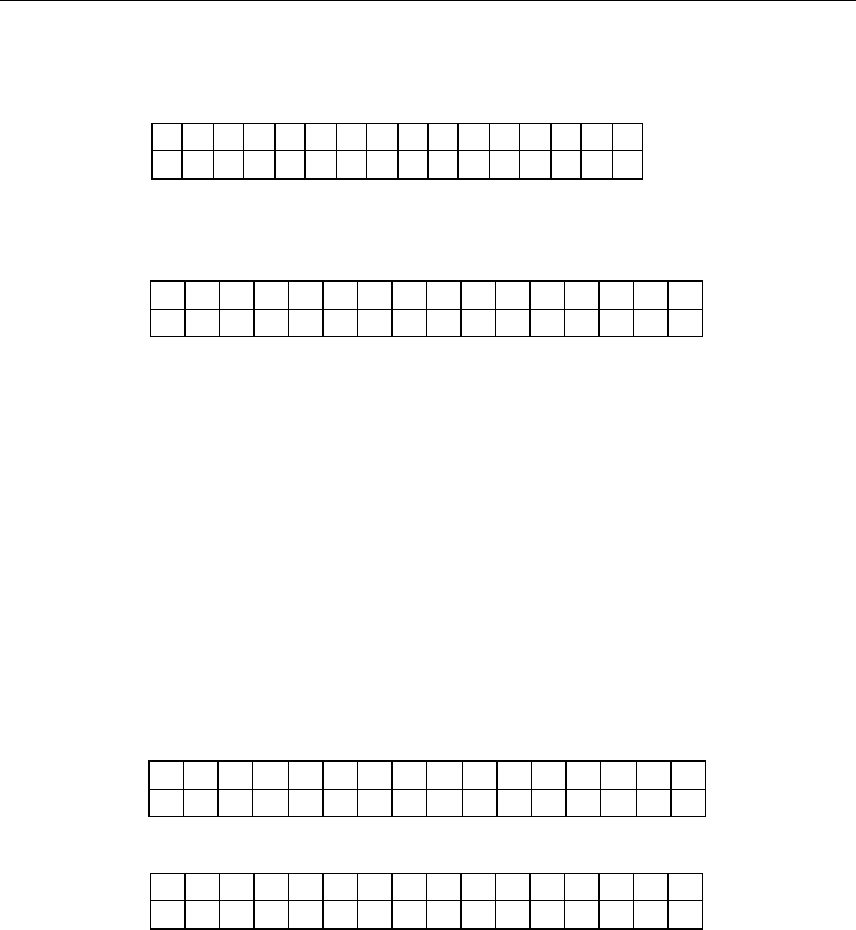
6. Press SEL to return to the screen shown in step 3. (To change the number, press MENU
and then start over at step 3 above.) To accept the number, press MENU twice, after
which the LCD screen displays
S A V E C H A N G E ?
N O
↓
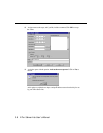
7. Press SEL to NOT save the setting, or press r to change to the following screen:
S A V E C H A N G E ?
Y E S
↓
8. Press SEL to save the setting. At this point the system will restart, and then return to the
default screen showing the server’s name, serial number, and IP address.